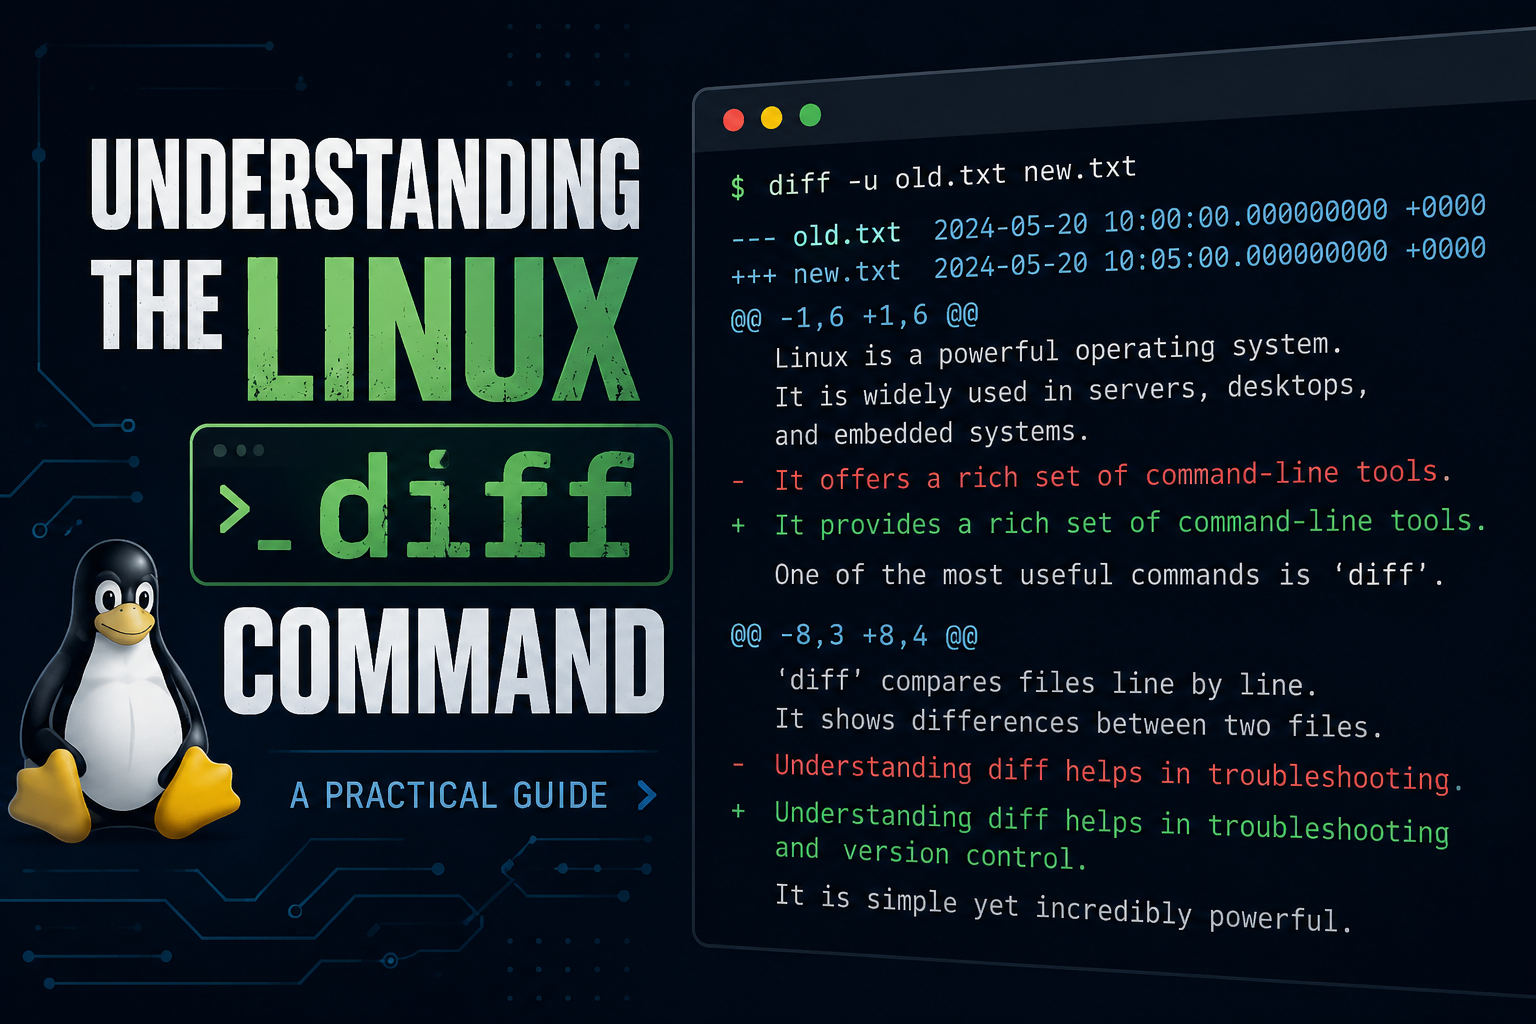
If you have ever needed to know exactly what changed between two versions of a file, the diff command is your best friend. It is a small, fast, and reliable tool that ships with virtually every Linux distribution. The catch is that its output can look cryptic the first time you see it. This guide walks you through how to use diff and, just as importantly, how to read what it tells you.
What diff Actually Does
At its core, diff compares two files line by line and reports the changes needed to turn the first file into the second. It does not modify anything. It simply describes the differences. That description can then be used by humans for review or by other tools, such as patch, to apply the changes automatically.
The basic syntax could not be simpler:
diff file1.txt file2.txt
diff reads both files, finds the lines that differ, and prints a summary. If the files are identical, it prints nothing at all and exits quietly. That silence is a feature, not a bug. It means you can use diff in scripts to check whether two files match.
Reading the Default Output
Let’s say you have two files. The first, old.txt, contains:
apple
banana
cherry
date
The second, new.txt, contains:
apple
blueberry
cherry
date
elderberry
Running diff old.txt new.txt produces something like this:
2c2
< banana
---
> blueberry
4a5
> elderberry
This is the traditional, or “normal,” output format. It looks intimidating, but it follows a tidy logic once you know the rules.
Each block of changes starts with a line that tells you what kind of change happened and where. The letter in the middle is the key:
cmeans a line was changedameans a line was addeddmeans a line was deleted
The numbers around the letter refer to line numbers. The number on the left points to old.txt, and the number on the right points to new.txt.
So 2c2 means line 2 in the old file was changed into line 2 in the new file. The lines starting with < come from the first file, and the lines starting with > come from the second file. The --- is just a divider between the old version and the new version. In our example, banana became blueberry.
The second block, 4a5, means that after line 4 in the old file, a new line was added, and it appears as line 5 in the new file. Since this is an addition, there is no < line, only a > line showing elderberry.
A quick way to remember the direction of the arrows: < points back toward the first file you listed, and > points forward toward the second file.
The Unified Format: Much Easier to Read
The normal format works, but most people find the unified format far more intuitive. You enable it with the -u flag:
diff -u old.txt new.txt
This produces output that looks like this:
--- old.txt	2026-05-16 10:00:00
+++ new.txt	2026-05-16 10:05:00
@@ -1,4 +1,5 @@
 apple
-banana
+blueberry
 cherry
 date
+elderberry
This is the format you see in code reviews, pull requests, and patch files everywhere. Here is how to read it.
The first two lines identify the files. The --- line is the original file and the +++ line is the updated file. Each is shown with a timestamp.
The line beginning with @@ is called the hunk header. It tells you which part of the files this block describes. @@ -1,4 +1,5 @@ means the block covers 4 lines starting at line 1 in the original file, and 5 lines starting at line 1 in the new file.
After the header come the actual lines, and the first character of each tells the whole story:
- A space means the line is unchanged. It appears in both files and is shown only for context.
- A minus sign means the line was removed from the original.
- A plus sign means the line was added in the new version.
Reading our example, banana was removed, blueberry was added in its place, and elderberry was added at the end. The unchanged lines around them give you context so you can see where the changes sit. By default, diff shows three lines of context above and below each change, which makes the result much easier to follow than the bare normal format.
Comparing Whole Directories
diff is not limited to single files. Point it at two directories with the -r flag and it compares them recursively:
diff -r project_v1/ project_v2/
This walks through both folder trees and reports every file that differs, every file that exists in only one of the directories, and the line level changes inside files that appear in both. It is a fast way to audit what changed between two copies of a project.
Add -q if you only want the summary without the line by line detail:
diff -rq project_v1/ project_v2/
This prints just one line per file that differs, which is perfect when you only care about which files changed rather than how.
Handy Options Worth Knowing
A few flags make diff noticeably more pleasant in everyday use.
The -i flag ignores case, so Apple and apple are treated as the same. The -w flag ignores all whitespace differences, which is useful when indentation or trailing spaces have changed but the actual content has not. The -b flag is a gentler version that ignores changes in the amount of whitespace but still notices whitespace where there was none before.
The -y flag shows a side by side comparison, with the two files printed in parallel columns. It is wider and uses more screen space, but some people find it easier to scan:
diff -y old.txt new.txt
A marker appears between the columns: a | for changed lines, a < for lines only in the first file, and a > for lines only in the second.
Finally, the --color=always option adds color to the output on terminals that support it, which makes additions and deletions pop out immediately.
Using diff with patch
One of the most powerful uses of diff is creating patch files. When you save unified diff output to a file, you create a record of changes that can be applied to other copies of the original:
diff -u old.txt new.txt > changes.patch
Someone else with a copy of old.txt can then run:
patch old.txt < changes.patch
and their file will be transformed into new.txt. This is the foundation of how software changes were shared for decades before graphical tools became common, and it still underpins a great deal of modern development.
A Simple Mental Model
If you remember nothing else, remember this. diff answers one question: what would I have to do to turn the first file into the second? Removed lines are marked with < or -. Added lines are marked with > or +. Everything else is just context and coordinates telling you where the changes live.
Start with diff -u for almost everything. It is readable, it is the standard, and it is the format the rest of the toolchain expects. Once the unified format feels natural, the normal format and the side by side view become easy to pick up too.
The diff command rewards a small investment of attention. Spend ten minutes getting comfortable with its output and you gain a tool you will reach for constantly, whether you are reviewing code, tracking configuration changes, or simply figuring out why two files that should be identical are not.