If you've spent any time configuring user authentication on... Full Story
By Manny Fernandez
May 3, 2020

My Jobs Script and How to Automate It
For years and years, I would create a folder for a customer, then I would create a sub folder for a job and then inside of that sub folder, I would throw files. No rhyme or reason. I would have folders named Docs or Doc or docs or doc and there was no consistency. One day probably in 2004, I said to my self, “Self, you are going to fix this insanity today come hell or high water” Thus began my addiction to all things Workflow.
Since then, many people have asked me how I keep my files organized. Here is what I do.
Explanation of my script
- When in
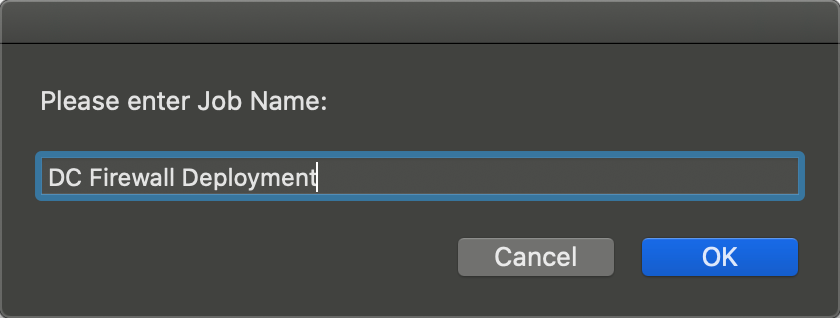
Finderi type ⌘ 8 (Command 8) - The script asks me the
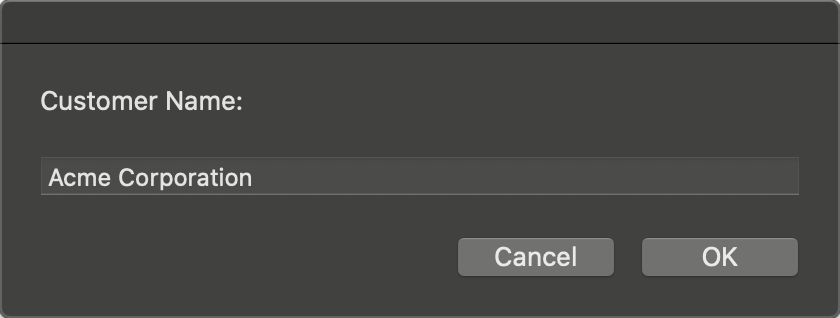
Job Name, here I can type something likeDC Firewall Deploymentand hit enter. - Then it prompts me for the
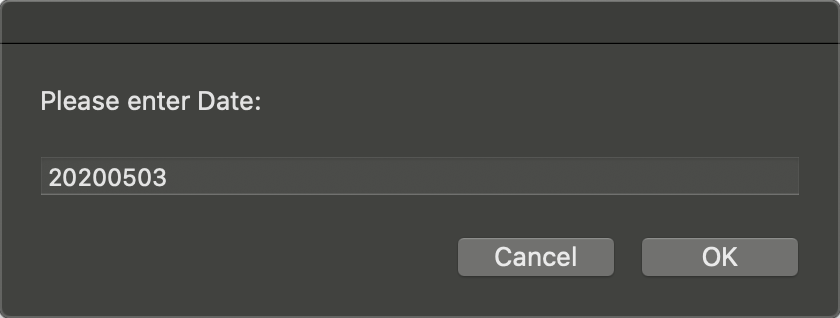
Customer Name - Then I am prompted for today’s date.
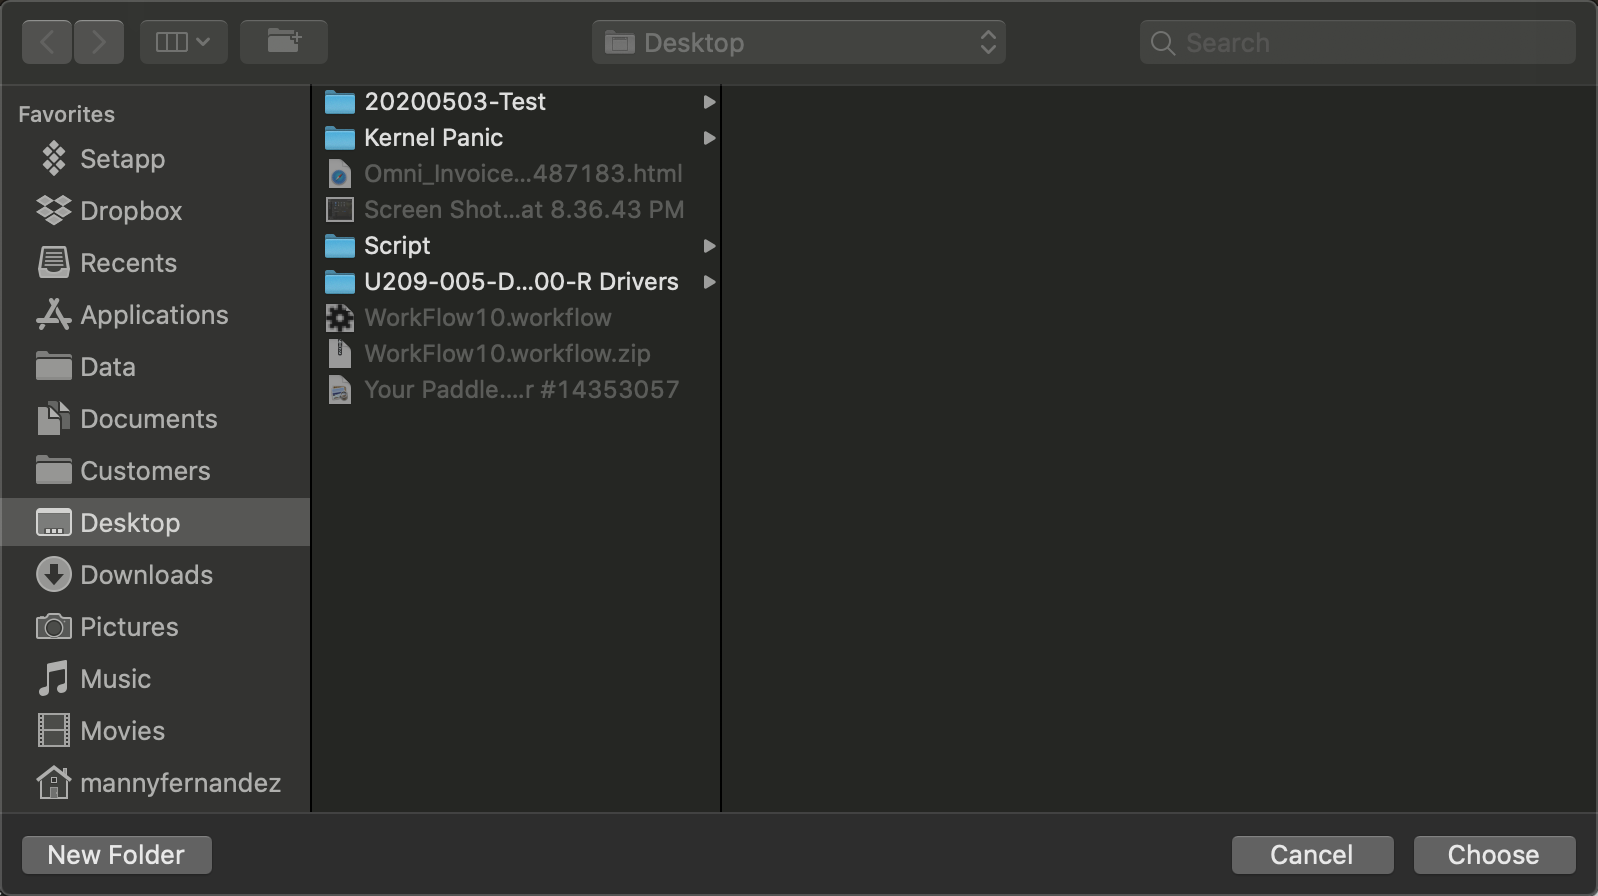
- Next it prompts me for the location I want to save the folder.
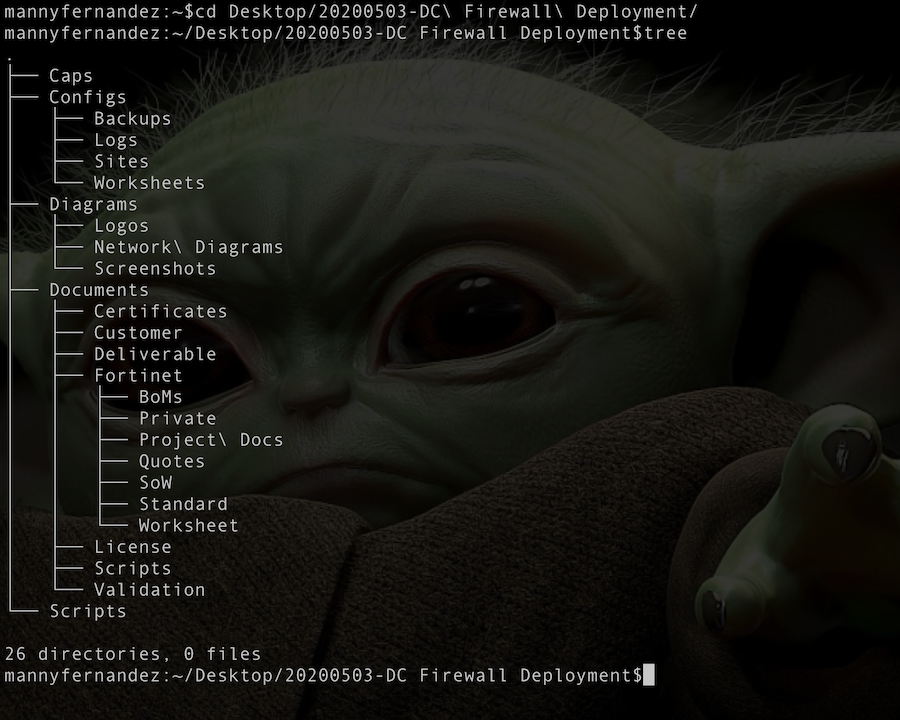
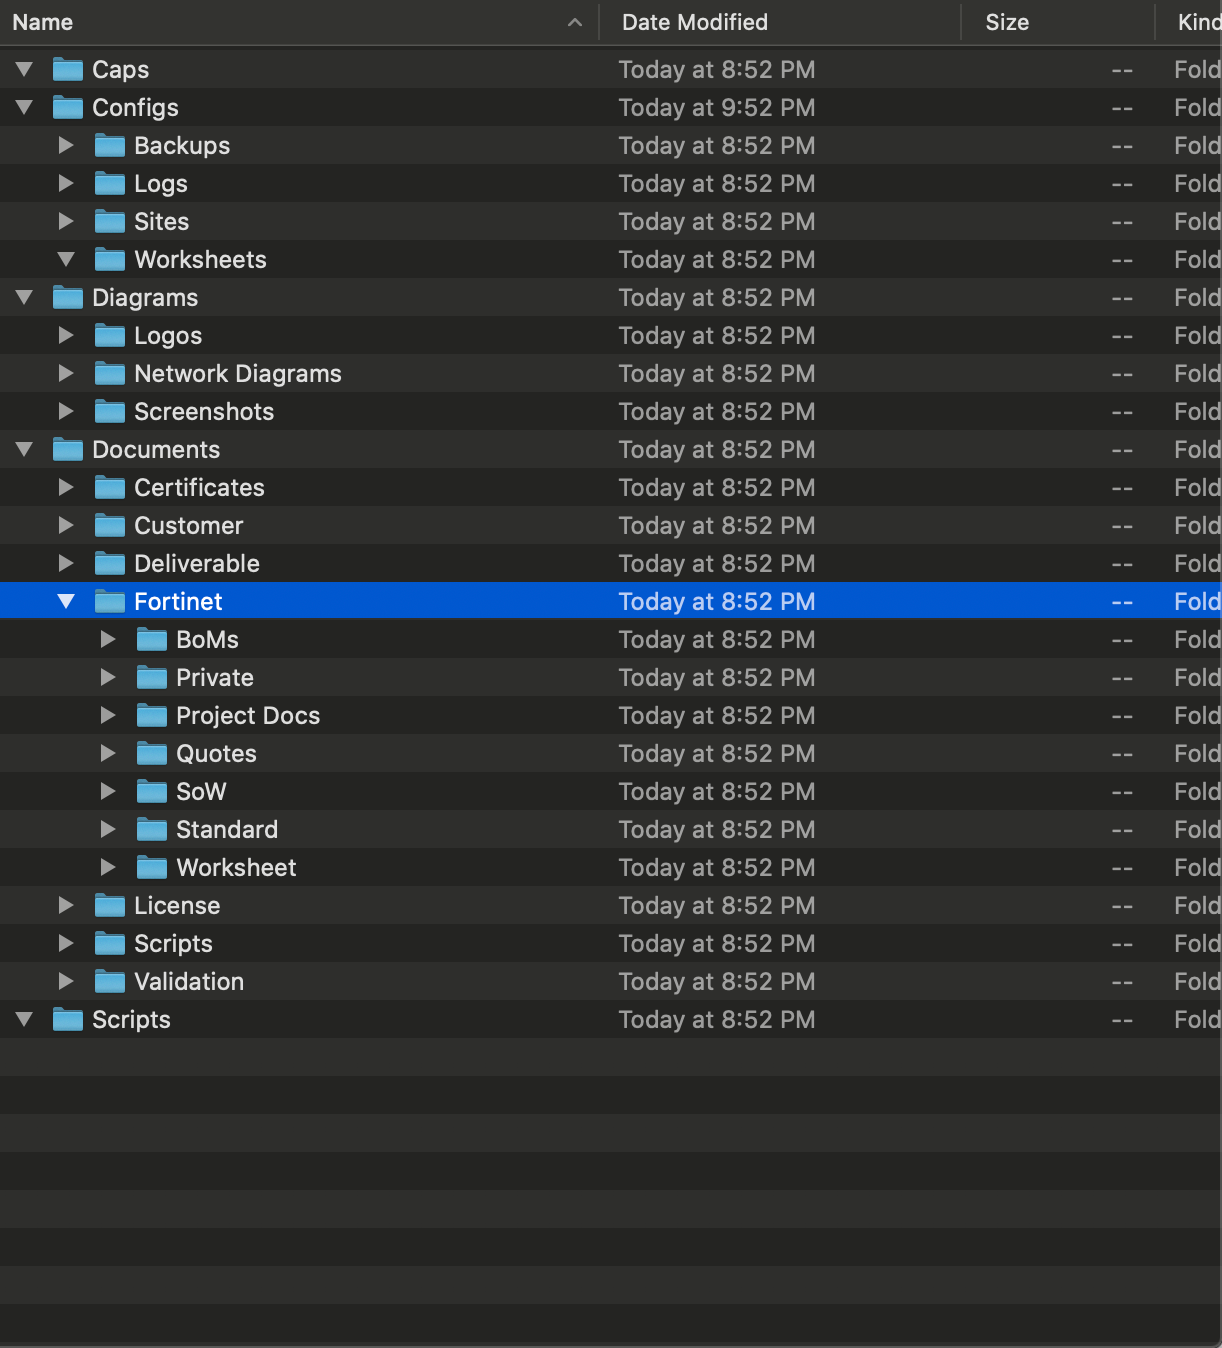
- It then creates my folder structure in the location I gave it
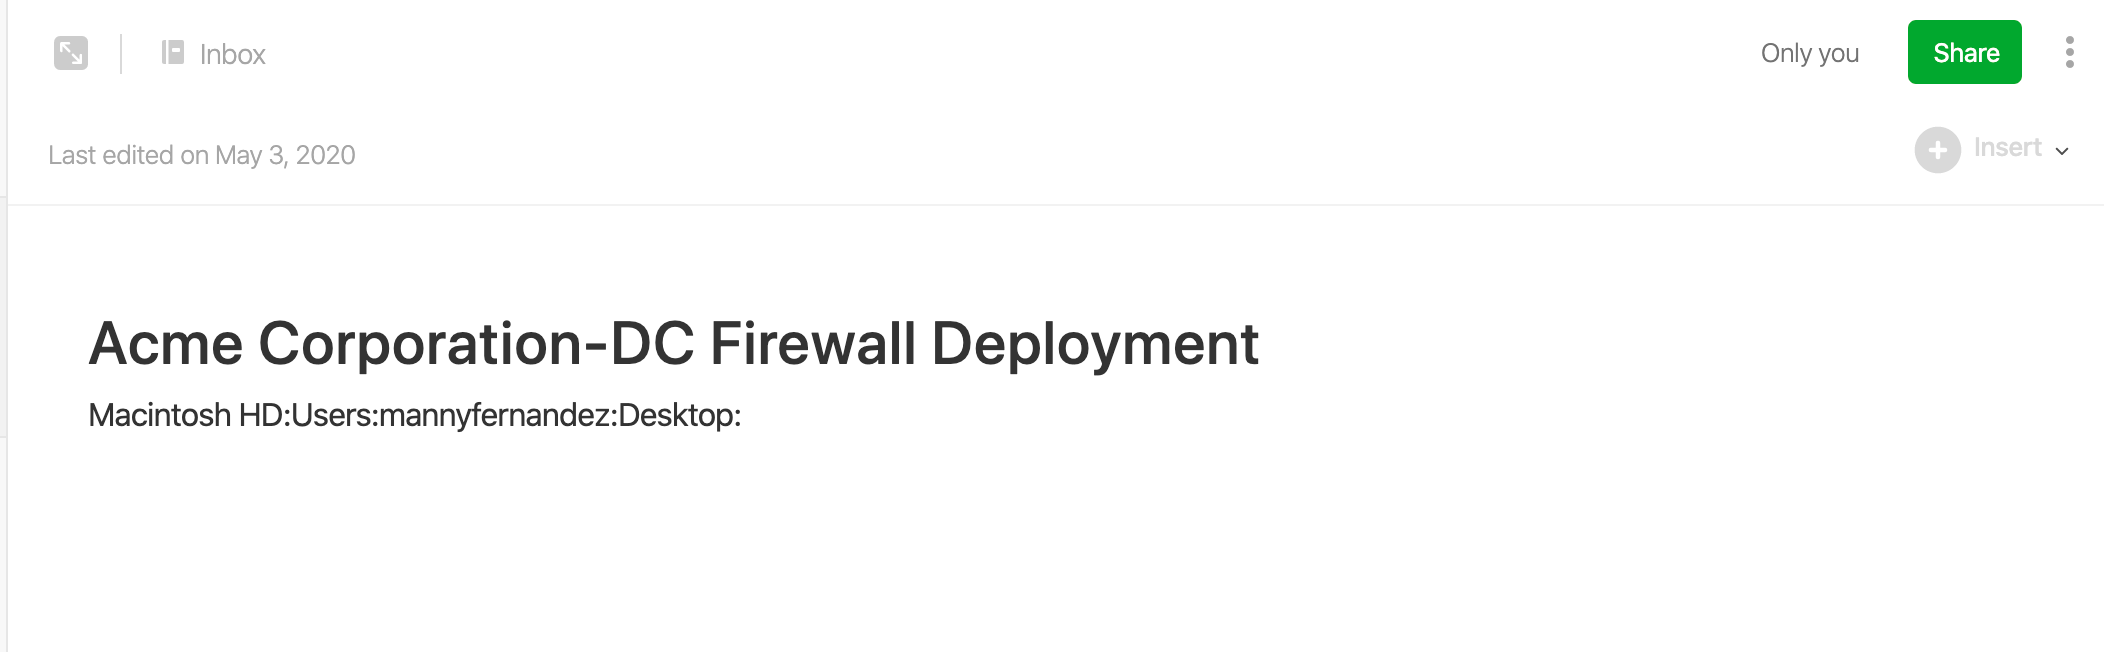
- And lastly, it creates a new Evernote Note containing the
Company Name-Project Nameand then the path to where the file is located.
This scripts was created when I was doing more delivery of services where sometimes I had 12 projects going at the same time. The script included prompt to have it create a OmniFocus project where it would look for a text file and every new line was considered a Task and was added to my task manager as such. However that is NOT the case anymore so I removed it.
The Script
Here is the AppleScript that gets run when I hit the shortcut keys of ⌘ 8
on run {input, parameters}

-- Sets up the JobName, CustomerName and location by asking the user

set JobName to text returned of (display dialog "Please enter Job Name:" default answer "Job_Name")
set Customer to text returned of (display dialog "Customer Name:" default answer "Customer")
set DateNow to text returned of (display dialog "Please enter Date:" default answer "Now")
set loc to choose folder "Choose Parent Folder Location"


-- Sets the filename to be used concatinated with date

set newfoldername to DateNow & "-" & JobName
set customer2 to Customer & "-" & JobName

tell application "Finder"

--Parent Directory Structure

set dir_1 to make new folder at loc with properties {name:newfoldername}
set dir_2 to make new folder at dir_1 with properties {name:"Caps"}
set dir_3 to make new folder at dir_1 with properties {name:"Configs"}
set dir_4 to make new folder at dir_1 with properties {name:"Diagrams"}
set dir_5 to make new folder at dir_1 with properties {name:"Documents"}
set dir_6 to make new folder at dir_1 with properties {name:"Scripts"}

-- Sub-Folder structure

set sub_3_1 to make new folder at dir_3 with properties {name:"Backups"}
set sub_3_2 to make new folder at dir_3 with properties {name:"Logs"}
set sub_3_3 to make new folder at dir_3 with properties {name:"Sites"}
set sub_3_4 to make new folder at dir_3 with properties {name:"Worksheets"}

set sub_4_1 to make new folder at dir_4 with properties {name:"Logos"}
set sub_4_2 to make new folder at dir_4 with properties {name:"Screenshots"}
set sub_4_3 to make new folder at dir_4 with properties {name:"Network Diagrams"}

set sub_5_1 to make new folder at dir_5 with properties {name:"Customer"}
set sub_5_2 to make new folder at dir_5 with properties {name:"Deliverable"}
set sub_5_3 to make new folder at dir_5 with properties {name:"License"}
set sub_5_4 to make new folder at dir_5 with properties {name:"Certificates"}
set sub_5_5 to make new folder at dir_5 with properties {name:"Fortinet"}
set sub_5_6 to make new folder at dir_5 with properties {name:"Validation"}
set sub_5_7 to make new folder at dir_5 with properties {name:"Scripts"}


-- Creates sub-folders under \Modcomp

set sub2_5_1 to make new folder at sub_5_5 with properties {name:"BoMs"}
set sub2_5_2 to make new folder at sub_5_5 with properties {name:"Quotes"}
set sub2_5_3 to make new folder at sub_5_5 with properties {name:"Private"}
set sub2_5_4 to make new folder at sub_5_5 with properties {name:"SoW"}
set sub2_5_5 to make new folder at sub_5_5 with properties {name:"Project Docs"}
set sub2_5_6 to make new folder at sub_5_5 with properties {name:"Standard"}
set sub2_5_7 to make new folder at sub_5_5 with properties {name:"Worksheet"}

-- Set variable to be used by Evernote

set custfldr to the loc as text

end tell

tell application "Finder"
set the clipboard to the loc as text
end tell

tell application id "com.evernote.Evernote"
create note with text custfldr title customer2 notebook "Inbox"
end tell

return input
end run
Creating the Action
Now I will show you how I automate the scripts. First launch Automator on the macOS box.
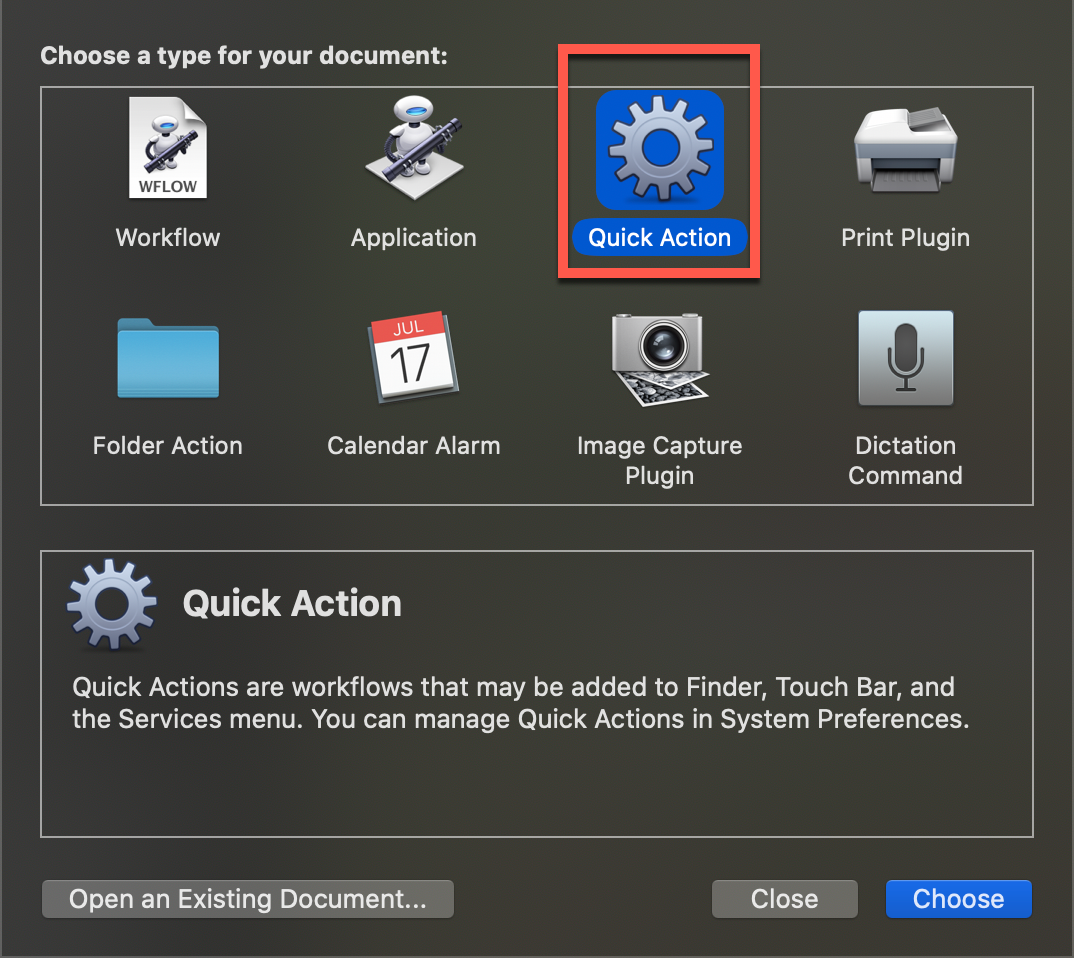
Once you launch Automator choose Quick Action and then Choose
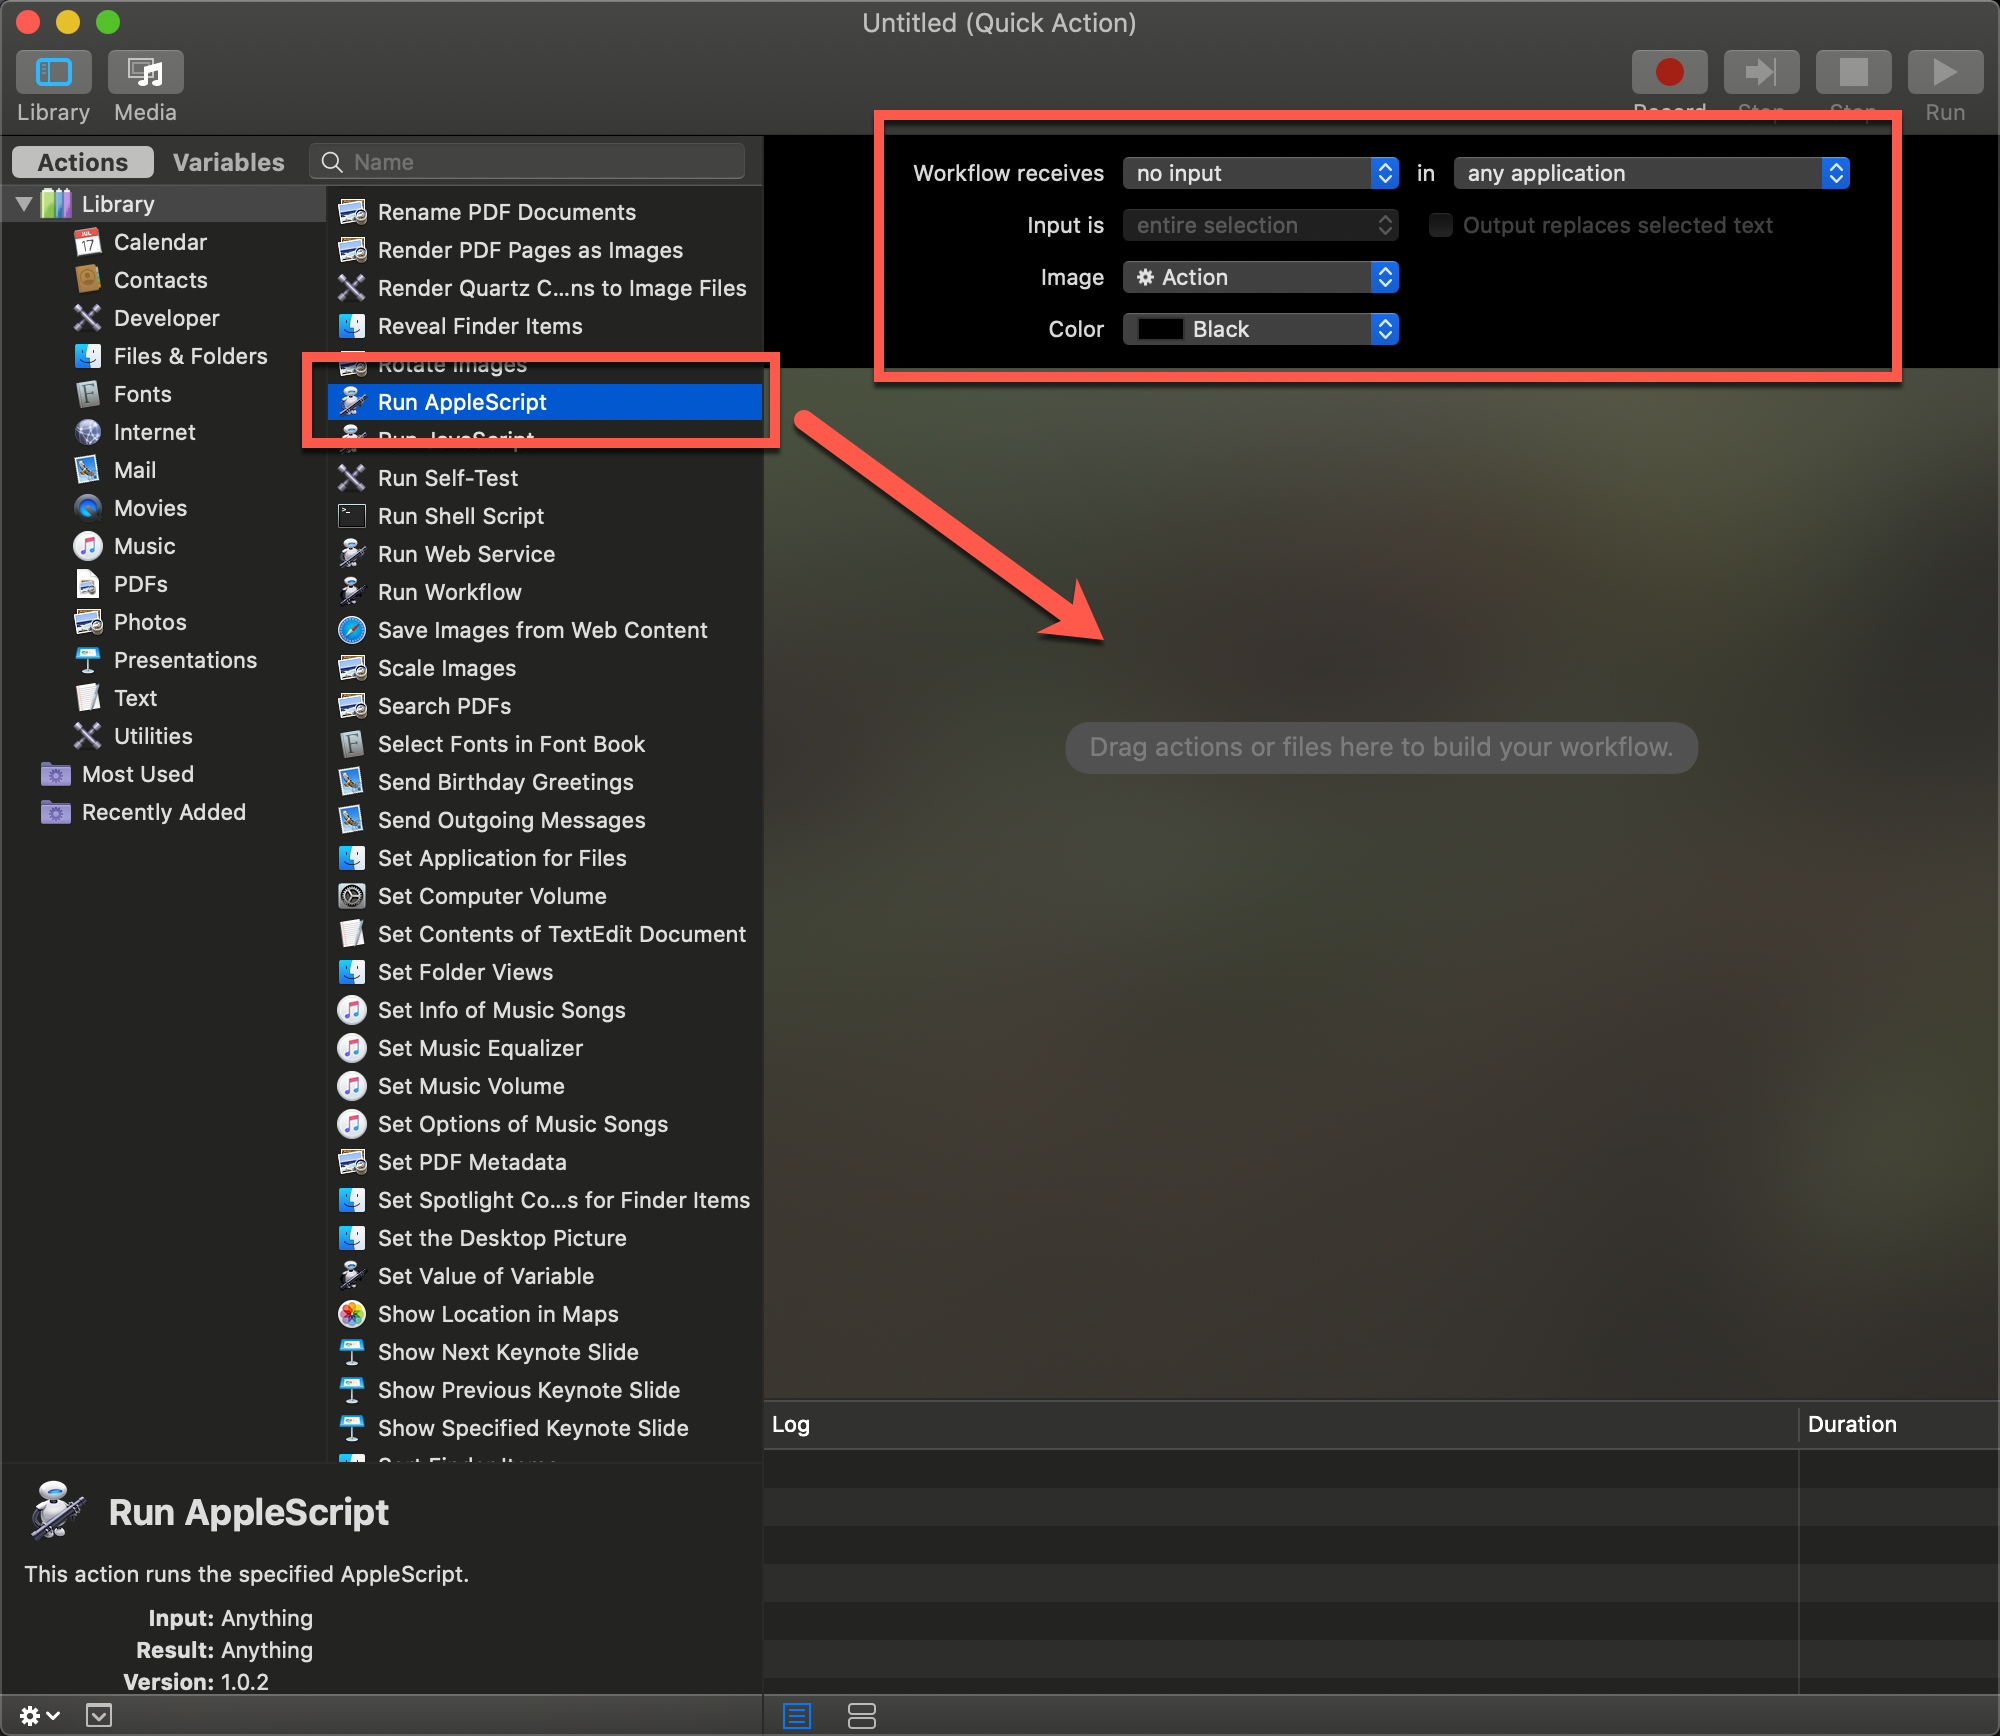
Once you get to the following screen, change the Workflow receives to no input in any application. Then scroll down on the middle column until you find Run AppleScript and drag that over to the right underneath the no input section.
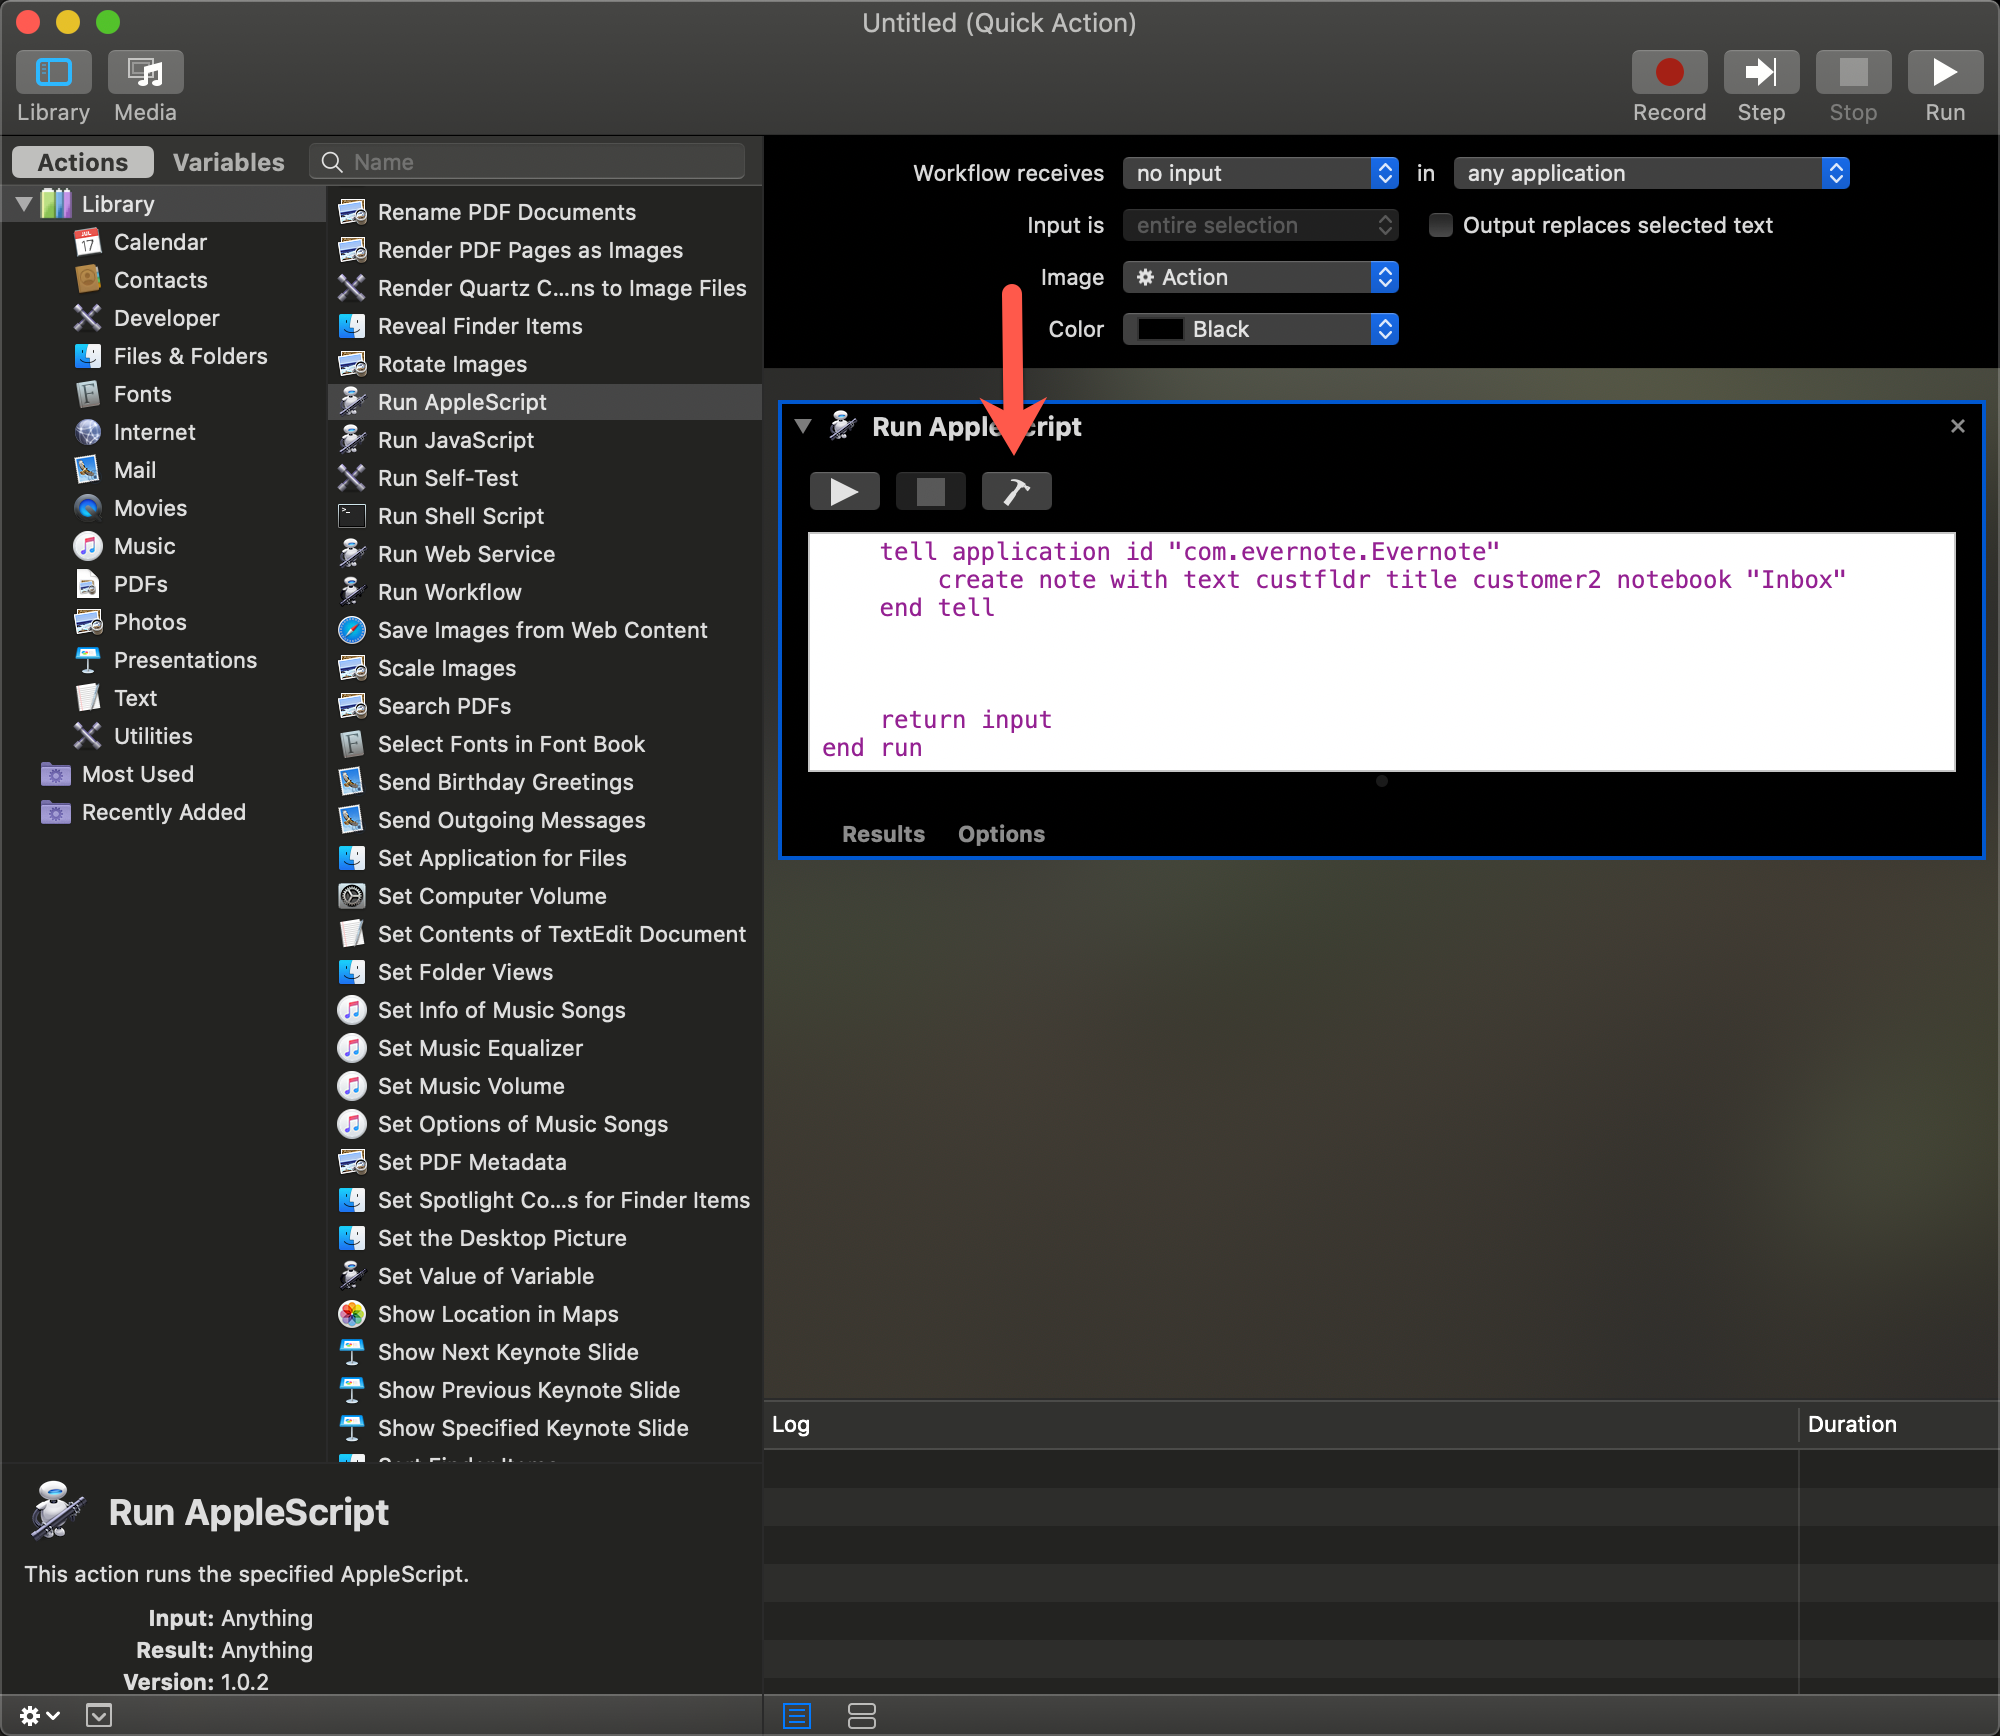
You will need to replace all the text in the Run AppleScript section with my script (above)
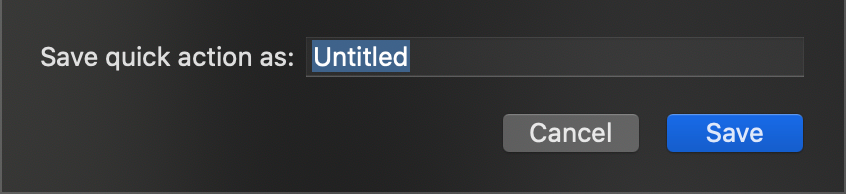
You will see that the text appears in purple. Click the little hammer icon and it will test your script and debug it. Once complete, you will see the color change. Save it with a name. I chose Workflow11
Creating a Shortcut
Now that we have created the Quick Action and added the AppleScript we can now create a keyboard shortcut.
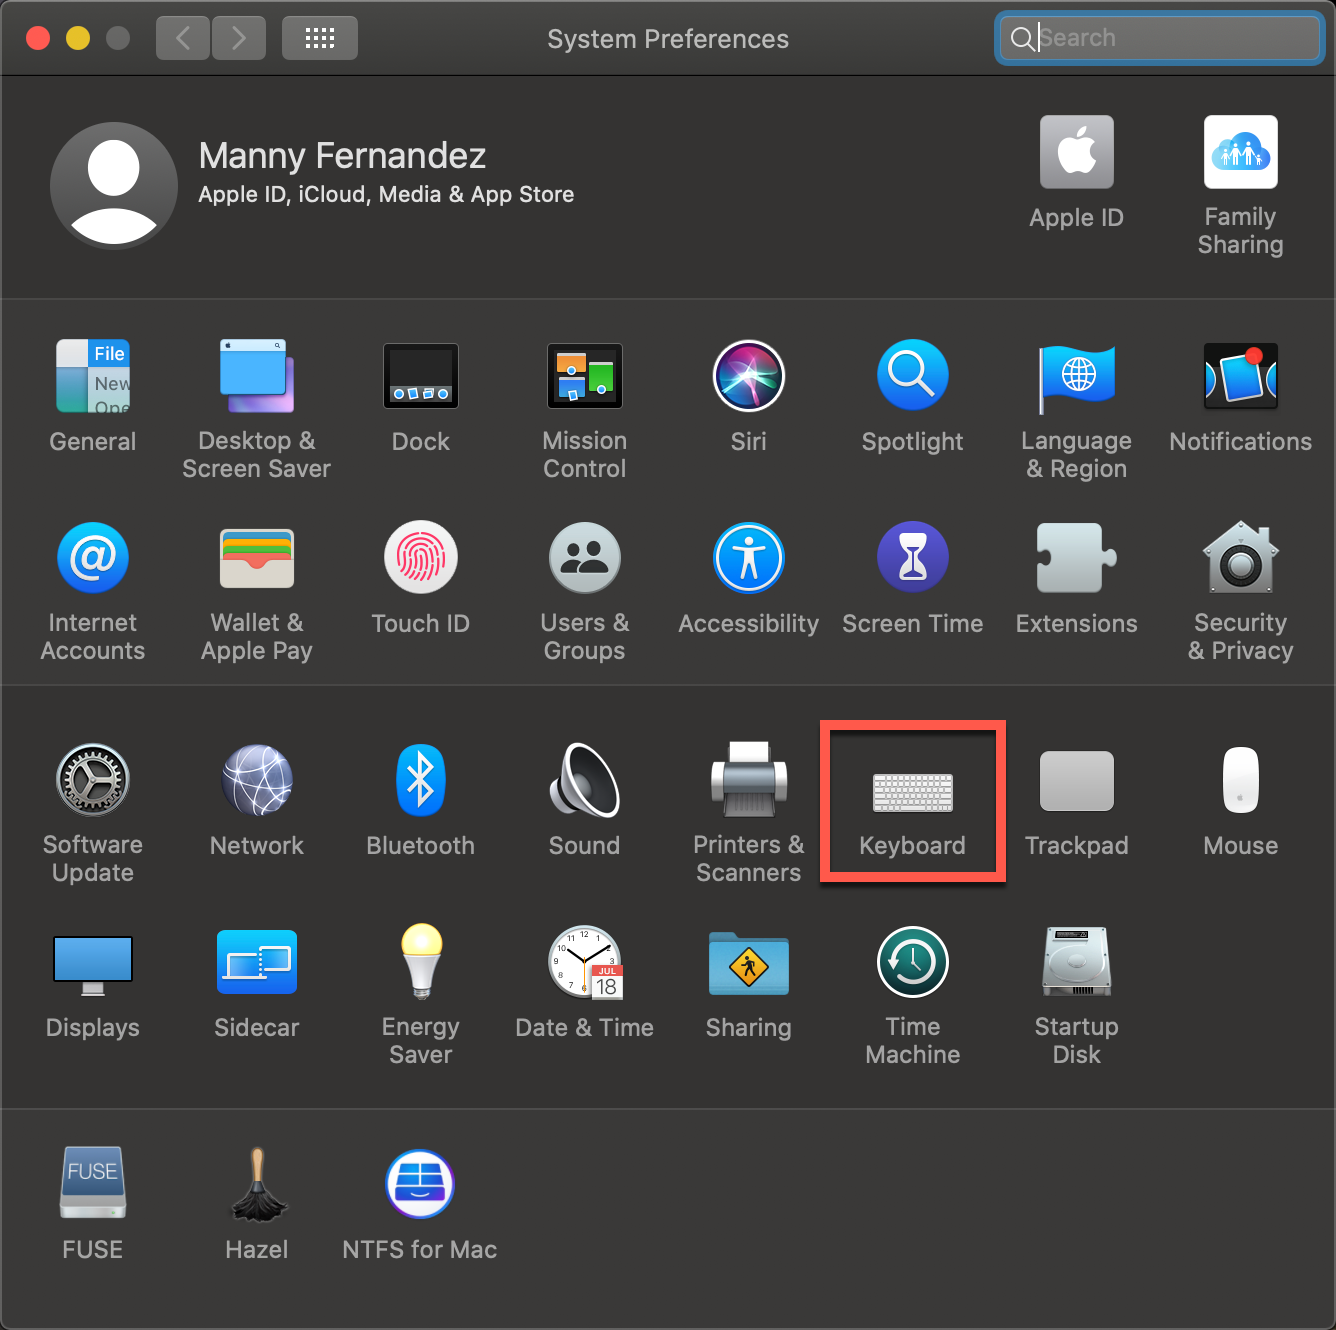
Go to System Preferences then choose Keyboard
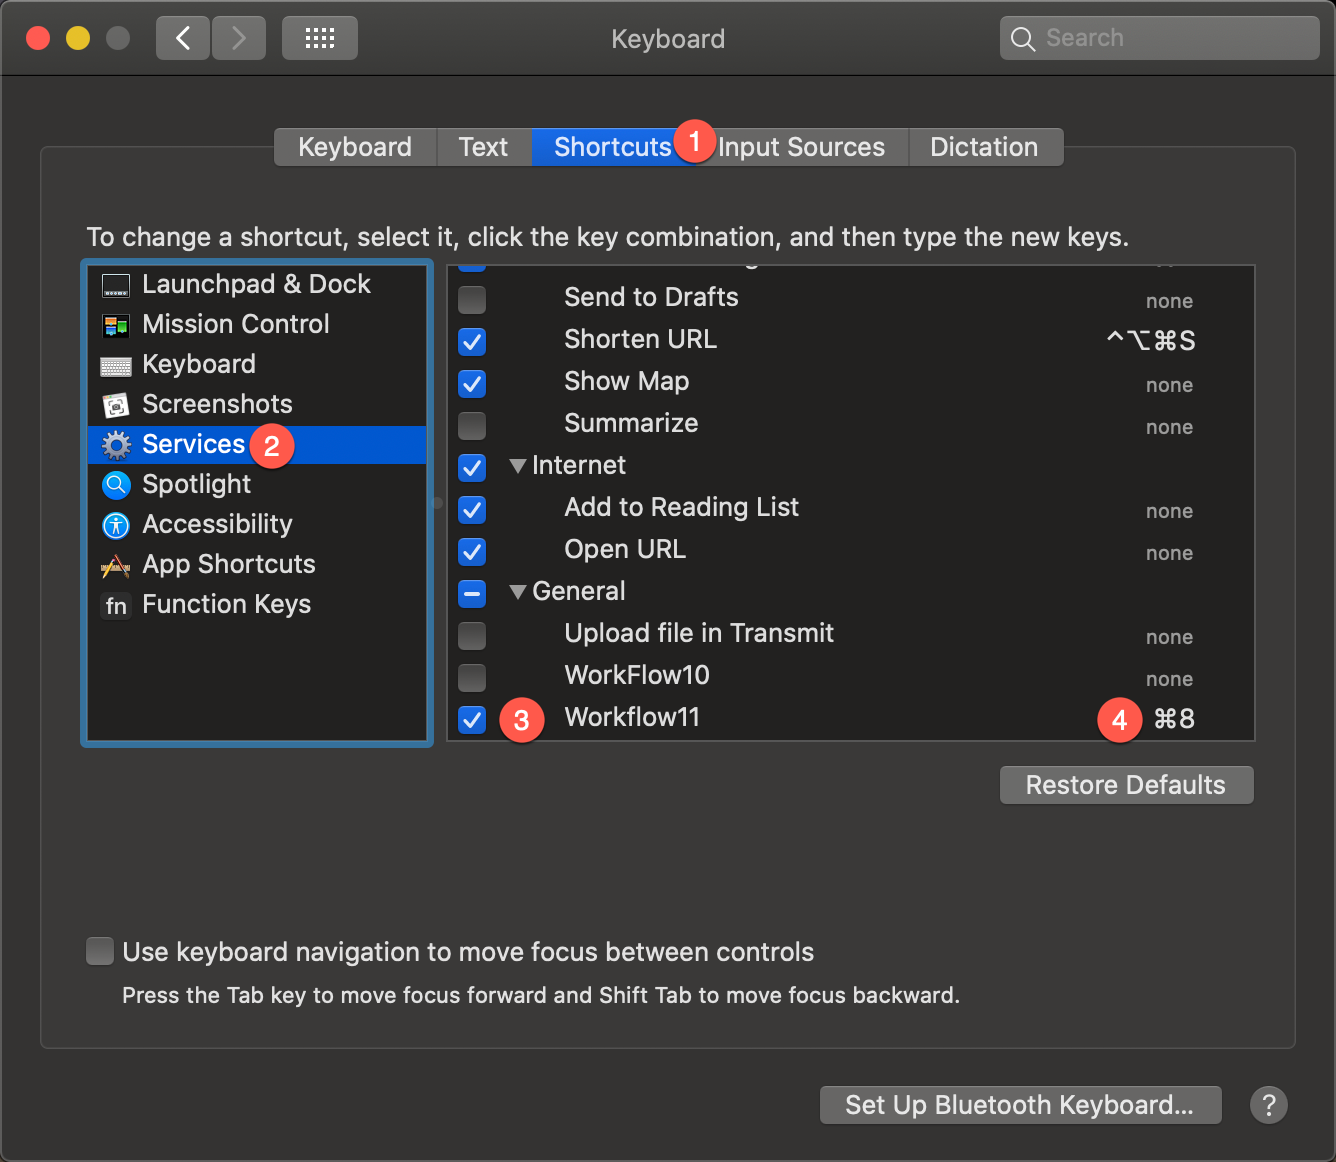
- Choose
Shortcutson the top tabs. - Then choose
Serviceson the left - Scroll down to the name you saved it as
Workflow11in my case. - Assign a keystroke. In my case ⌘ 8
Now you can open Finder and type your keystroke you assigned.
Hope this helps
Recent posts
-

-

DNS is one of those technologies that quietly underpins... Full Story
-

BGP issues on FortiGate firewalls usually trace back to... Full Story
-

Every time your laptop talks to your router, a... Full Story
-

If you've spent any time configuring NAT on a... Full Story
-

If you have spent any time configuring firewall policies... Full Story
-

High availability on FortiGate is one of those features... Full Story
-

If you've configured SD-WAN on a FortiGate, you've almost... Full Story
-

FortiLink is the management protocol that turns a FortiSwitch... Full Story
-

FortiSwitches are pretty rock solid from Mean Time Between... Full Story
-

This is a quicky tip. Have you ever gone... Full Story
-

DNS is one of those quiet pieces of internet... Full Story
-

This article is an updated version of the previous... Full Story
-

You will add ns2 as a secondary (slave) BIND9... Full Story
-

In the process of deploying my lab, I needed... Full Story
-

RFC 8805, used to be known as Self-Correcting IP... Full Story
-

Years back, I wrote an article about certificate pinning. ... Full Story
-

FortiGates have the ability to send alerts to Microsoft... Full Story
-

In this post, I am going to walk through... Full Story
-

Troubleshooting VoIP on a FortiGate can feel like trying... Full Story
-

Prior to FortiOS 7.0, there were three commands to... Full Story
-

In this post, I am going to go over... Full Story
-

What we are going to do: We are going... Full Story
-

Choosing between FGCP (FortiGate Clustering Protocol) and FGSP (FortiGate... Full Story
-

Creating a VLAN on macOS (The "Pro" Move) A... Full Story
-

This blog post explores the logic behind how macOS... Full Story
-

Pretty Fly for a Wi-Fi Tell My Wi-Fi Love... Full Story
-

Part of my daily gig is creating BoMs (Bill-of-Materials)... Full Story
-

ICMP introduces several security risks, but careful filtering, rate... Full Story
-

The command diag debug application dhcps -1 enables full... Full Story
-

In the world of FortiOS, execute tac report is... Full Story
-

LLDP; What is it The Link Layer Discovery Protocol... Full Story
-

What it actually does When you run diagnose fdsm... Full Story
-

Monkey Bites are bite-sized, high-impact security insights designed for... Full Story
-

I have run macOS in macOS with Parallels but... Full Story
-

Don't be confused with my other FortiNAC posts where... Full Story
-

This is the third session in a multi-part article... Full Story
-

Today I was configuring key-based authentication on a FortiGate... Full Story
-

Netcat, often called the "Swiss Army knife" of networking,... Full Story
-

At its core, IEEE 802.1X is a network layer... Full Story
-

In case you did not see the previous FortiNAC... Full Story
-

This is our 5th session where we are going... Full Story
-

Now that we have Wireshark installed and somewhat configured,... Full Story
-

The Philosophy of Packet Analysis Troubleshooting isn't about looking... Full Story
-

Overview FortiOS 8.0 introduces custom tags as a first-class... Full Story
-

These are two distinct mechanisms on FortiOS, and conflating... Full Story
-

Replacement messages are the pages and text blocks that... Full Story