If you've spent any time configuring user authentication on... Full Story
By Manny Fernandez
May 18, 2019

Best Practice for Creating Fortinet Support Accounts
I cannot tell you how many times I get asked by customers or partners, “The person that registered the products is no longer here and we do not have access to the Fortinet support portal.” Here is how I have done it and did it when I set up a Managed Security Services organization.
- Create an alias in your email system. This alias should be comprised of a group of people and should be reviewed as part of your “exit” interview process.
- Once the Alias is created, you can add individuals and or contractors/partners to your account.
- If an employee leaves the organization, the contractor finishes their project, and or you find another partner, you can easily remove them.
Registering Your Account
First things first. Create an alias or distribution group in your email system. I am using a Linux based email server for my lab so I will not go into the particulars since I do not know if you are running something like mine O365, G-Suite, etc.
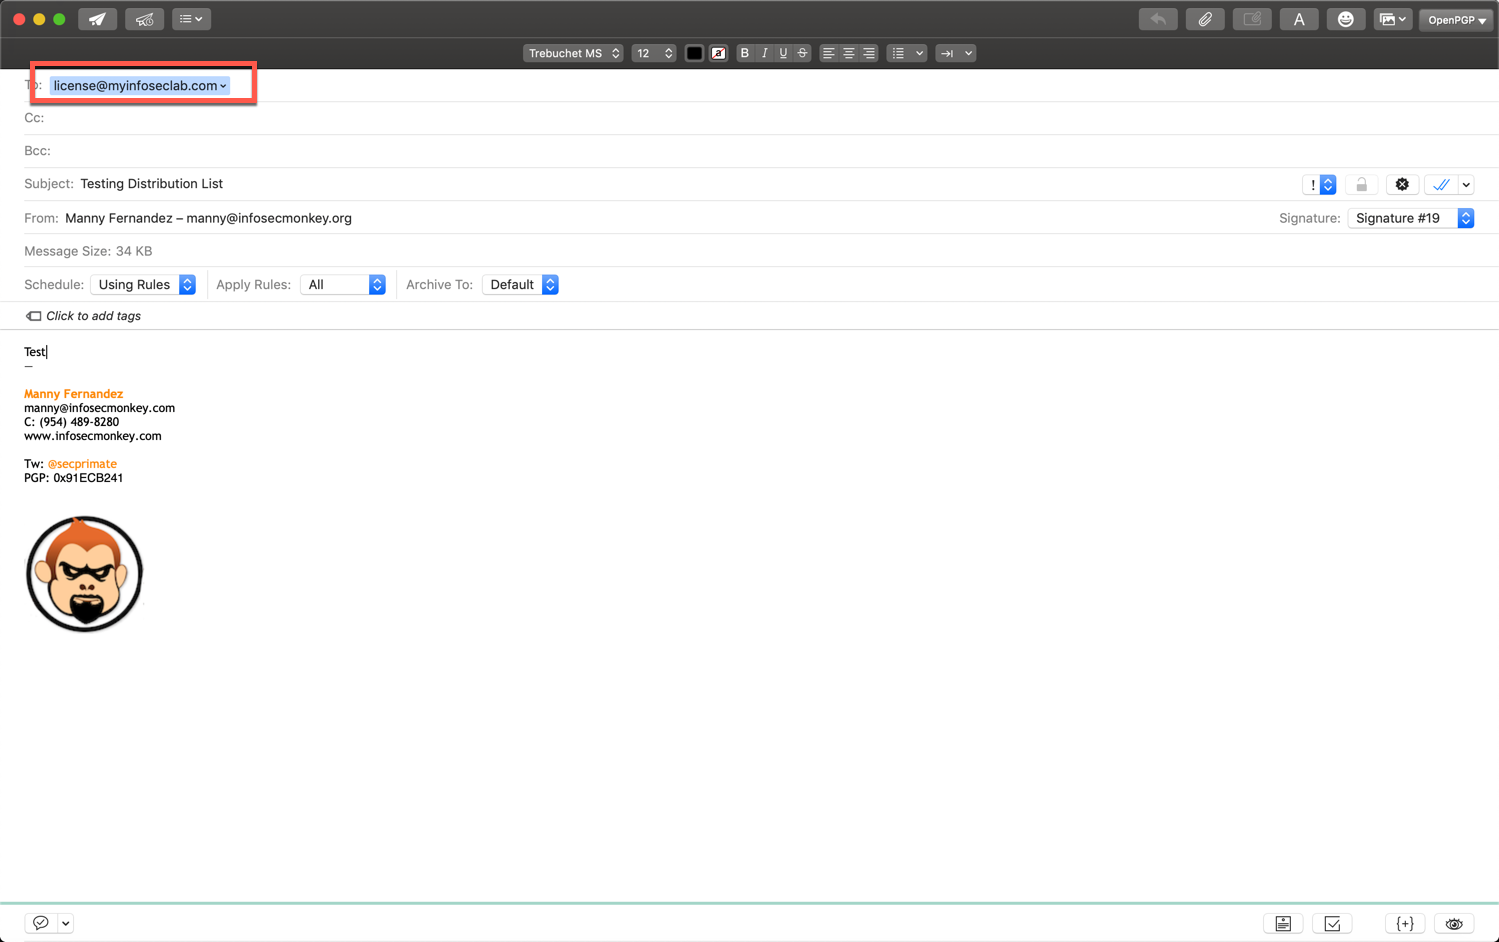
For my example, I created an alias on my FortiMail box that will point anything going to license@myinfoseclab.com tot my personal mailbox. Obviously, you may want to do that or best practice is to have it as a distribution list.
A good idea is to test emailing from the outside and ensure you are receiving it.
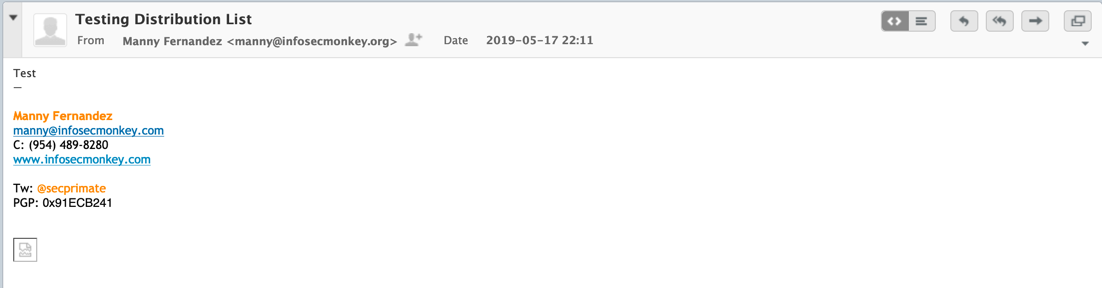
Here you can see that I did receive the test email. Once you validate the email list is working, you can now go to the next step.
Account Creation
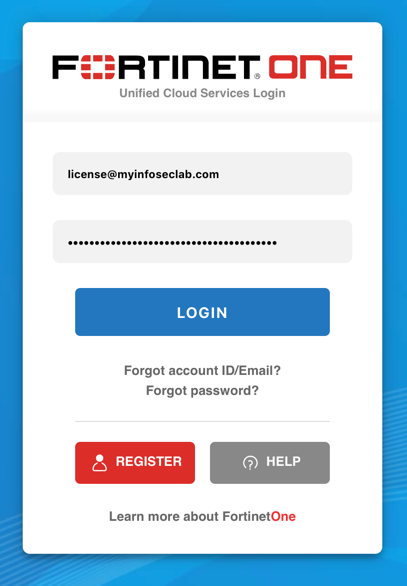
To register your account, point your browser to https://support.fortinet.com and click on ‘Register’ on the top right corner.

You will now enter the email address of the alias or distribution group.
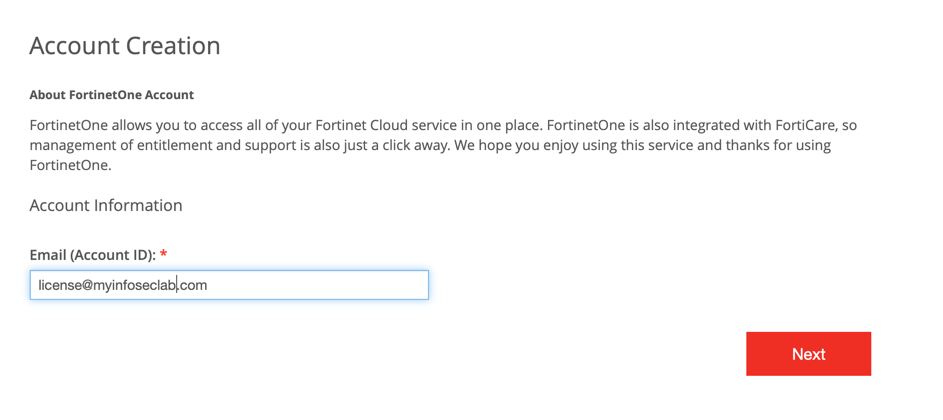
Once you do that, hit ‘Next’
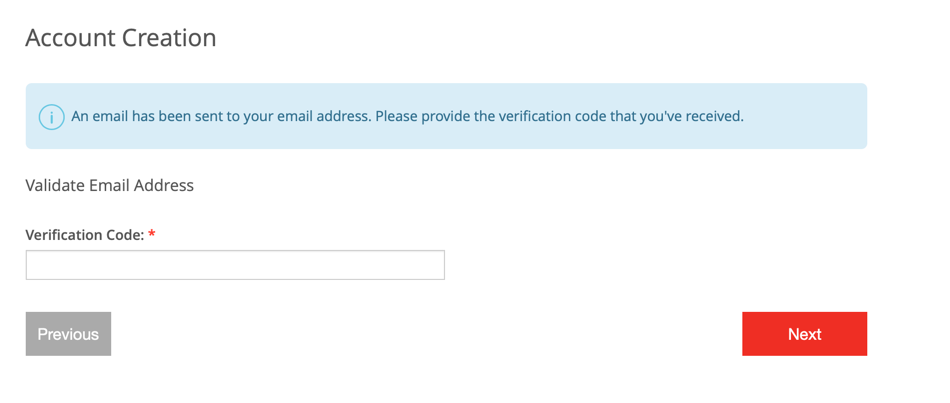
You will then be prompted for a verification code that will be sent to the email you entered above (the alias or distribution list).
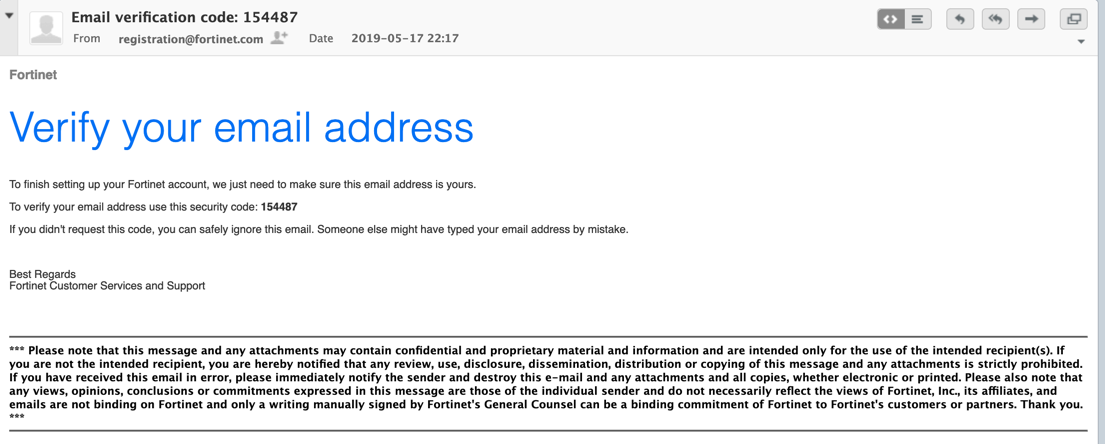
Pop on over to your email client and copy the verification code.
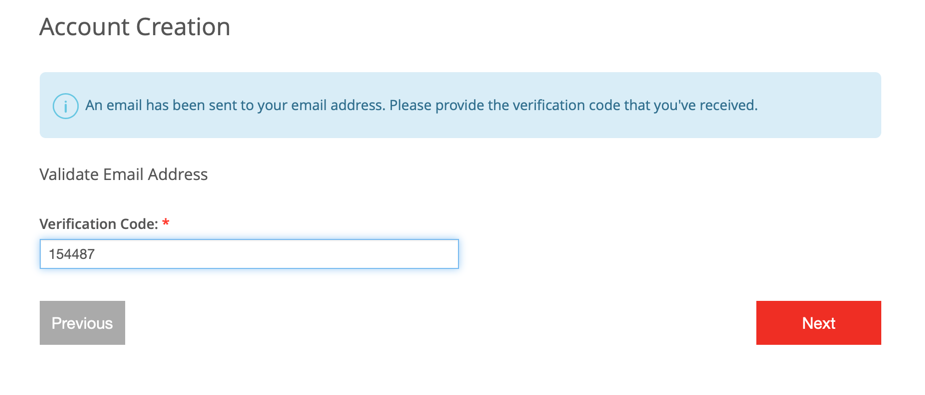
Paste the verification code in the text box and hit ‘Next’
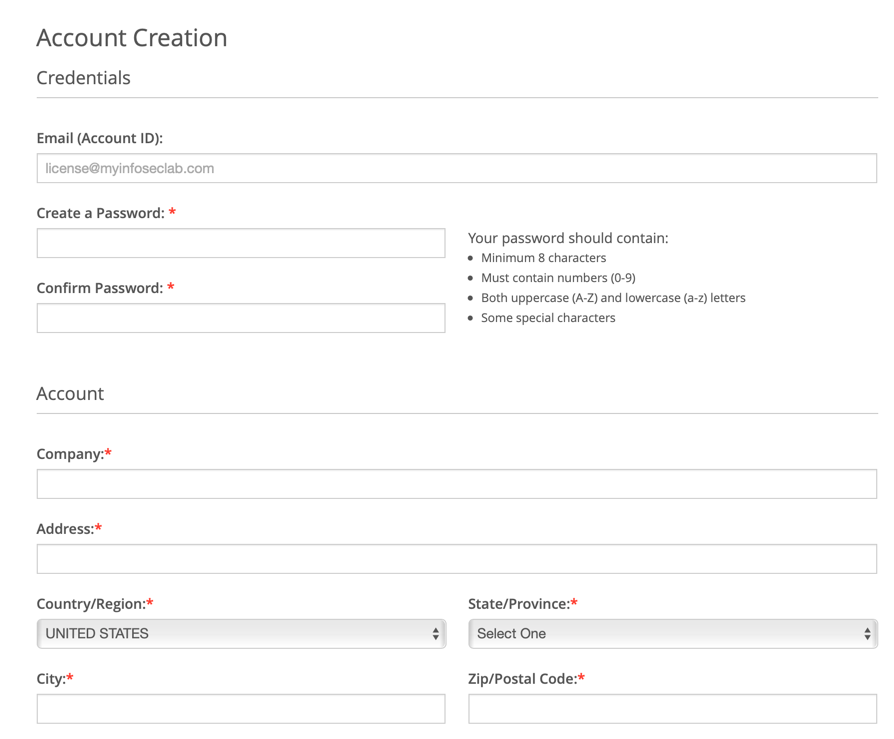
You will need to set a password and fill in some particulars.
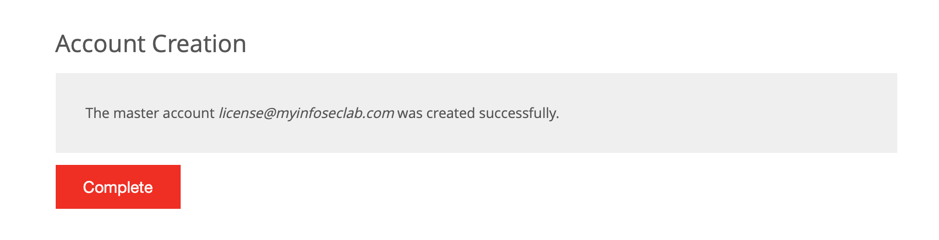
Scroll down to the bottom and hit ‘Complete’
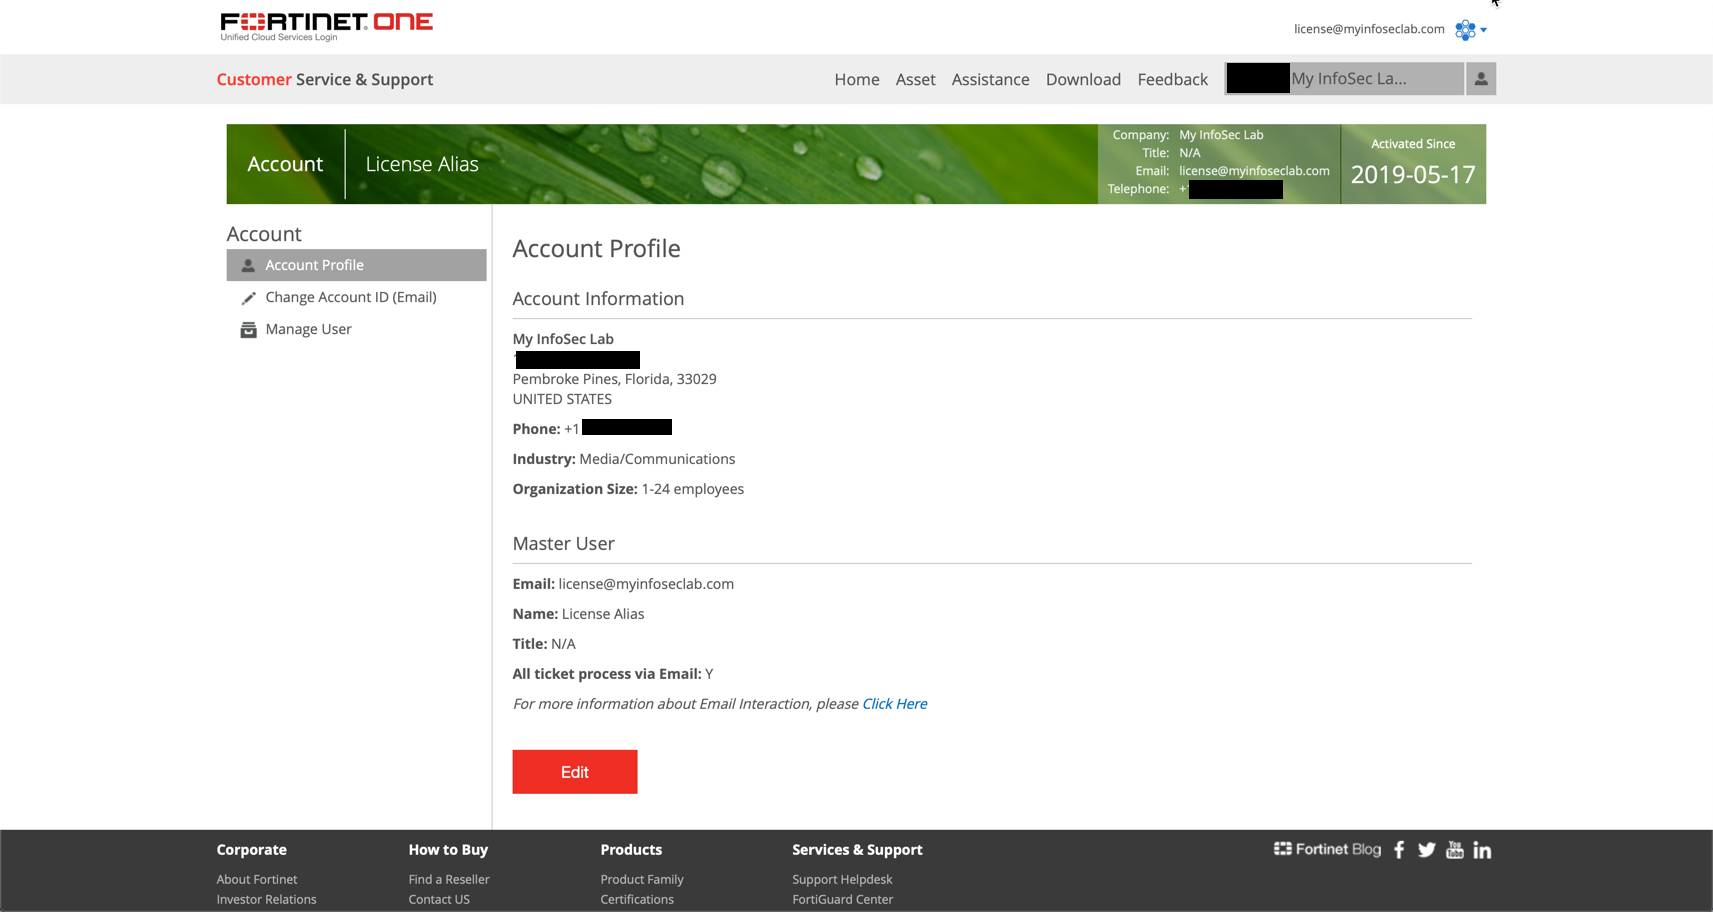
As you can see above, this is the ‘Master’ account.
Adding Authorized Users to your Support Account
Log in with the newly created credentials.
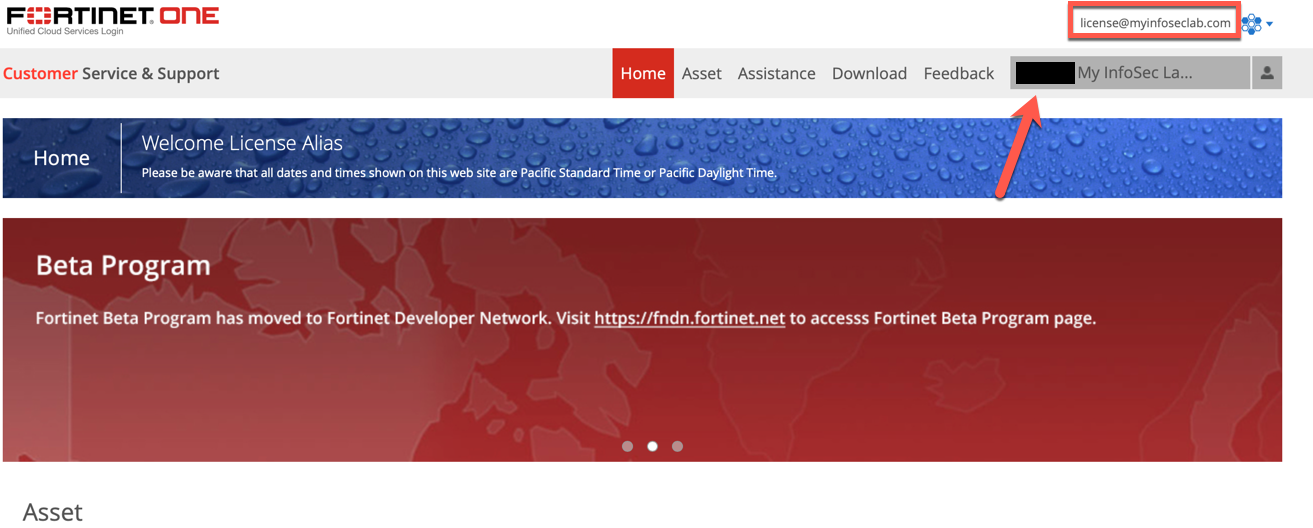
You will now be presented with your account info and your email associated with it on the top right.
Click on the ‘person icon’ on the top right corner ![]() .
.
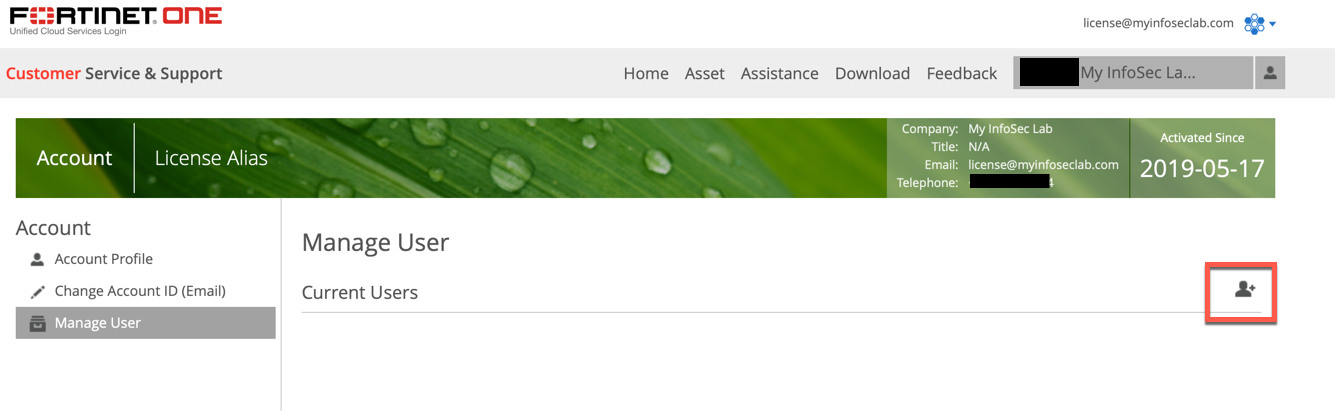
Now you can click the ‘Manage Users’ on the left column, and the little person icon with the ‘+’ sign next to it.
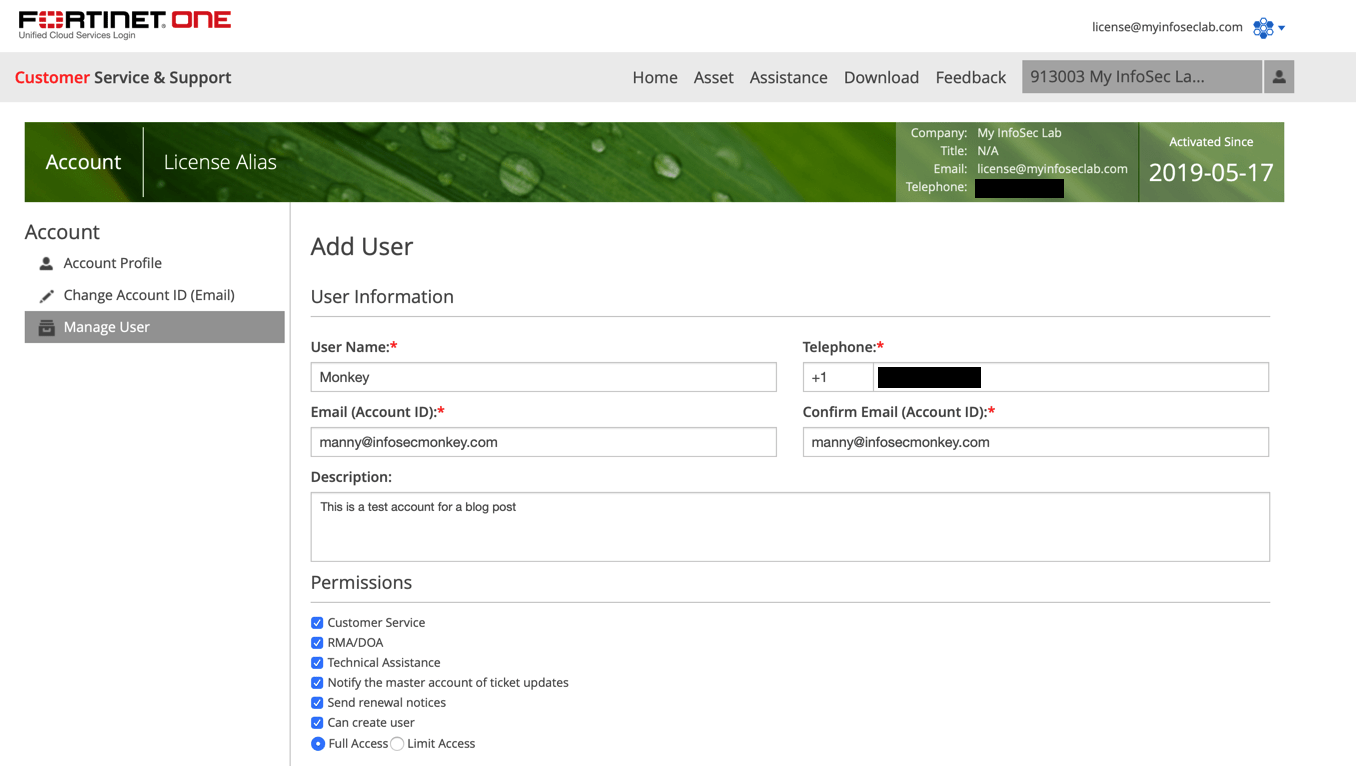
You can now add the pertinent information and define the access you want them to have.
A good idea is to choose the ‘Notify the master account of ticket updates’. This is good to identify rogue tickets being opened without your knowledge. “Season to taste” regarding the access you define. Then scroll down and hit ‘Save’
The email you entered for the new user will receive a confirmation email
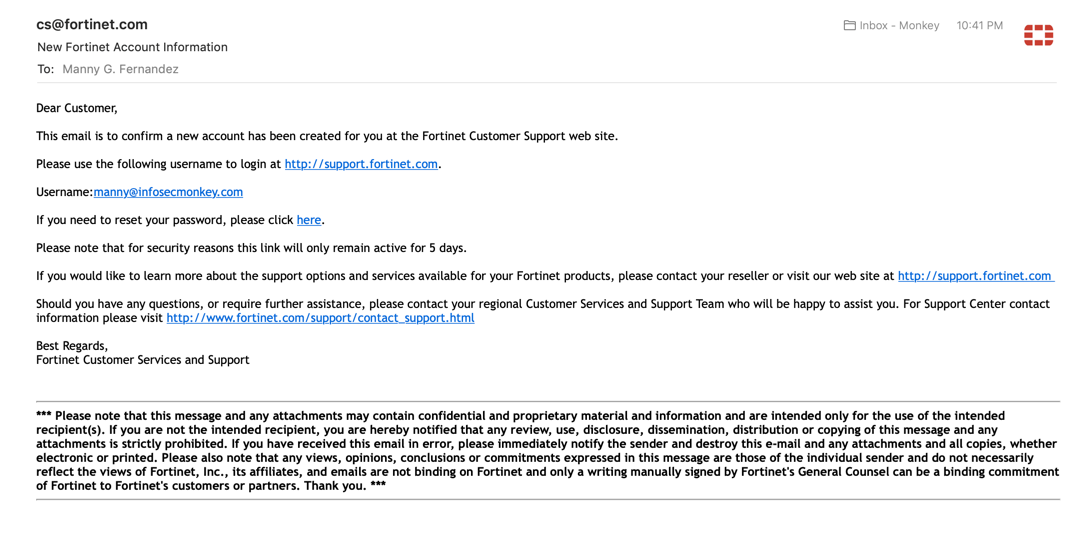
They will click on the link and set a password. This link is only good for 5 Days.
You can continue to add users as needed and can remove them as well as changing their access.
Registering your products
Now you are ready to start registering your products. To do this….

Log in with an account. You can use the master account. Click on ‘Asset’ then ‘Register/Activate’. Follow the prompts.
Hope this helps.
Recent posts
-

-

DNS is one of those technologies that quietly underpins... Full Story
-

BGP issues on FortiGate firewalls usually trace back to... Full Story
-

Every time your laptop talks to your router, a... Full Story
-

If you've spent any time configuring NAT on a... Full Story
-

If you have spent any time configuring firewall policies... Full Story
-

High availability on FortiGate is one of those features... Full Story
-

If you've configured SD-WAN on a FortiGate, you've almost... Full Story
-

FortiLink is the management protocol that turns a FortiSwitch... Full Story
-

FortiSwitches are pretty rock solid from Mean Time Between... Full Story
-

This is a quicky tip. Have you ever gone... Full Story
-

DNS is one of those quiet pieces of internet... Full Story
-

This article is an updated version of the previous... Full Story
-

You will add ns2 as a secondary (slave) BIND9... Full Story
-

In the process of deploying my lab, I needed... Full Story
-

RFC 8805, used to be known as Self-Correcting IP... Full Story
-

Years back, I wrote an article about certificate pinning. ... Full Story
-

FortiGates have the ability to send alerts to Microsoft... Full Story
-

In this post, I am going to walk through... Full Story
-

Troubleshooting VoIP on a FortiGate can feel like trying... Full Story
-

Prior to FortiOS 7.0, there were three commands to... Full Story
-

In this post, I am going to go over... Full Story
-

What we are going to do: We are going... Full Story
-

Choosing between FGCP (FortiGate Clustering Protocol) and FGSP (FortiGate... Full Story
-

Creating a VLAN on macOS (The "Pro" Move) A... Full Story
-

This blog post explores the logic behind how macOS... Full Story
-

Pretty Fly for a Wi-Fi Tell My Wi-Fi Love... Full Story
-

Part of my daily gig is creating BoMs (Bill-of-Materials)... Full Story
-

ICMP introduces several security risks, but careful filtering, rate... Full Story
-

The command diag debug application dhcps -1 enables full... Full Story
-

In the world of FortiOS, execute tac report is... Full Story
-

LLDP; What is it The Link Layer Discovery Protocol... Full Story
-

What it actually does When you run diagnose fdsm... Full Story
-

Monkey Bites are bite-sized, high-impact security insights designed for... Full Story
-

I have run macOS in macOS with Parallels but... Full Story
-

Don't be confused with my other FortiNAC posts where... Full Story
-

This is the third session in a multi-part article... Full Story
-

Today I was configuring key-based authentication on a FortiGate... Full Story
-

Netcat, often called the "Swiss Army knife" of networking,... Full Story
-

At its core, IEEE 802.1X is a network layer... Full Story
-

In case you did not see the previous FortiNAC... Full Story
-

This is our 5th session where we are going... Full Story
-

Now that we have Wireshark installed and somewhat configured,... Full Story
-

The Philosophy of Packet Analysis Troubleshooting isn't about looking... Full Story
-

Do you use Sequence Groups In your Firewall Policies? ... Full Story
-

The other day, I opened my Wireshark for macOS... Full Story
-

1. Executive Summary Objective This guide walks through the... Full Story