At its core, IEEE 802.1X is a network layer... Full Story
By Manny Fernandez
January 10, 2020

Configuring Microsoft CA Services
Microsoft includes a Certificate Authority Server or CA server at no cost to you (you will need a server license of course). There are zero cost solutions out there like openssl however they lack the Microsoft Active Directory integration. When you have FortiAuthenticator, it CAN act as a CA server and it does a fantastic job, however once again, the AD integrated CA is more appealing since it has deployment capabilities out of the box where the FAC COULD be a bit more cumbersome for novice AD sysadmins. In this article, I am going to cover how to deploy Microsoft CA Services. This is a prequel (although I wrote it almost a year ago) to my CA for SSL Decryption post. Let’s get started.
Adding a Role
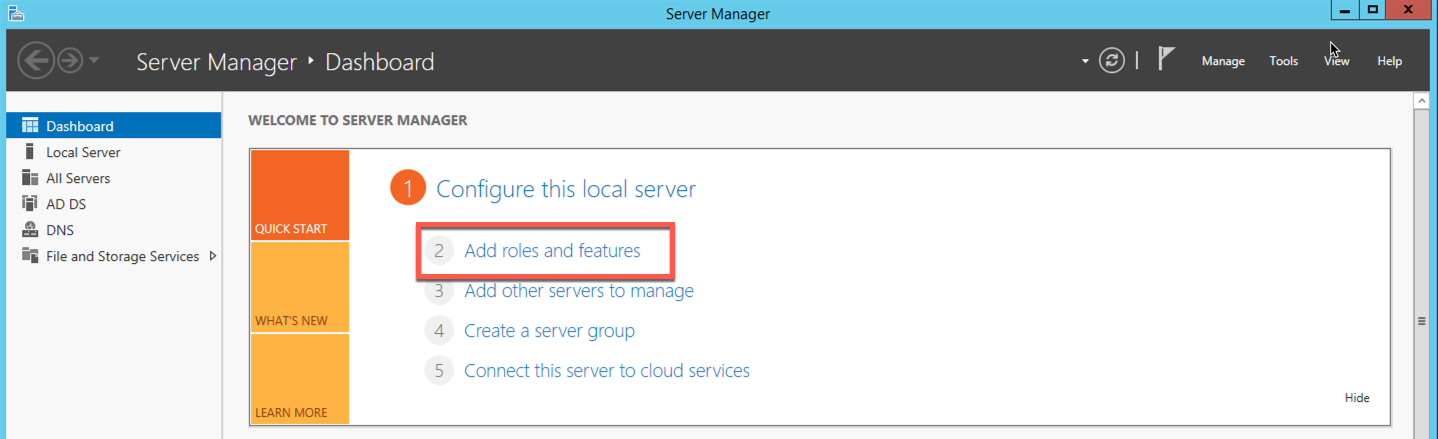
Windows Servers has a Server Manager utility that makes it easy to add services to your server installation. For instance you can add a DHCP Server role or in our case, the CA Server role. By choosing the Server Manager utility (normally pinned to the task bar), you will be presented the following. Choose Add roles and features
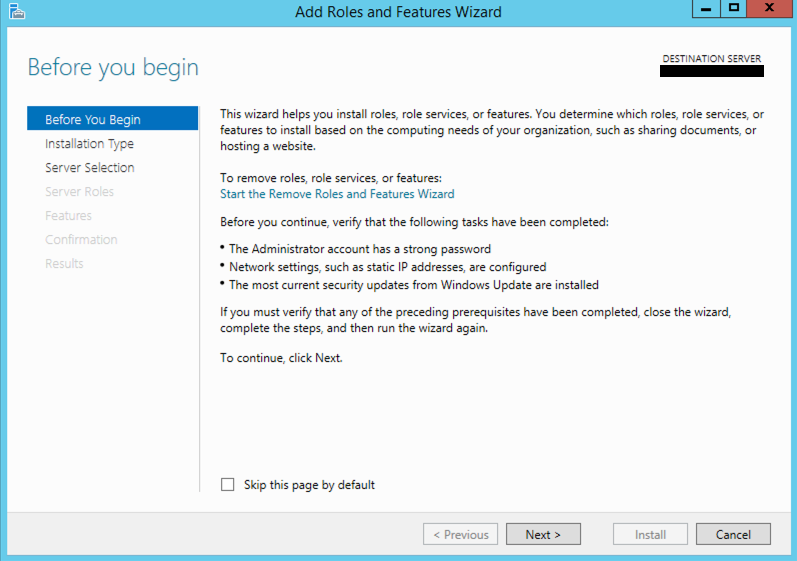
Normally, you will see this page although you can opt to Skip this page by default
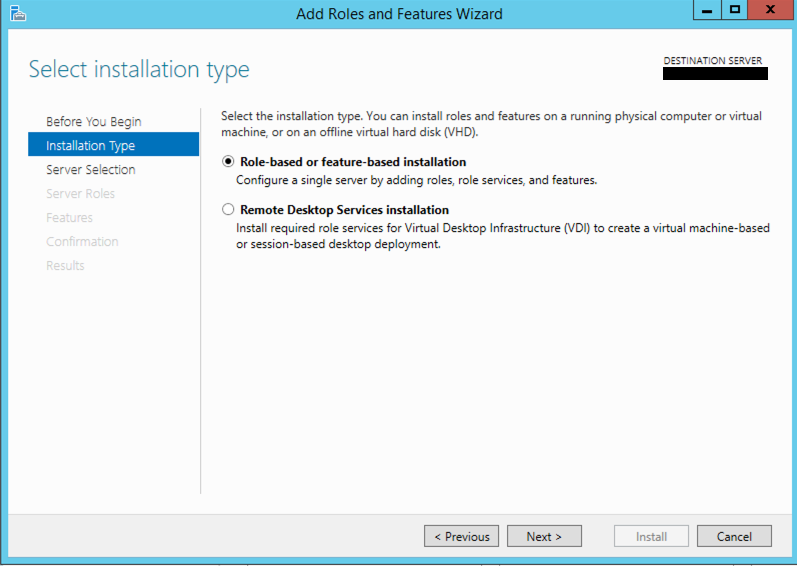
Next we will choose Role-based or feature-based installation
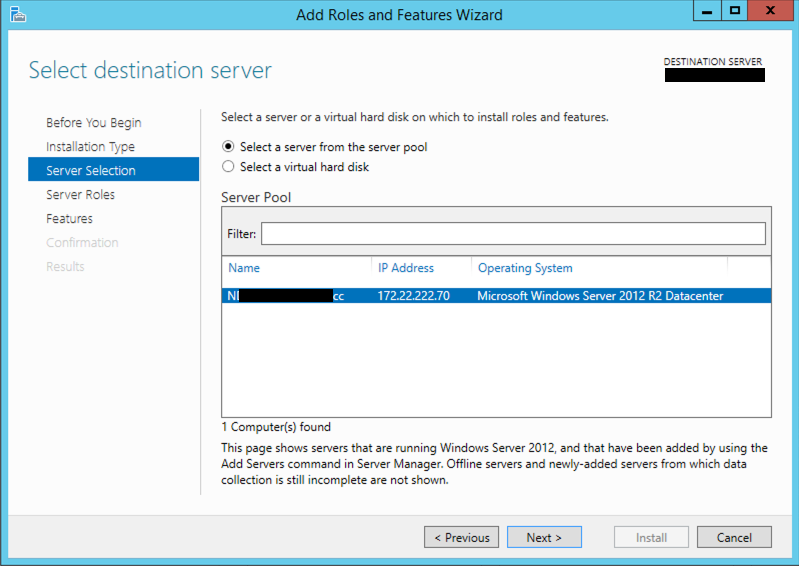
You will then need to select your server and hit Next
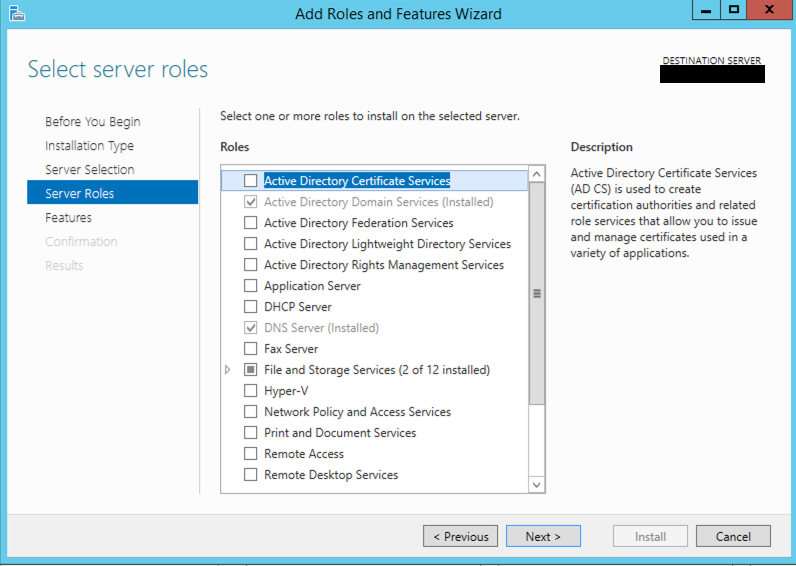
Now choose Active Directory Certificate Services and hit Next
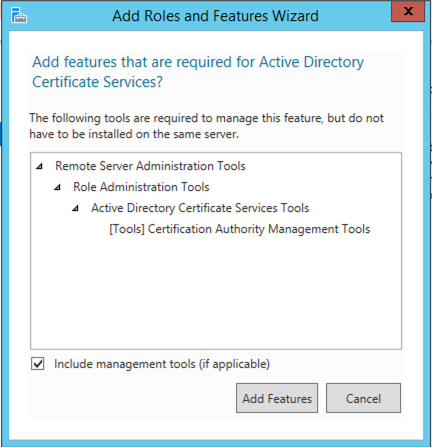
You will now need to click Add Feature at this point. This is informational and should be very simple.
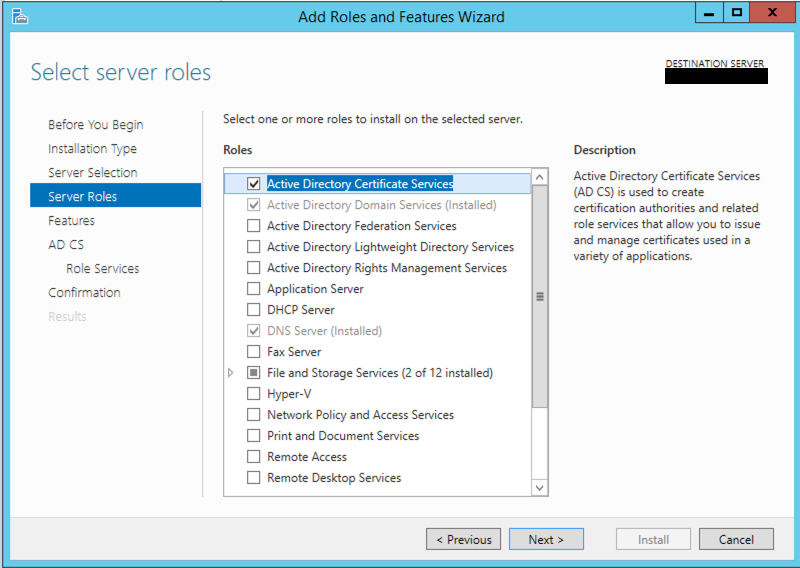
Nothing major below except for the Active Directory Certificate Services being selected. Now hit Next.
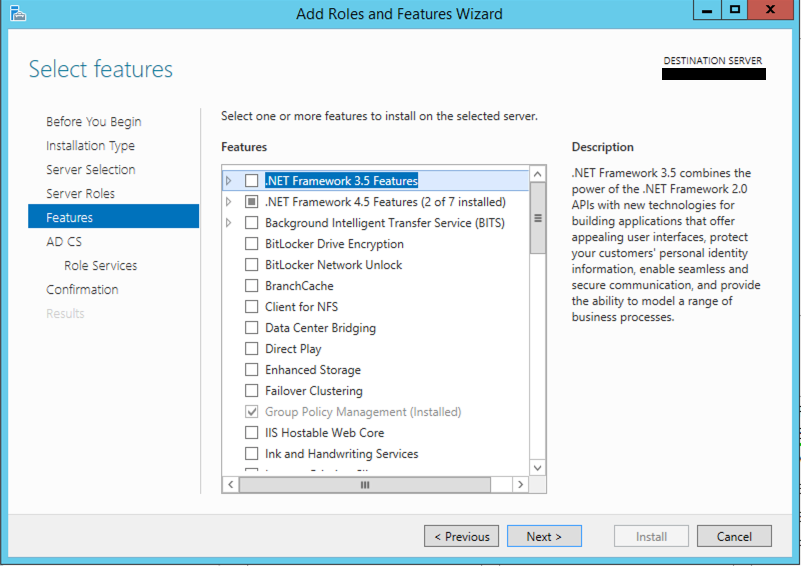
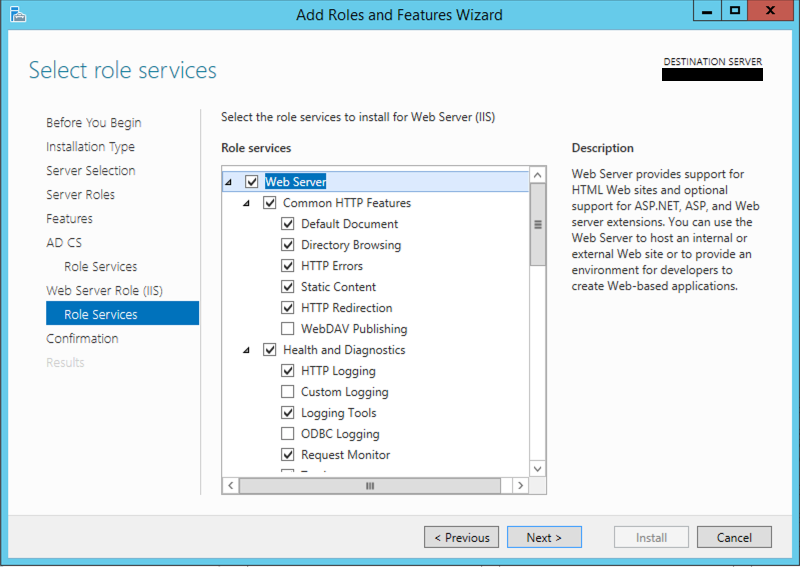
In the next screen, just click Next
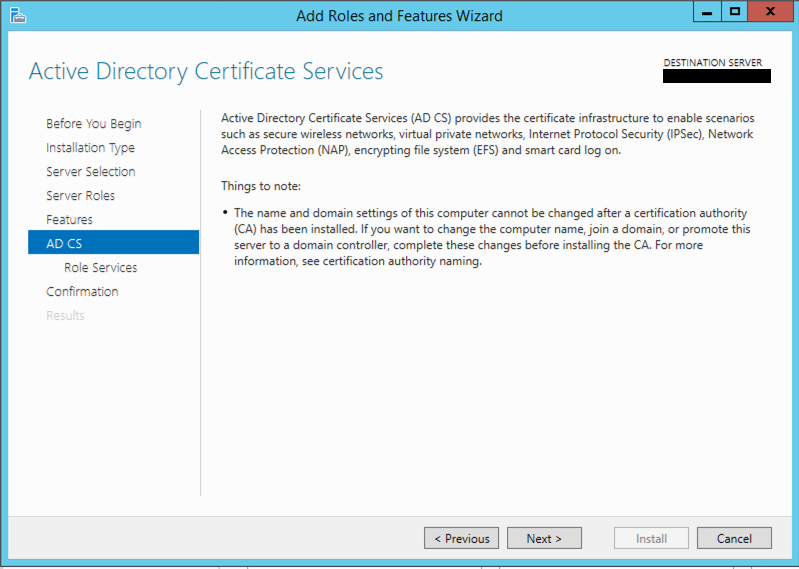
More informational reading. The important thing here is that you cannot change the name of the server once it becomes a CA Server.
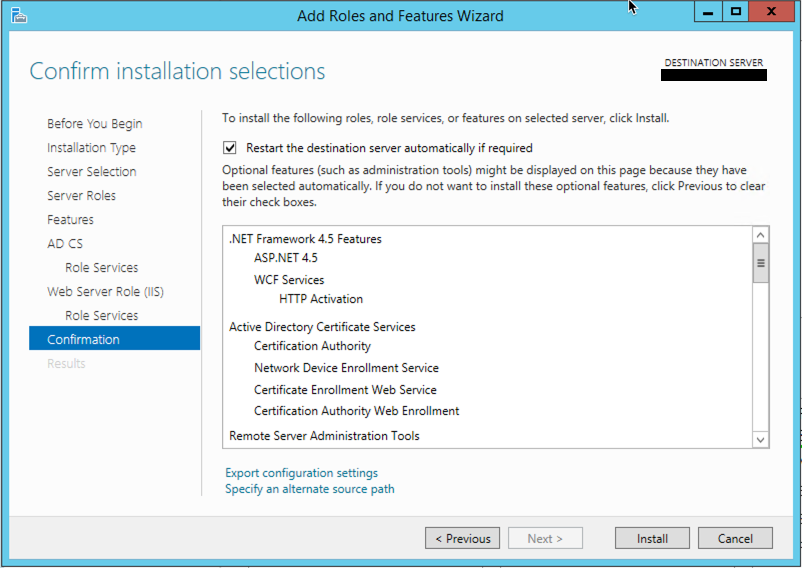
You can now choose what additional services you want to enable. For our purposes, we only require Certificate Authority and Certificate Enrollment Web Service
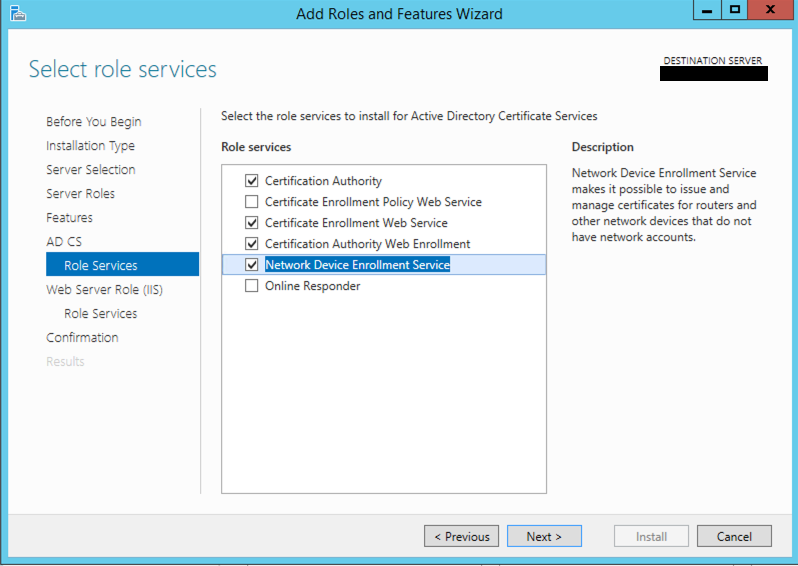
Choose Next
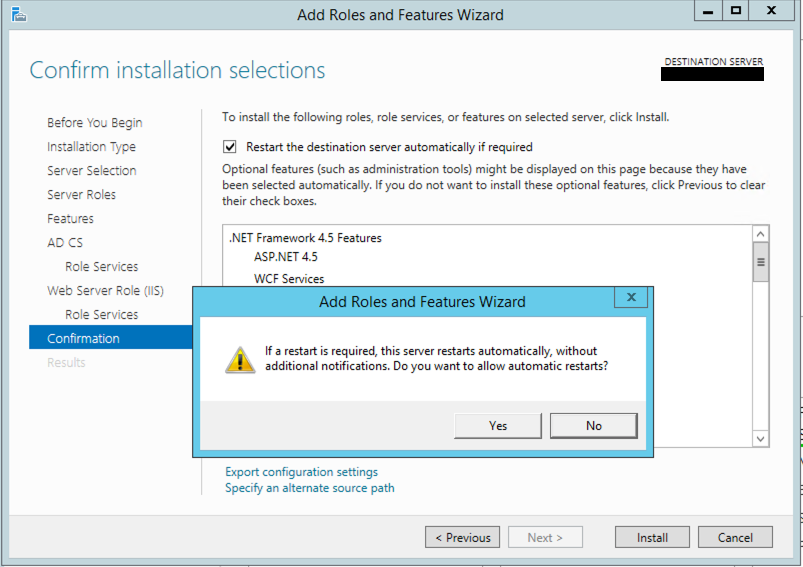
You can choose to Restart the destination server... I always do since my CA is usually not part of the authentication piece of AD (not a DC).

Plenty of validation for this option. You will need to hit Yes
Finally, you can hit install.

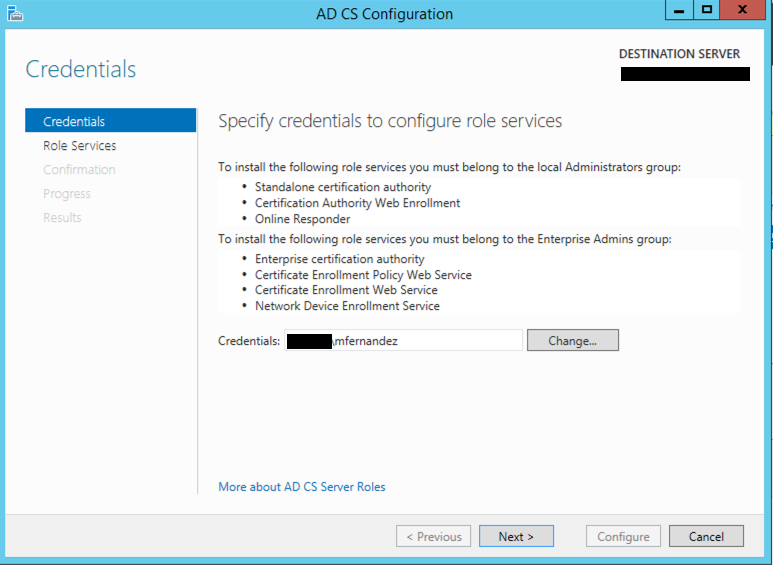
Once you finish the installation, there will be an yellow exclamation on the Server Manager, click it to finish configuring it.
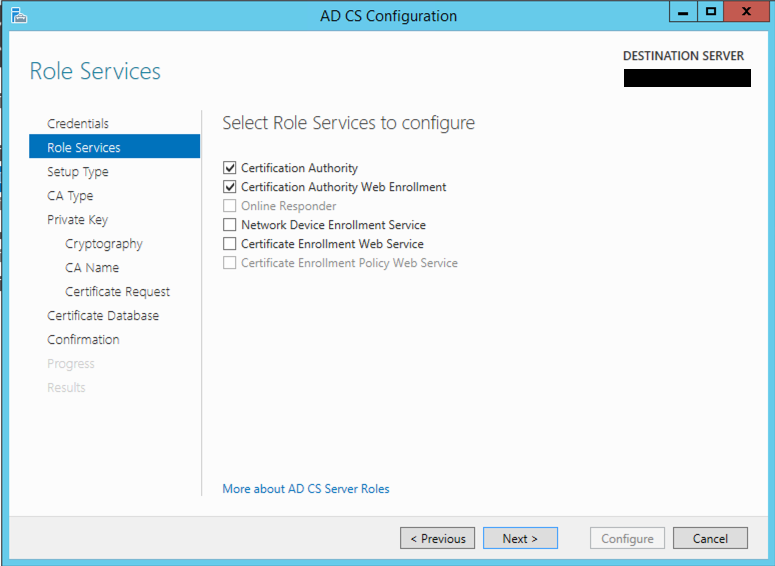
Choose the CA and CA Web Enrollment options and hit Next
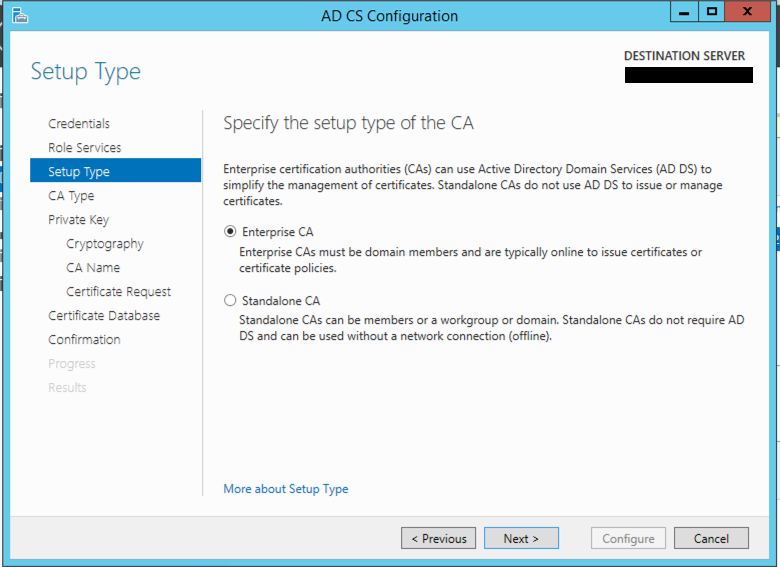
You can choose either Enterprise CA or Standalone CA (I recommend the Enterprise CA) unless you need to. If you need a non-integrated CA, just use FAC or OpenSSL.
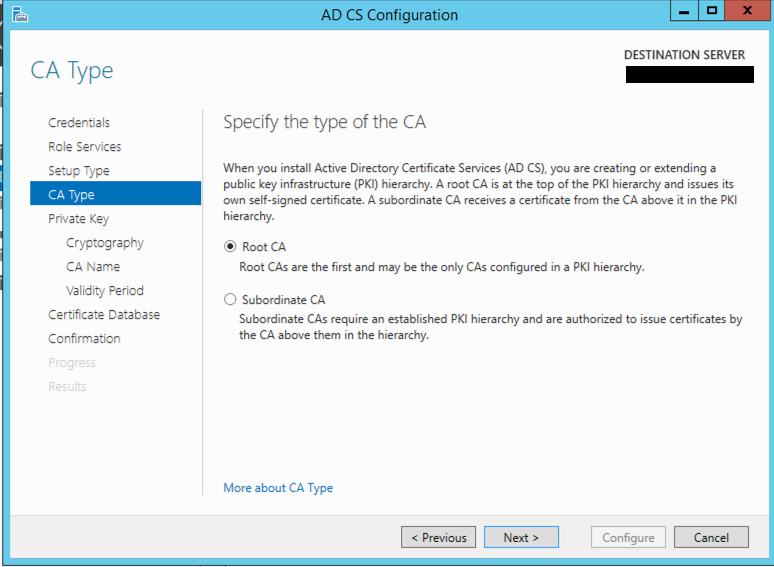
Next you will decide if this will be a Root CA or a Subordinate CA server. Subordinates can sign certificates as long as the Root is trusted. I almost always install a Root CA although there is use cases to do Subordinates, most common is having the Root offsite somewhere and have the sub do all the heavy lifting.
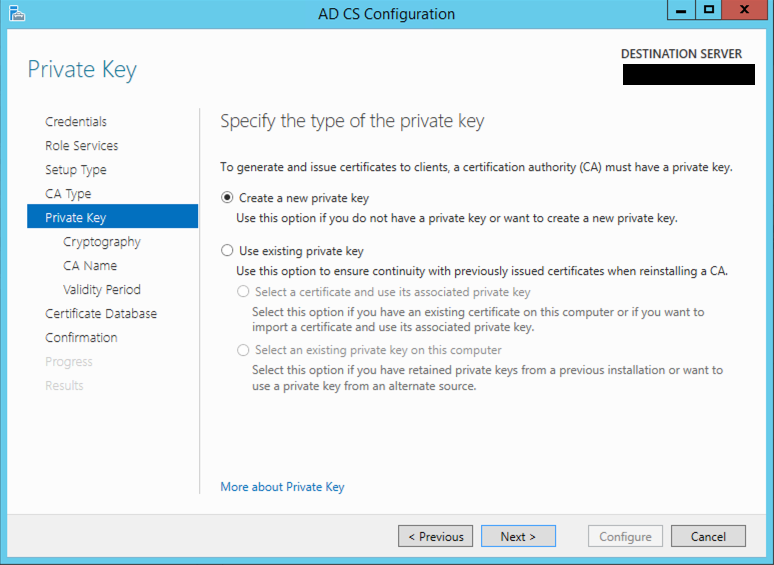
You want to create a new Key Pair and hit next.
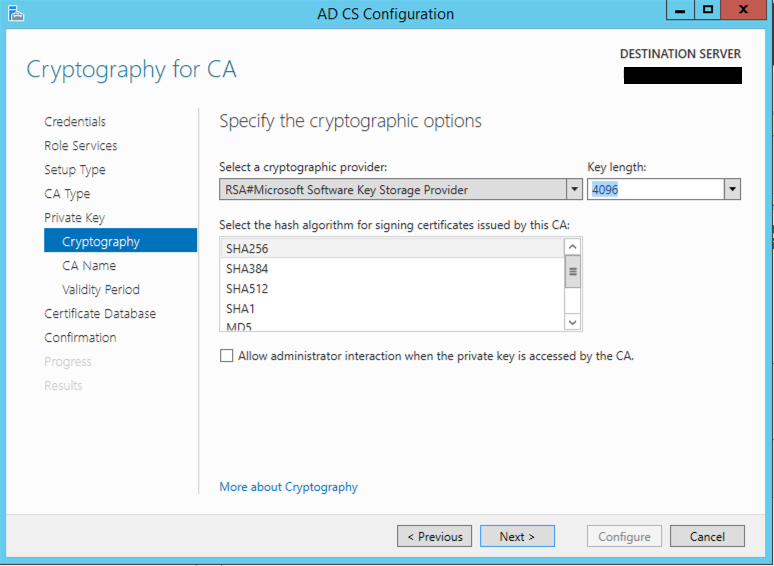
You will want to choose the Key Length and the algorithm to use. Your mileage may vary.
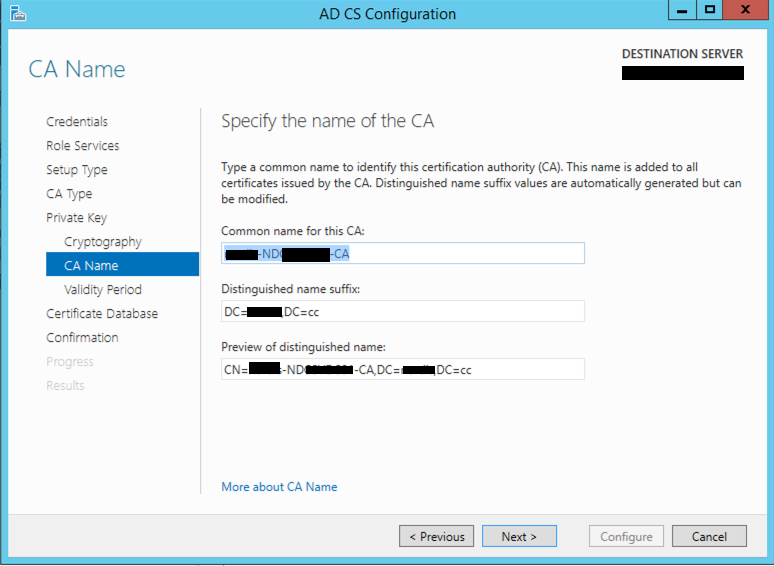
Now you will need to verify some liberties the install took for you. If you are good, hit Next.

Specify the time before the Root certificate is good for.
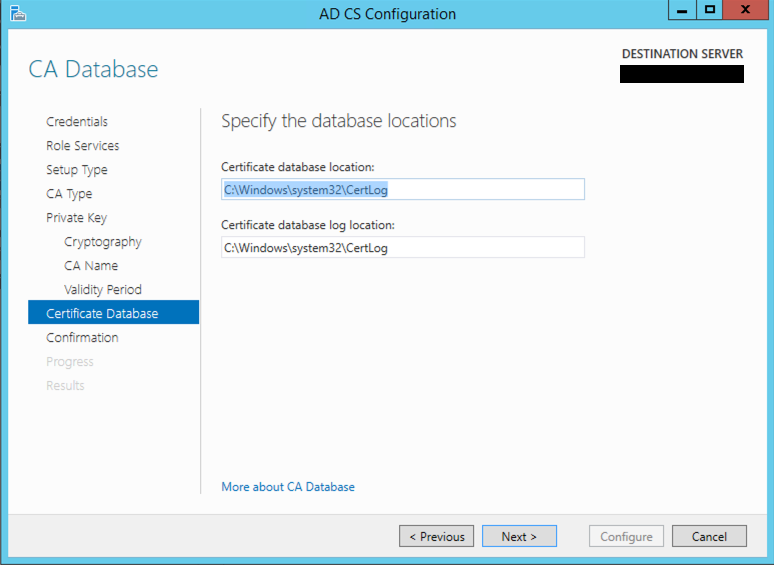
Informational pop up to give you the path of where it is going to store logs.

Again, verify. (Measure twice, cut once).
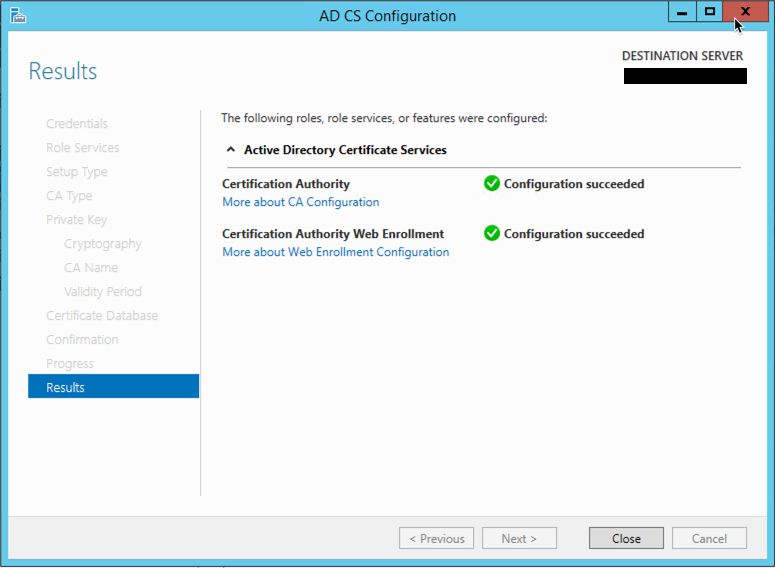
Again, more information telling you the changes have been made.
Recent posts
-

-

In case you did not see the previous FortiNAC... Full Story
-

This is our 5th session where we are going... Full Story
-

Now that we have Wireshark installed and somewhat configured,... Full Story
-

The Philosophy of Packet Analysis Troubleshooting isn't about looking... Full Story