At its core, IEEE 802.1X is a network layer... Full Story
By Manny Fernandez
February 20, 2026
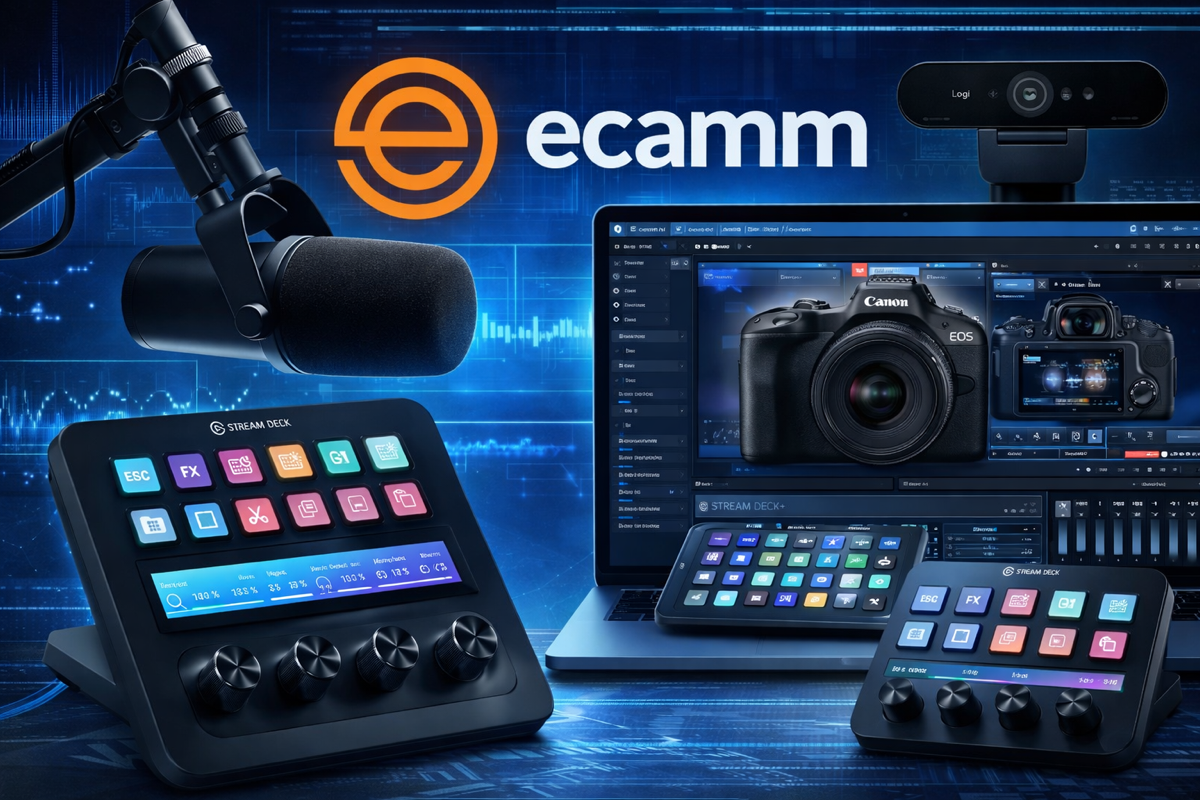
My Video Setup
I know I have posted before about my setup but this is going to be “IT” for a while.
What I have:
- El Gato Stream Deck XL (32 Button)
- El Gato Stream Deck+ (8 Buttons, 4 Nobs)
- El Gato XLR Hub attached to Stream Deck+ (This allows me to use XLR microphone and provide phantom power if necessary.
- El Gato Key Lights x2
- Shure SM7B
- Cannon EOS R50 4K (Front View)
- Logitech Brio 4K (Angled View)
- Tandberg 1080P (Top view)
- ECamm Live Pro 4.14
- iPad 6th Generation Cellular/WiFi (Although no cellular service) (One of my old iPads)
- Mac Studio (Although I am running Ecamm on a Mac mini in the other room)
In Ecamm Live, you can set up Scenes. These scenes can have various components (Camera, Screen Share, Pictures, Animation, etc). The Stream Decks have software that communicate with the various hardware and software. These scenes can also be controlled through the Stream Decks.
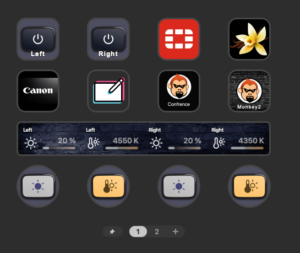
Top Row: Left and Right turn on/off my Key Lights, Fortinet Logo changes my scene to Fortinet (I’ll show you later in the post), Vanilla is no logo, name, etc. Its…… well…… Vanilla.
Second Row: The Cannon Log selects my Canon R50 but I have moved it to my other Stream Deck, the Square with a Pencil is a remote NDI connection to my other iPad, the InfoSec Monkey (Conference) is for calls like Zoom, etc. And the other one is a Scene I used for my first video on YouTube.
The nobs, control the Lights. The first two nobs control the Brightness and Temperature of the Left Key Light, and the other two nobs control the same for the Right.
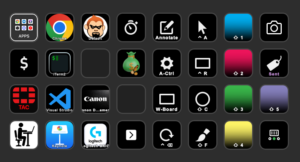
Top left we have Apps ( See Below), My Chrome Scene, My InfoSec Monkey Main Scene, The Clock is an Apple Script Called (60 Days In) which tells me the date 60 Days ago (for expenses), the next three are for “Presentify” (an app that allows you to do screen annotations) and the Camera is a Shortcut for ScreenShot using SnagIT for macOS. I won’t go through all of them, but iTerm2 triggers my iTerm Scene in Ecamm, Canon and Logitech control the cameras, then there is the Visual Studio Code and Keynote which also switch to the respective Ecamm Live Scenes. The Sent in the last column is a WorkFlow I have that if I create a file and send it, I “tag” it (hence the icon) with a tag named “sent”.
Note: The bottom right is to go to another screen with another 32 buttons. I have not reached the limit yet.
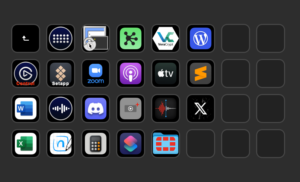
These are the app. Once you launch the app, it goes back to the main screen.
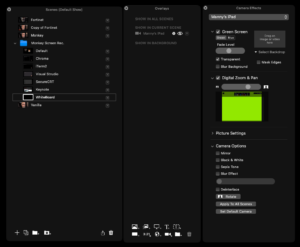
Here is where you define the scenes. You have Scenes, Overlays, Camera Effects.
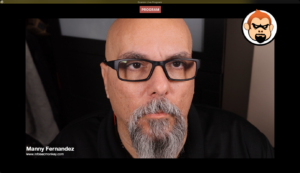
My Copy of Fortinet Scene is the following:

Her you can see the floating Logos and my name and title.
This is my InfoSec Monkey Scene
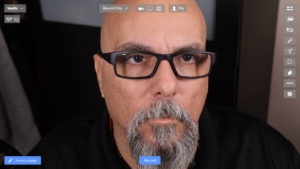
This one is the Vanilla.
For Annotation, I am running the iPad with Notability. The Notability has a Green background. The iPad shows up as a “Camera” so you use it as a camera in a Scene.

You choose the iPad, enable Green Screen and then turn on Transparent.
The plan is to make video content in long form, monkey bites in short form, and the written blog that will have more details. The idea is to flash a QR code across the screen with the link to the article.
With Ecamm Live, you can even bring in Zoom as camera source so if you wanted to have guests, etc. you could use Ecamm for that as well.
Recent posts
-

-

In case you did not see the previous FortiNAC... Full Story
-

This is our 5th session where we are going... Full Story
-

Now that we have Wireshark installed and somewhat configured,... Full Story
-

The Philosophy of Packet Analysis Troubleshooting isn't about looking... Full Story