In FortiOS 7.4, Fortinet enhanced the ability to do... Full Story
By Manny Fernandez
December 6, 2019
Updating Images in Fortigate Replacement Messages
The Fortigate firewalls comes with some Replacement Messages. These various messages are displayed under specific conditions and can be modified. I am not a web developer so I am a basic kind of guy when it comes to HTML. But this is a basic enough example and I will hopefully not get too complicated.
Default Example
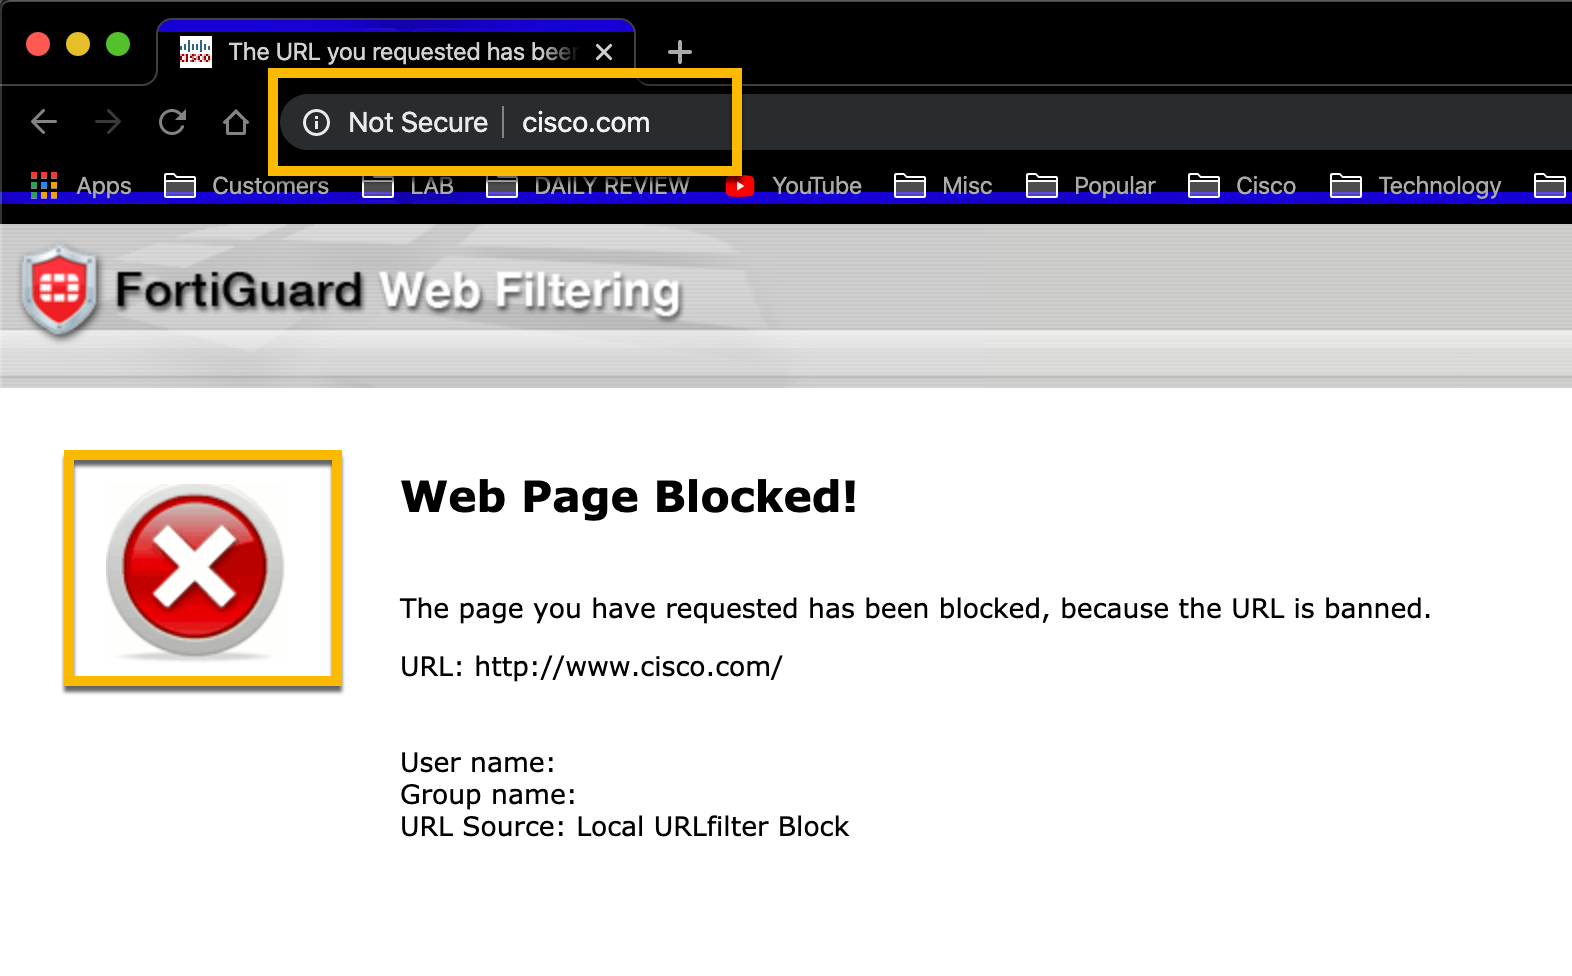
In this article, I will use www.cisco.com as a page I want to block. And NO I am not blocking Cisco for any nefarious reason. Just picked a random site to test. 🙂
As you can see above, I visited www.cisco.com and it blocked the site and displayed the Replacement Message for URL blocked.
Blocking URL
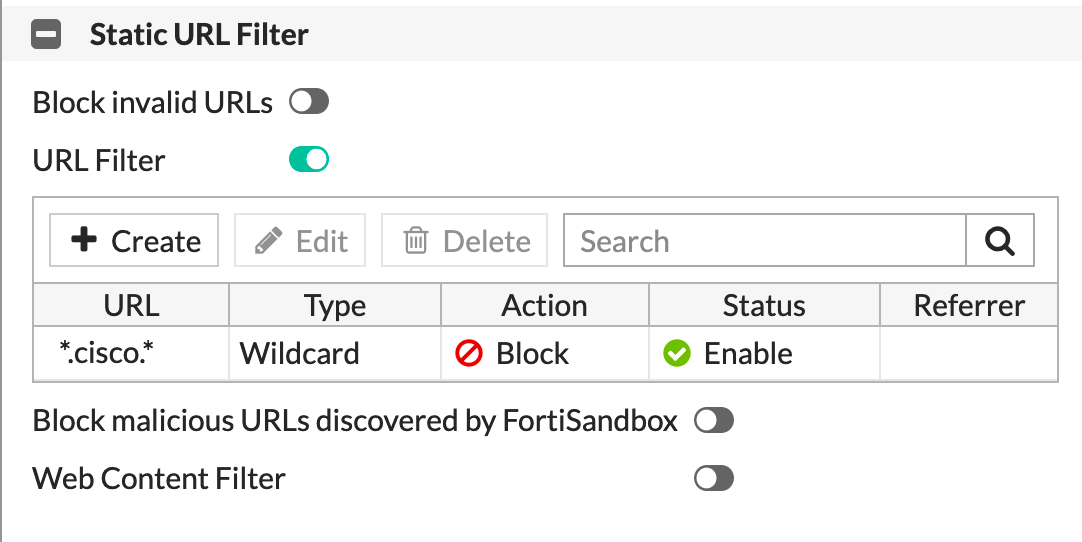
NOTE: To block the site, I used a Web Filter profile and assigned it to my outbound policy.
I will show how to change the white X in the red circle to an InfoSec Monkey logo

Uploading the Image
In this step, we will upload the graphic file you want to use.
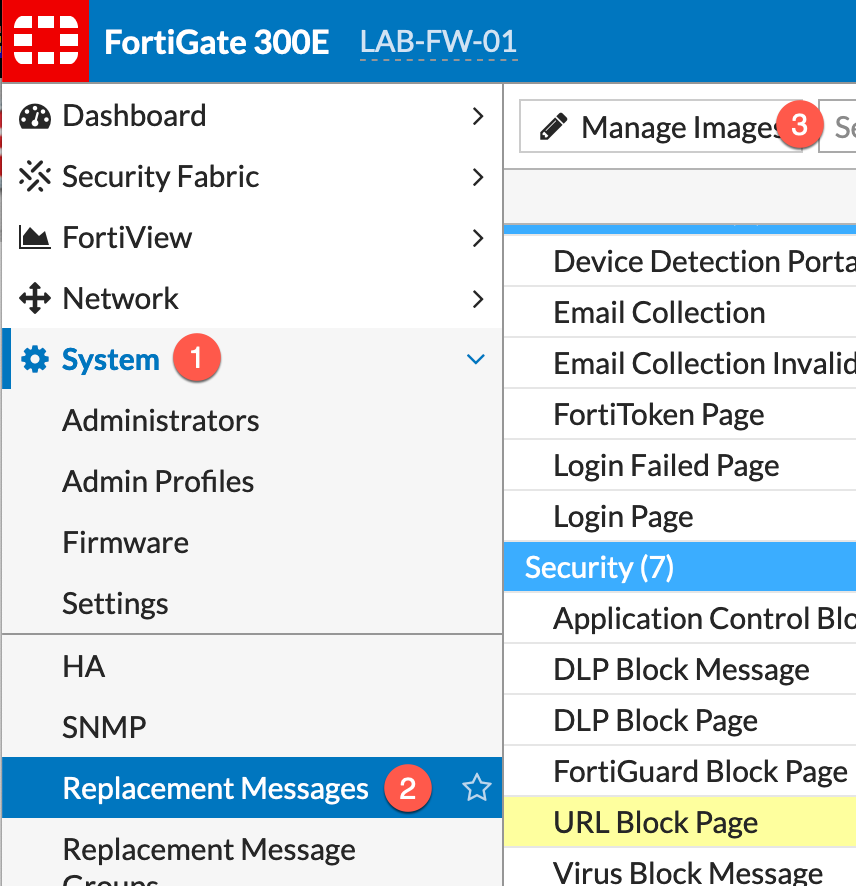
To add the images:
- Go to
System - Then choose
Replacement Messages - Next, choose
Manage Images - Finally, choose
Create New
Now you will choose the file

In my example above, I named the file monkey and pointed to a file with my logo.
NOTE: Supported image formats are GIF, JPEG, TIFF, and PNG. The maximum file size supported is 24KB
Modifying the Replacement Message
To modify the replacement message, Go to System then Replacement Messages

You should see a screen like this. In my example, you can see the yellow line that says URL Block Pageand it’s corresponding example on the bottom left of the screen.
Now we are going to choose the HTML code on the right side of the screen to modify.

This is the default code that is in the Replacement Messages . As you can see, the %%IMAGE file is logo_v2_fnet. I will change this to monkey.

You can simply click on the code and start typing the changes you want.
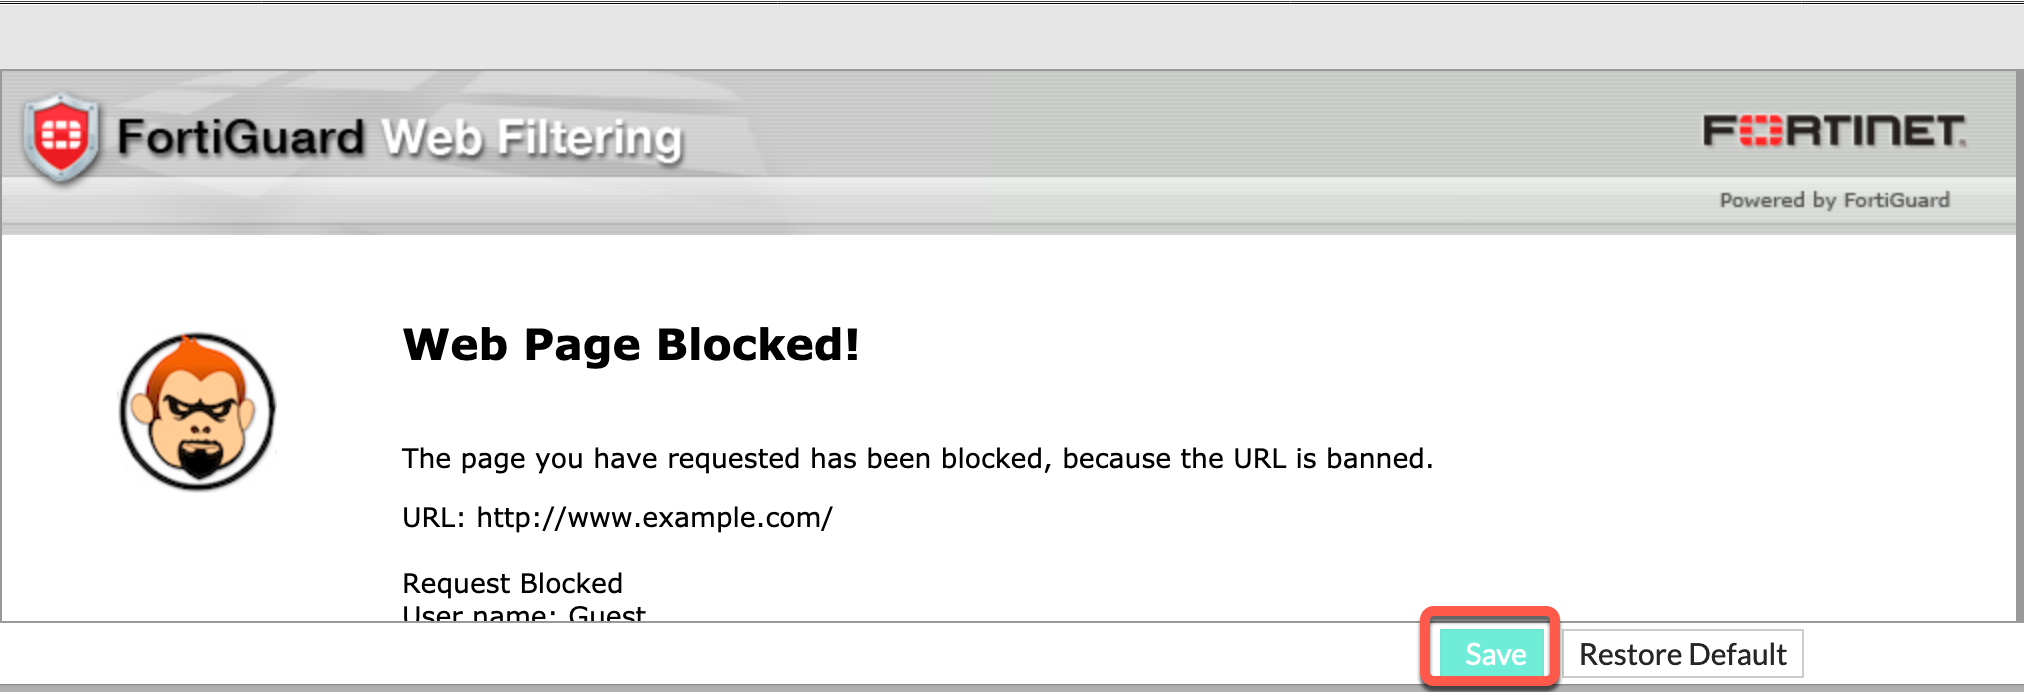
Make sure you save the changes by clicking Save on the bottom.
Outcome
Here is what it will look like once you save your changes and try to connect.
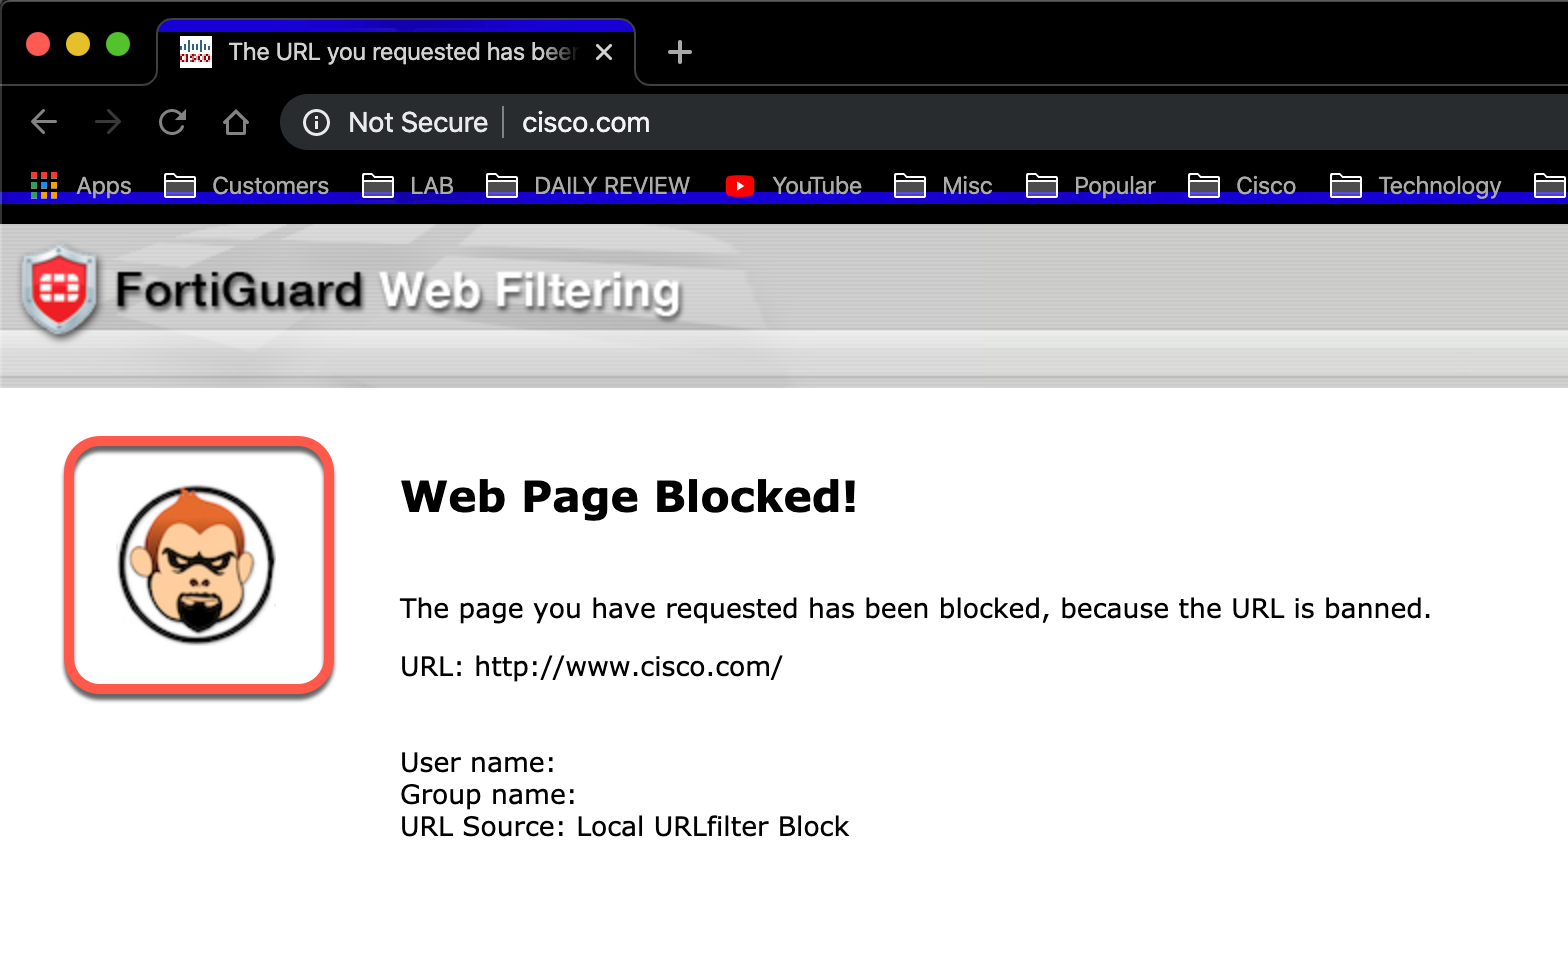
Obviously, you can play around with the code and make changes as needed. If you have someone that is a good web person that can make things “PRETTY” you can have them create a customer message.
Hope this helps.
Recent posts
-

-

Apple shortcuts have been an amazing addition to IOS. ... Full Story
-

Years ago, when I started using FortiGates, I had... Full Story
