Have you ever ordered a bunch of Fortinet gear... Full Story
By Manny Fernandez
April 25, 2019

Basic Deployment of FortiNAC – Part 1
FortiNAC, formally Bradford Networks was acquired by Fortinet in June of 2018. Although Bradford was a great solution, joining the Fortinet team accelerated its growth from a market share as well as feature perspective. This will be a series post and will cover different aspects of the deployment. Deployment (this post), Fortiswitch integration, Compliance checking, Fortigate integration with stitching and automation. My environment is an existing 802.1x deployment using Cisco ACS, a new infrastructure of FortiSwitches managed by Fortigates that will replace the Cisco switches as well as the 802.1x deployment.
What you are going to need:
- The FortiNAC ISO
- License files from Fortinet
- You will need the VM license (if you are running it on VM
- The device licenses
- Support contract
-
Three different password (I use a random password generator) These passwords cannot contain “( ) ` $ & + | \ { } ; : ” ‘ < > , . / =” (ignore the beginning and ending “, they are used to separate the characters that are not allowed.)
-
An Isolation VLAN IP address which will be assigned the second NIC on the VM.
-
FQDN for the VM and a corresponding DNS entry on the internal DNS
-
IP address, SNMP (preferably v3) string/credentials, SSH creds for your existing switches
- You will need the UUID and MAC address of the VM which will be collected later in the steps.
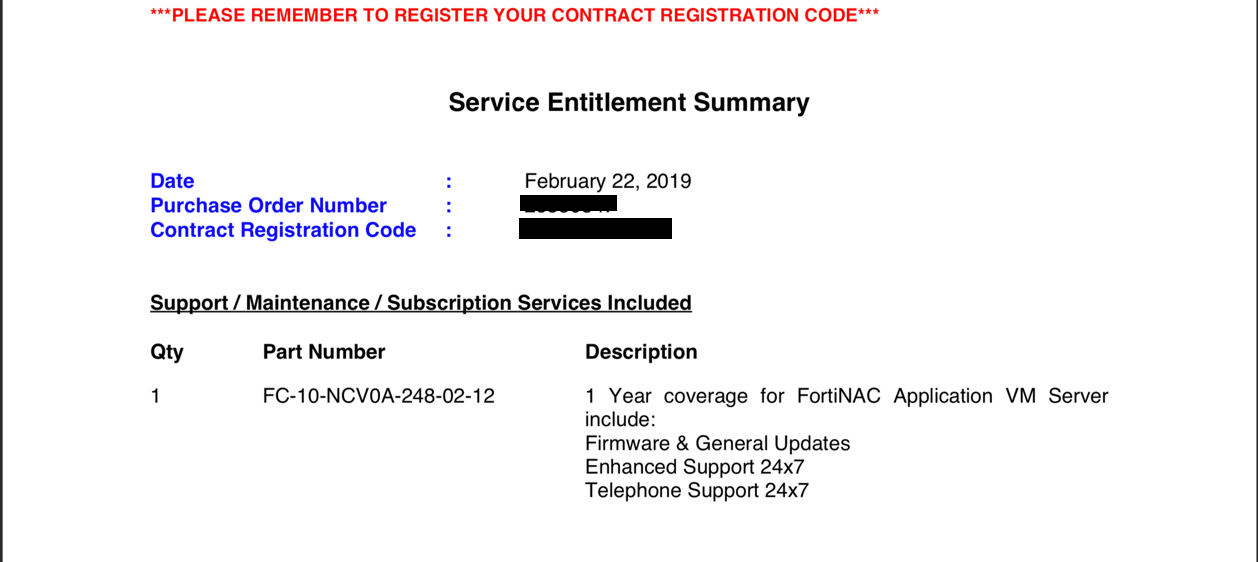
You should have received an email from your reseller/distribution/Fortinet with a series of PDF files that require you to register the serial numbers contained.
If you do not already have a support portal account, go to ‘https://support.fortinet.com‘ and register.
NOTE: You will NOT be able to register the support and device licenses until you have registered the base license. This is because it ties the support and device license to your server license.
OVA Deployment
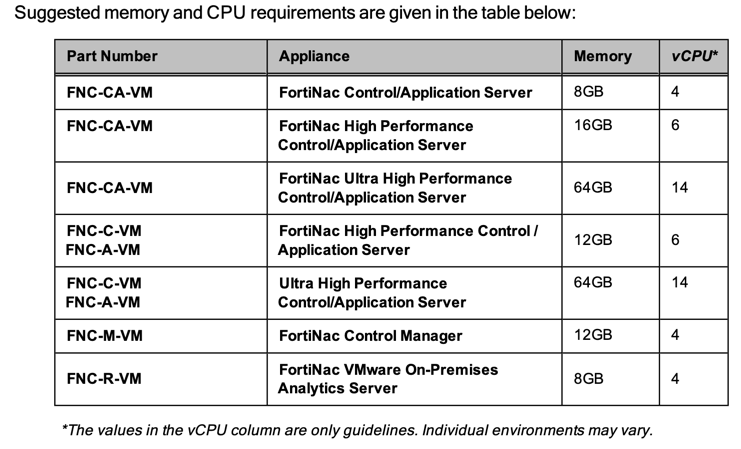
Deploy the .ova file per the normal VMWare deployment method. You will require two interface if it does not automatically add them.
Default Credentials:
username: admin password: admin
Once the VM is up and deployed, connect to the console and assign an IP address to the VM. Assign it an IP address using the following criteria.
sudo configIP
sudo configIP 192.168.5.244 255.255.255.0 192.168.5.1
Connecting to the GUI
You should now be able to connect to the GUI to finish the configuration by pointing your browser to:
http://%ip-address%:8080/configWizard
For this section, the credentials will be
username: config password: config
The first thing you will see is the license validation.
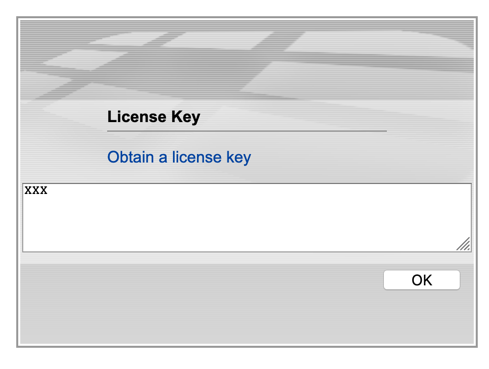
You will need to click on the ‘Obtain a license key’ which will give you the required information to register this appliance on the support website.
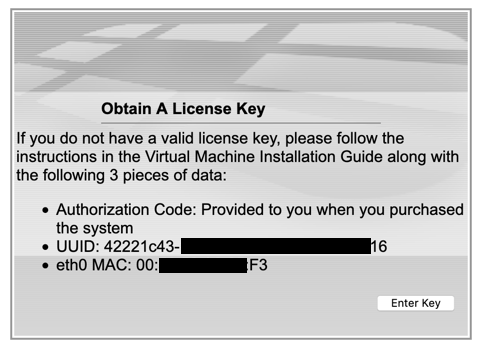
You should copy and paste this information and probably hold on to it for safe keeping. Once you are here, you will need to log into the portal and register.
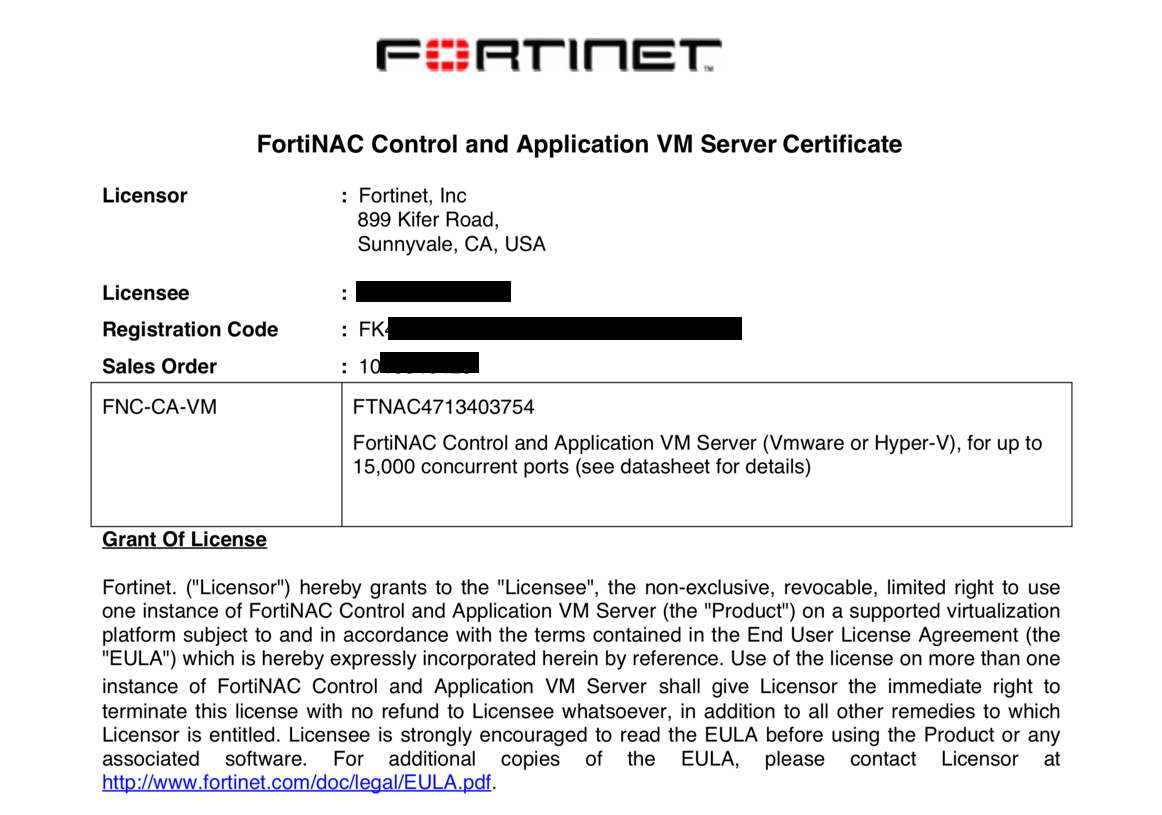
Ensure that the Registration Code is for the VM (in my case) and not the device license or the support contract.
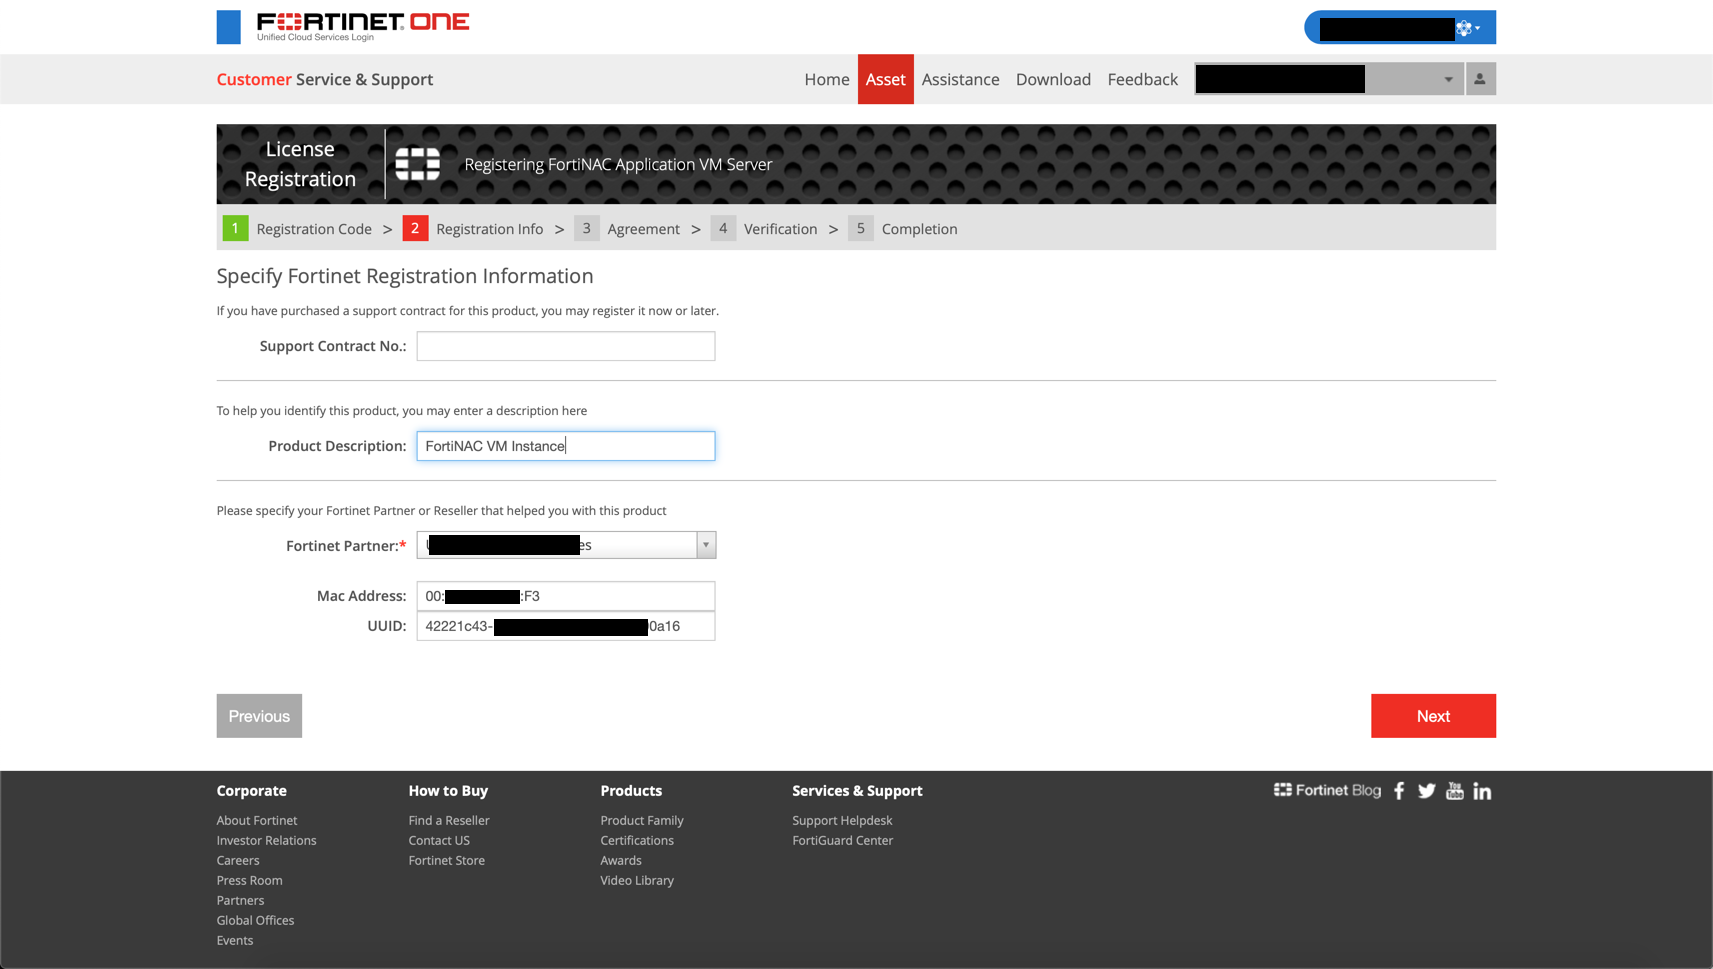
You will need to enter the information you copied in the previous steps (UUID and MAC Address).
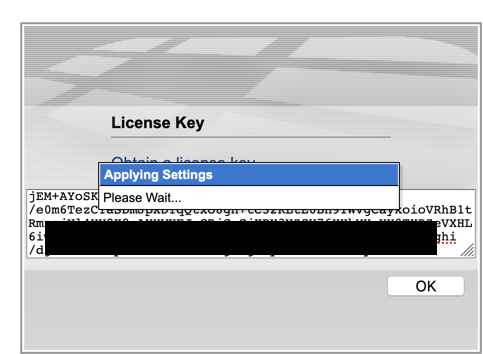
Once the registration is complete, you can enter the license in the field provided and hit OK. It will take a little time so don’t freak out.

Once the key is applied, you will see the screen above. You can click ‘OK’
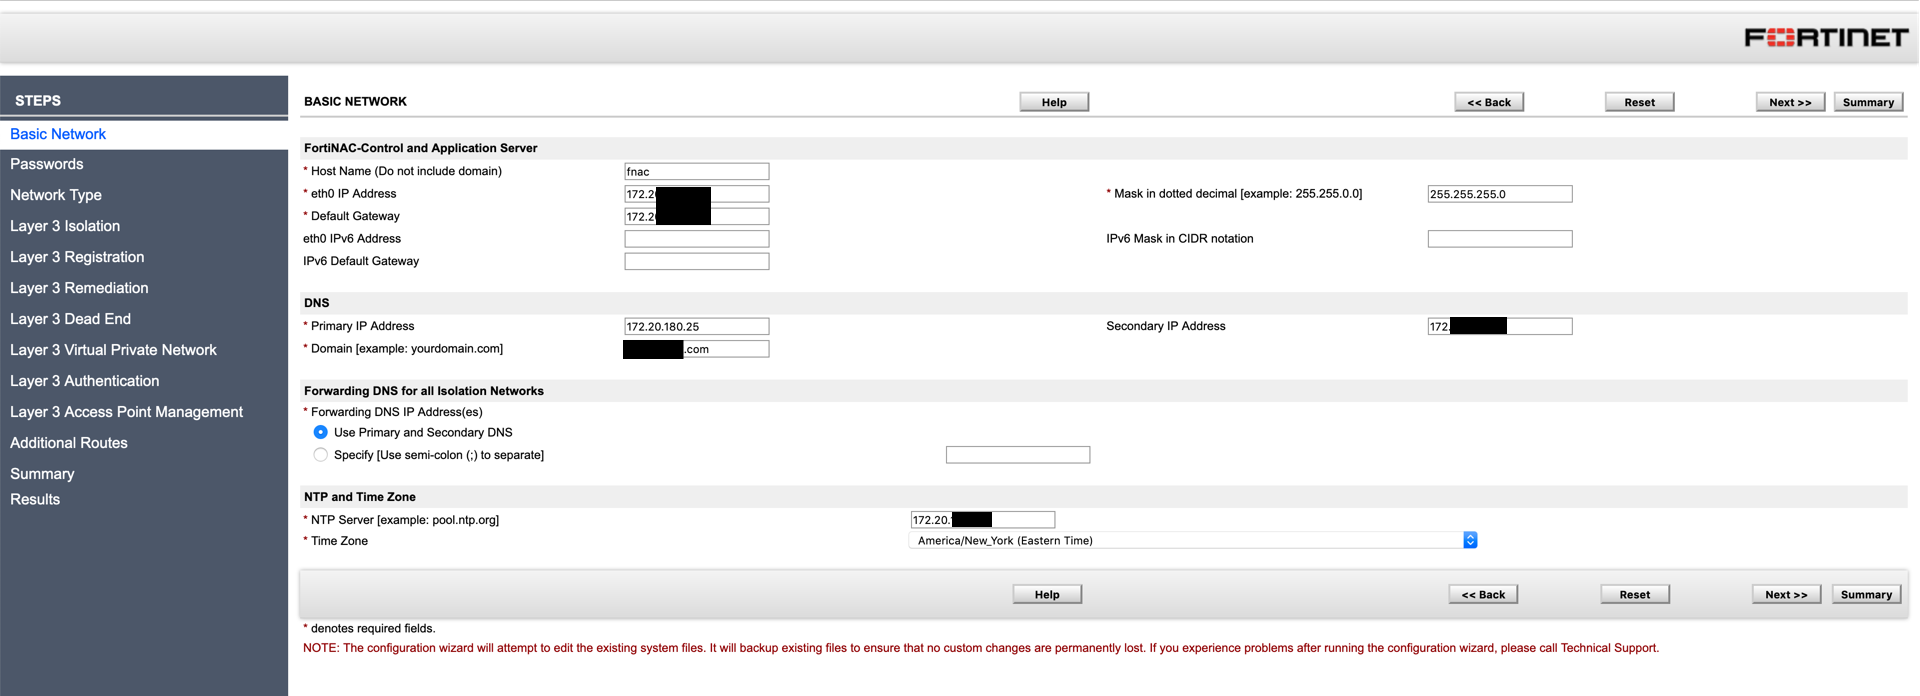
Next we are going to configure the ‘Basic Networking’ which includes:
(I have included some example info, modify with your information)
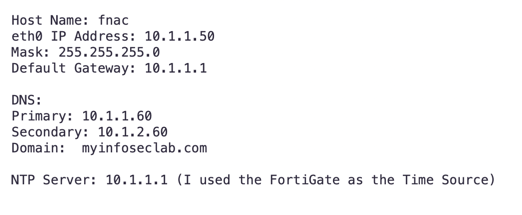
Once you fill in the pertinent information, you can hit the ‘Next’ button on either the top or bottom of the screen.
Next, you will need to set up the various passwords:
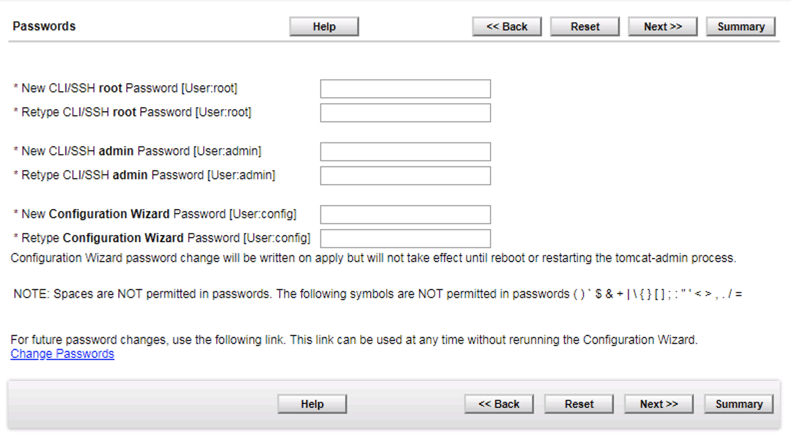
Here you will need to enter the passwords we discussed in the beginning without using the restricted characters.
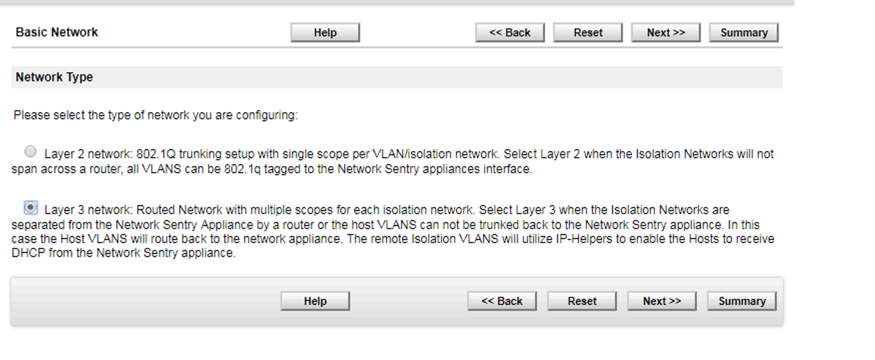
You will want to choose Layer 3 in most cases. Once you fill in the pertinent information, you can hit the ‘Summary’ button on either the top or bottom of the screen.
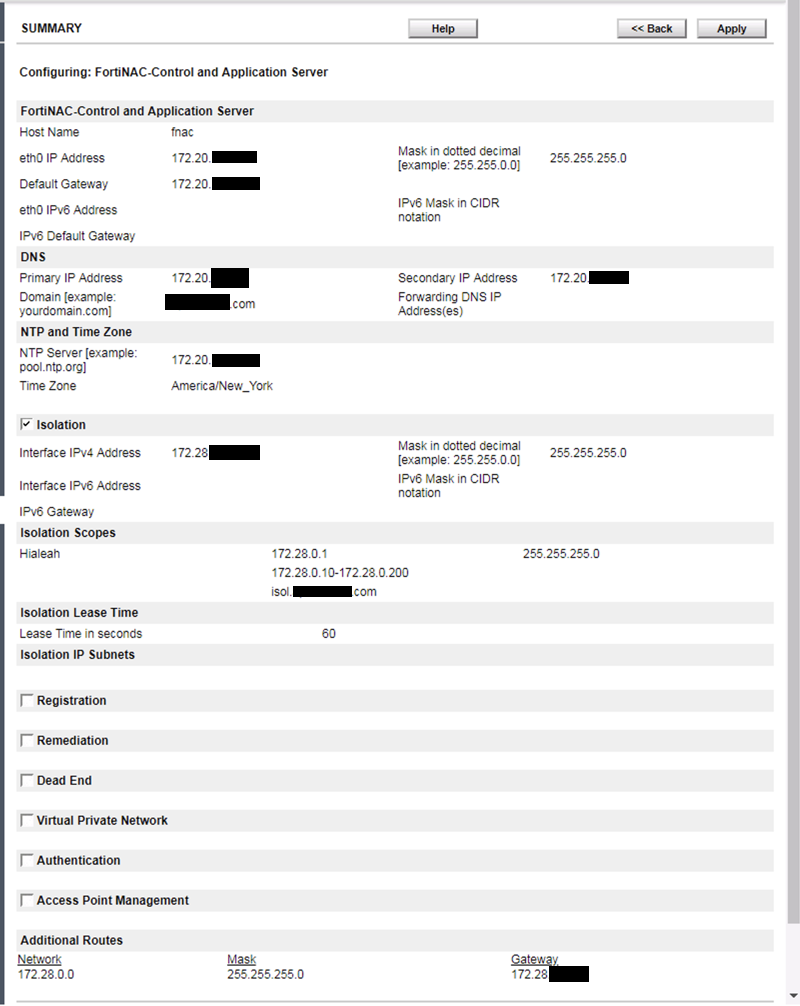
Validate your information and hit ‘Apply’. The VM will reboot.
NOTE: If you changed the IP, you browser will not refresh. Update the URL.
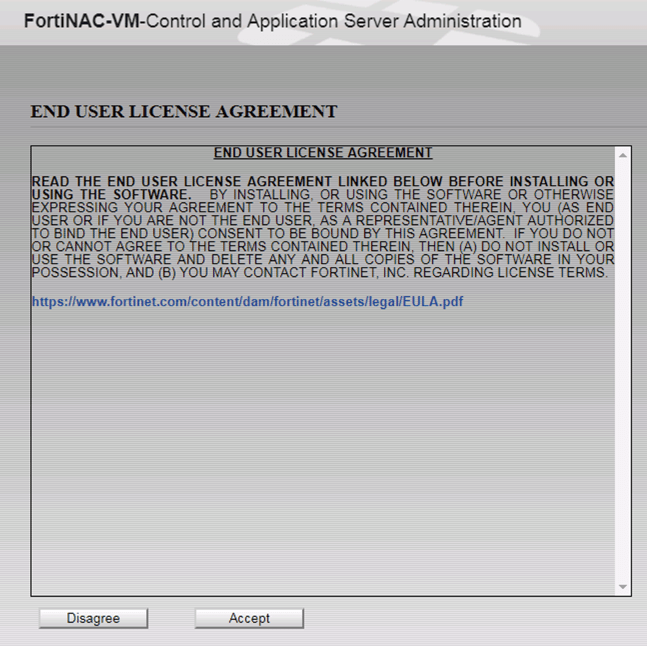
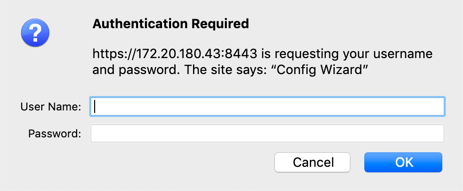
After the reboot, you will need to log into the VM with the ‘8443’ port.
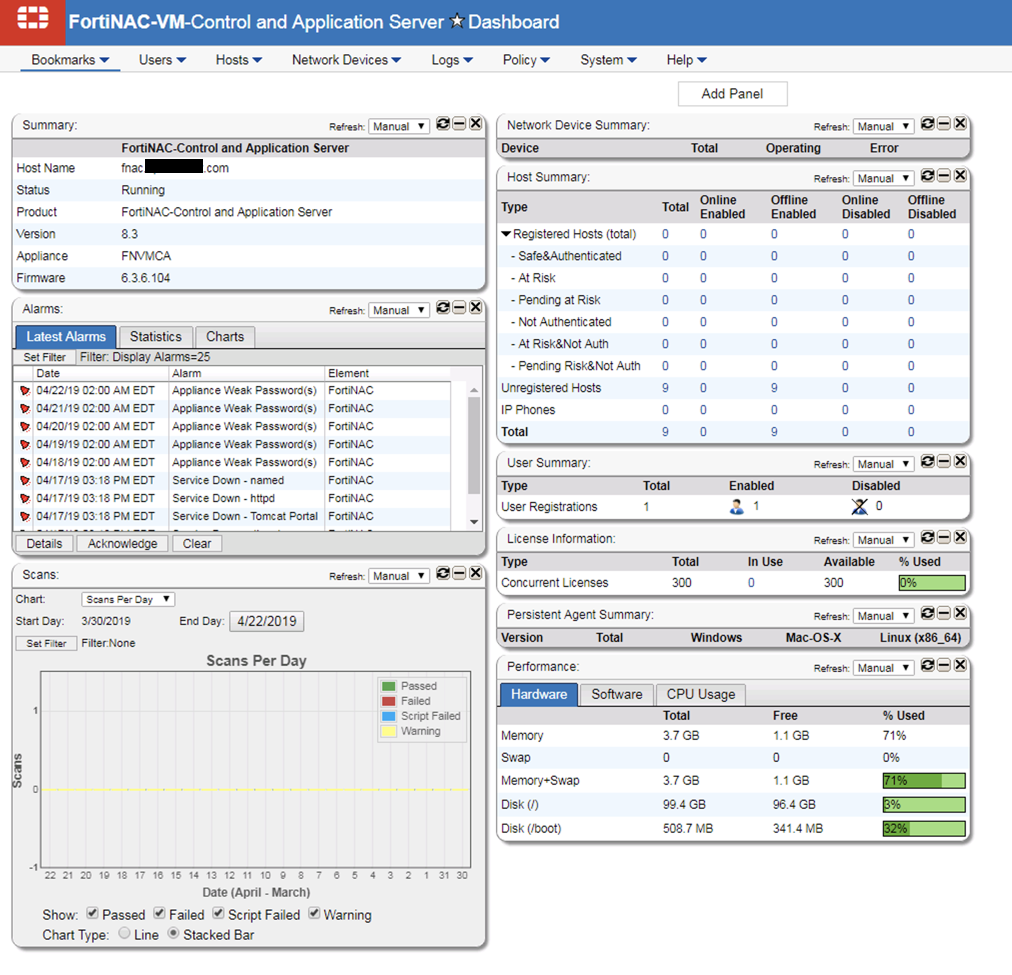
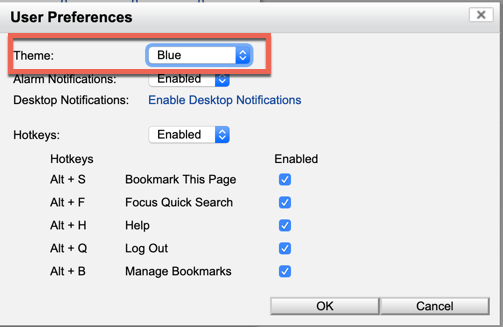
Although the screenshot above is blue, by default it is set to gray. I cannot look at it because it makes me depressed. To change it, go to ‘Help’ and then ‘Preferences’
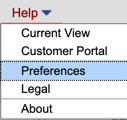
Now you can choose the color and choose ‘OK’
Now you are ready to add some devices (switches)
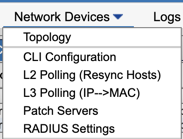
You can now click ‘Network Devices’ from the button bar on the top then ‘Topology’
At the top-level on the Left, you can rename the container. Now you can create new containers. I chose to use locations.

Right click the top-level and choose ‘Add Container’ Name it and save.
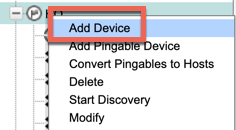
Right click on the newly created container, and choose ‘Add Device’
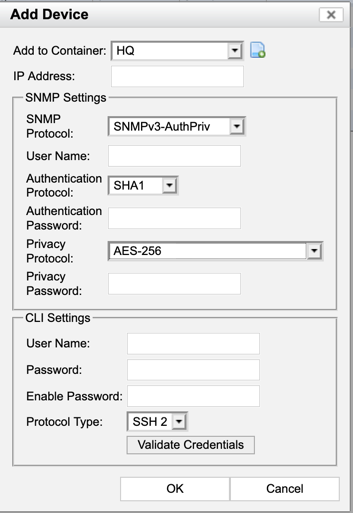
Once you enter the appropriate information, hit ‘Validate Credentials’ and wait for the message saying it is OK. Then press the ‘OK’ button.
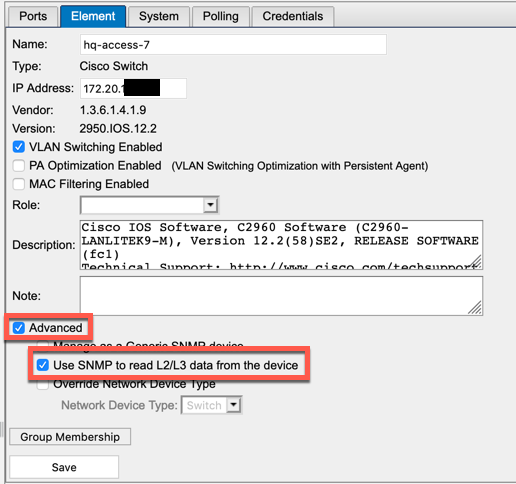
Once the device has been discovered, click on the ‘Element’ button on the top, then ‘Advanced’, then choose ‘Use the SNMP to read L2/L3 data from the devices’ and ‘Save’
Next post in the series will be ‘Fortiswitch Integration’
Recent posts
-

-

Had a customer with over 200 static routes on... Full Story
-

This is a work in progress, I will be... Full Story
