There are many options when troubleshooting in FortiGate firewalls. ... Full Story
By Manny Fernandez
April 24, 2019

Installing Greenbone Vulnerability Manager
If you have even followed InfoSec, Cyber or whatever you want to call it, you will know that vulnerable code is the number one issue we face in the industry save that of humans. There are many excellent vulnerability scanners on the market today. They all have their weaknesses and strengths. Some are specific for certain platforms, some that are run and managed from your locations and others that report into and store reports in the cloud. Some of those comapnies, in no particular order are:
- Rapid7
- Qualys
- NetSparker
- Burp Suite
- Nessus
To name a few. One of the solutions that was packaged with Alienvault is Greenbone Vulnerability Scanner; formally, OpenVAS. In this post, I will do a step-by-step walk through on deploying Greenbone Vulnerability Scanner on a CentOS 7 virtual machine.
Lets get started. What you will need:
- ISO for CentOS 7 Minimal Install (Smaller and no fluff)
- Internet connection
- Firewall that allows RSync outbound from the inside.
- I am using VMWare Fusion but you can use your hypervisor of choice.
Installing CentOS

We are going to “Create a customer virtual machine”

Next we will choose ‘Linux’ and ‘CentOS 7 64-bit’

I chose ‘Legacy BIOS’

Choose ‘Create a new virtual disk’

Name the VM

Now choose the CD so we can point it to the ISO you downloaded.

Now you can start the VM

Setting up CentOS
Once you power up the VM, you will need to run through the install process:

When presented with the above screen, choose ‘i’ and hit enter.

Choose the language and click ‘Continue’ on the bottom.

Now you will need to configure the interface and hostname
(1) Make sure you enable this, if not when the VM boots up, it will not load the interface at boot up.
(2) Give it a name (FQDN)
(3) Hit the ‘Apply’ button.

Assign a ‘root’ password and create a user

Once it completes, hit ‘Reboot’
Installing Greenbone Vulnerability Scanner

Once the VM reboots and you log in, you will want to install ‘net-tools’ which will give you the ‘ifconfig’ command.

You can repeat the same for tcpdump ‘yum install tcpdump’ and ‘yum install wget’ & do the same.
Next you will need to make some modifications:
vi /etc/redis.conf
Look for the following lines and place the # in front of them
Original
unixsocket /tmp/redis.sock
unixsocketperm 700
After
# unixsocket /tmp/redis.sock
# unixsocketperm 700
Also, you will need to disable SELINUX
vi /etc/selinux/config

and change the ‘enabled’ to ‘disabled’ (see below)

You will also need to modify the firewall to allow TCP 9392. In my lab, I am going to disable the firewall.
systemctl stop firewalld
systemctl disable firewalld
Once this is complete, you are ready to install the repos

As you can see, you should now be able to SSH to the VM with SecureCRT or the like.
wget -q -O - https://updates.atomicorp.com/installers/atomic | sh
This process may take some time. Be calm and dont lose it.

Once the install is complete, you will need to make some changes. Now you are ready to start the set up process.
run the following:
openvas-setup

The next section will take time. It uses RSYNC so ensure you are not blocking it. If you have a fast internet connection, this may or may not take a long time.

You will be asked to create an admin account and assign a password. The default user it will create is ‘admin’. Set the password and validate the passwortd again.
Setup complete, you can now access GSAD at:
https://%ip-address%:9392
When you see the above message, this section will be done. Now you need to configure GSAD to load automatically at start up.
systemctl enable redis
systemctl restart redis
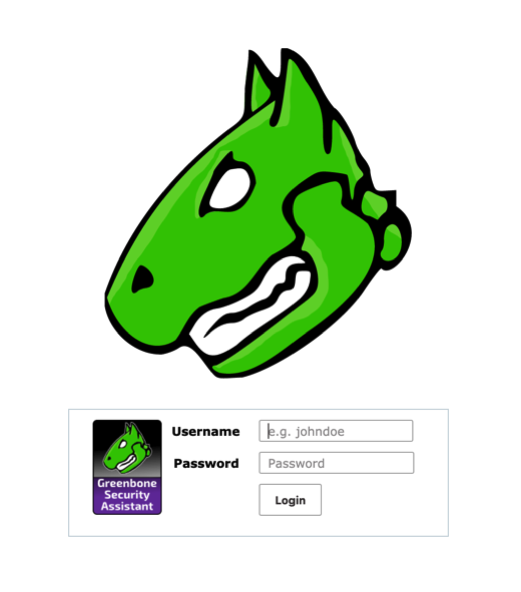
Now you can access the web GUI by browsing to https://%ip-address%:9392

Recent posts
-

-

Have you ever had an IPS signature that continues... Full Story
-

Use case: Customer has a Split Tunnel Enabled but... Full Story
