At its core, IEEE 802.1X is a network layer... Full Story
By Manny Fernandez
February 13, 2026
Deploying FortiNAC in EVE-NG
First things first, you will need to download the KVM version of the FortiNAC-F. You will also need a license for it & in this case, EVE-NG.
SSH to your EVE-NG server. Once there, you will need to create a directory for FortiNAC
mkdir /opt/unetlab/addons/qemu/fortinet-NAC
Download the FortiNAC KVM image from support.fortinet.com and unzip it.
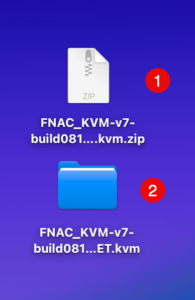
You can see the .zip file I downloaded and the folder it created when I unzipped it on macOS.
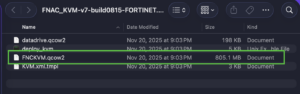
Here, you can see the FNCKVM.qcow2 (The name caught me by suprise for a quick second 😀)
Next you will need to get your files on to the EVE-NG server.
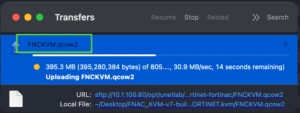
Let’s go back to the SSH session.
cd /opt/unetlab/addons/qemu/fortinet-NAC – Change to the addons/qemu directory.
mv <your-uploaded-filename>.qcow2 virtioa.qcow2 Now we are going to rename the file we uploaded from the FNCKVM.qcow2 to virtioa.qcow2 using the mv command.
Now we are going to create a log disk
/opt/qemu/bin/qemu-img create -f qcow2 virtiob.qcow2 40G
NOTE: The virtioA and virtioB names.
Now we are going to run the fixpermissions script.
/opt/unetlab/wrappers/unl_wrapper -a fixpermissions
I next downloaded the FortiNAC logo from the stencil site.

You need to upload it to /opt/unetlab/html/images/icons . You will want to use the 50 px format.
Now we log into the EVE-NG portal and deploy a Node. It will show up under fortigate and you can swap the image.
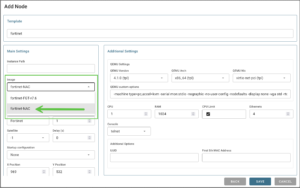
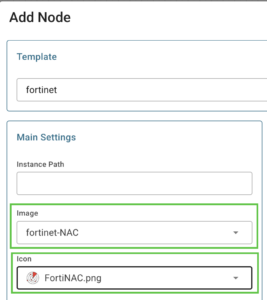
Choose the fortinet-NAC image and the .png you uploaded.
Note: Ensure you have at least 4 CPUs and 8GB or RAM.
Boom 💥 you are done. Hope this helps.
Recent posts
-

-

In case you did not see the previous FortiNAC... Full Story
-

This is our 5th session where we are going... Full Story
-

Now that we have Wireshark installed and somewhat configured,... Full Story
-

The Philosophy of Packet Analysis Troubleshooting isn't about looking... Full Story