Have you ever ordered a bunch of Fortinet gear... Full Story
By Manny Fernandez
January 1, 2020

Encrypting a USB Thumb-Drive on macOS from CLI and GUI
There are a couple of ways to encrypt drives and volumes on macOS X. I recommend that if you are going to use a thumb-drive for your own use, that you use encryption to protect the contents. If this is a thumb-drive that will be shared (not recommended) you CAN create an encrypted volume within the drive and have half of it encrypted and the other not.
Command Line Option
I love the CLI so you will see a lot of macOS articles here on the CLI. First thing to do is to run a utulity that will tell you which drive you are working with. In my example I have a 16GB USB Thumb-drive that I will use for the demonstration.
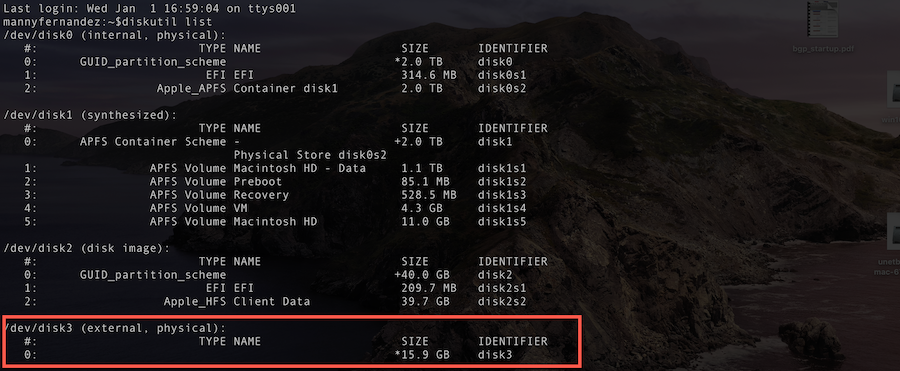
As you can see, my USB is in /dev/disk3
Encrypting the Volume
Now we will initiate the encryption.

- diskutil – This is the macOS utility that has multiple uses all around the drive, volumes, and file systems.
- cs – CoreStorage (See below)
- convert – Convert a regular Journaled HFS+ or Case-sensitive Journaled HFS+ volume (must be on a partition and within a GPT partitioning scheme) into a CoreStorage logical volume
- disk3s2 – Is the identifier for the volume
- -passphrase – tells the diskutil that we want to add a password
- the actual password to be used
Core Storage – Layered between the whole-disk partition scheme and the file system used for a specific partition is a new logical volume format known as Core Storage, introduced in OS X Lion. Core Storage makes it easy to dynamically allocate partitions while providing full compatibility with existing filesystems. In particular, Core Storage allows in-place transformations such as backgrounding the full-disk encryption used by File Vault 2.
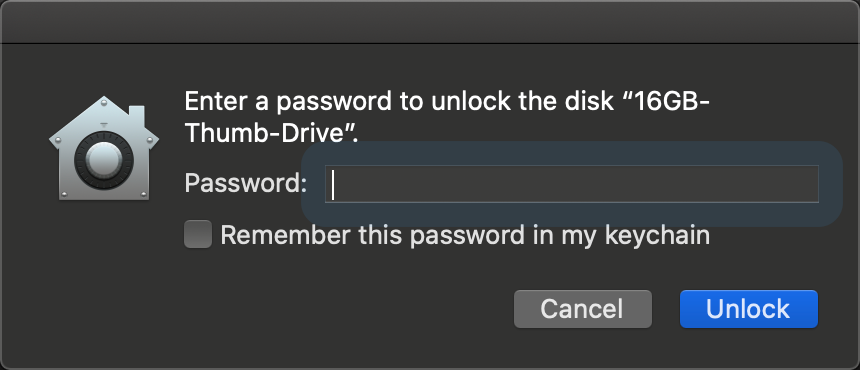
When this process in complete, and you remount the drive, you will be prompted.
GUI Version
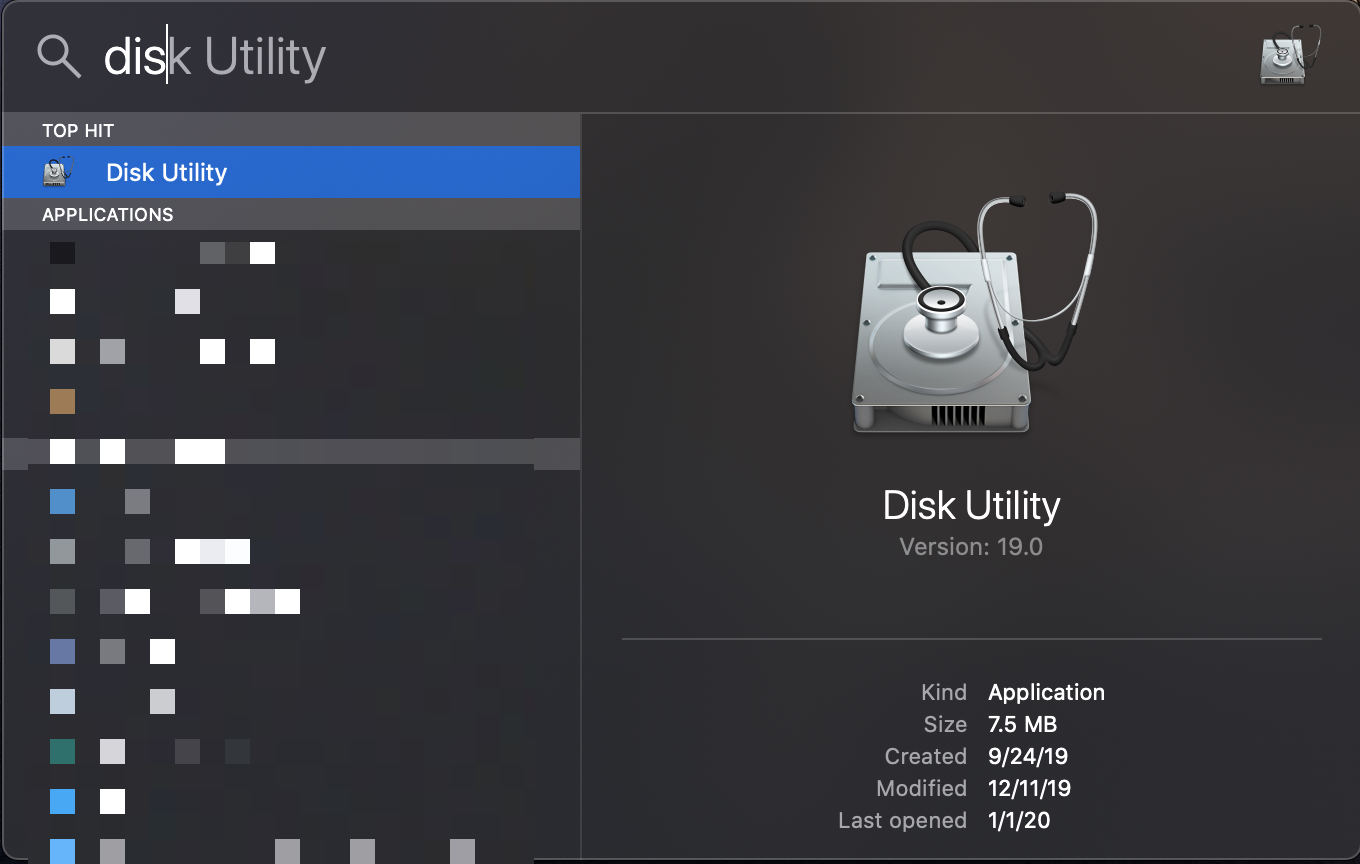
I must admit, this method is cleaner. First thing is hit the ⌘ and space bar

You should see your SpotLight Search dialog come up.
Start typing disk and you should see Disk Utility show up
Once inside the utility, choose your thumb-drive and choose Erase
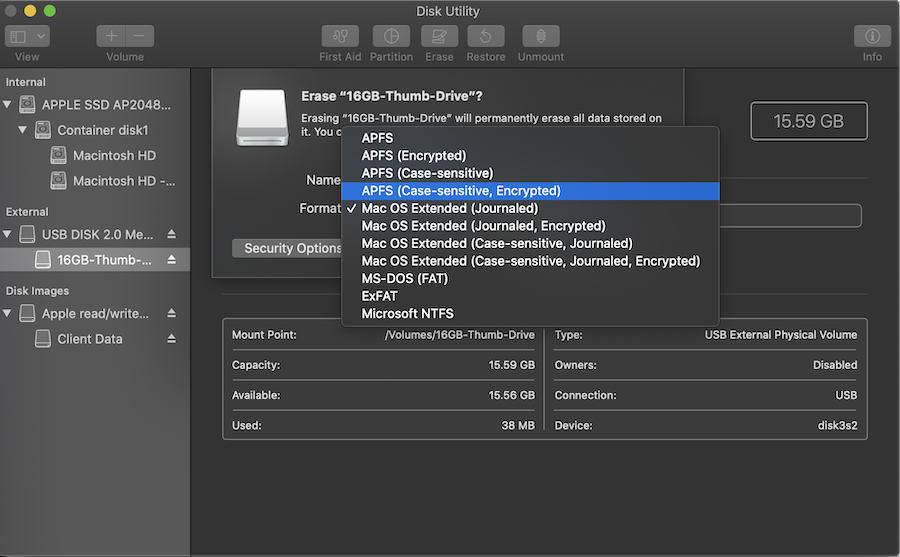
Choose a file system that contains Encrypted in the name.
Once you select one, you will get prompted for the password
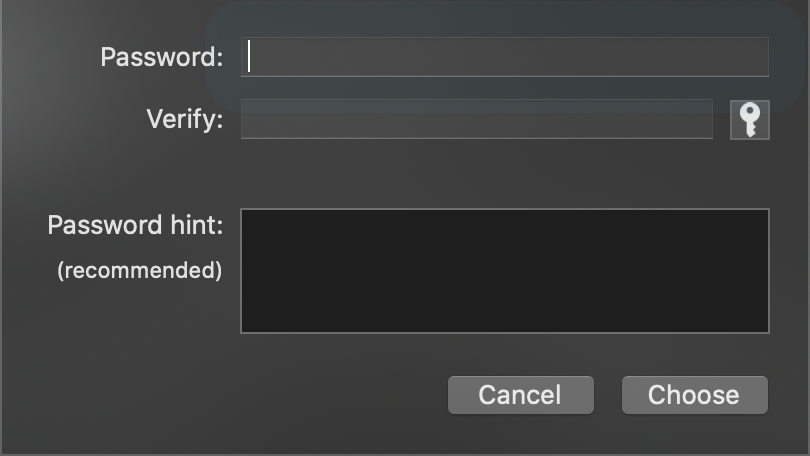
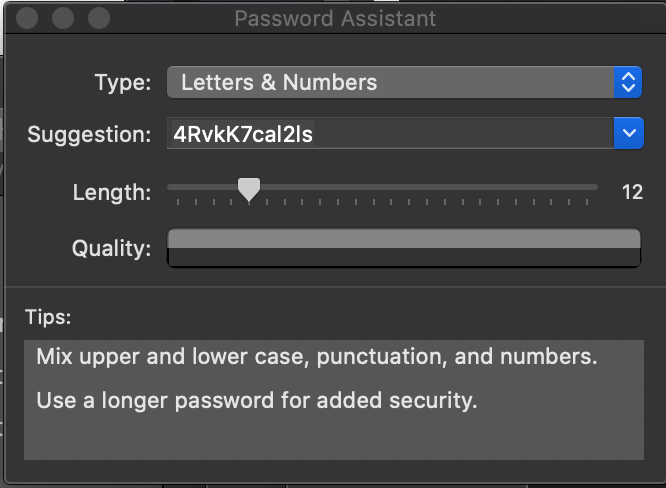
You CAN choose the key icon next to the Verify field to have it generate a random password. Your mileage may vary.
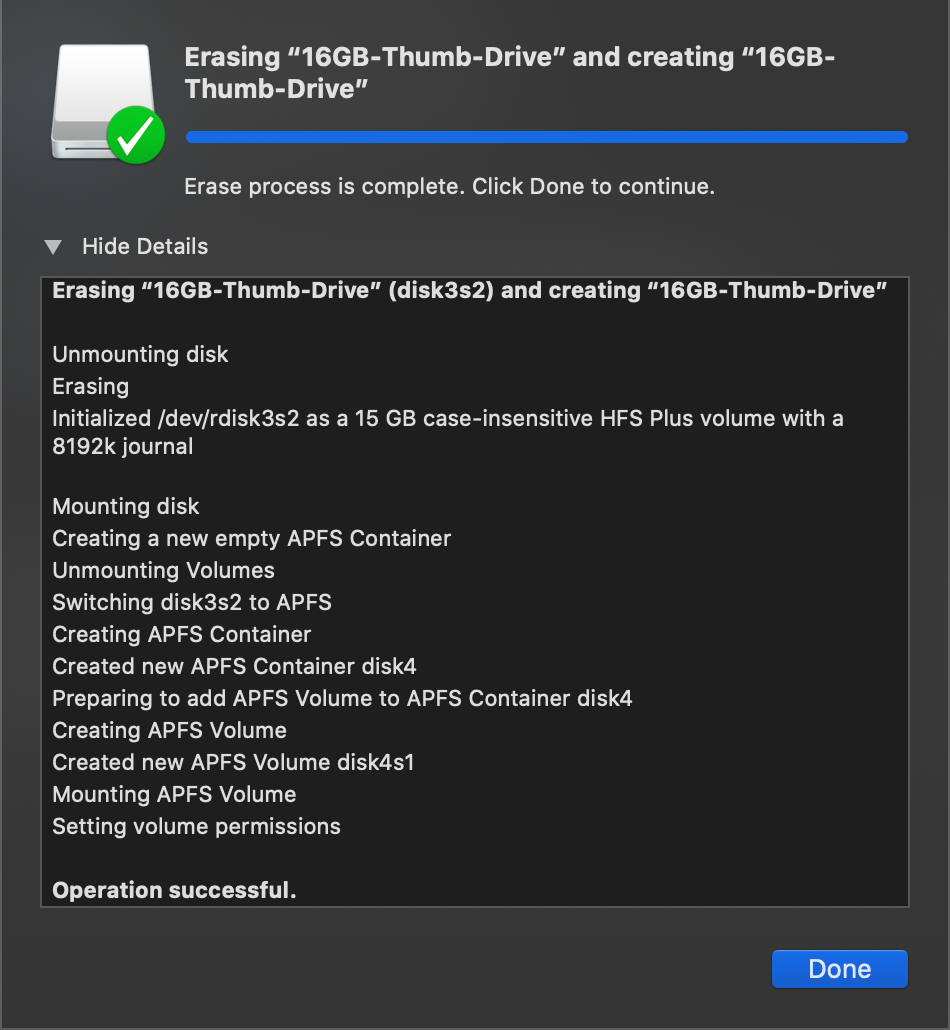
Once the operation has completed, you should get a screen similar to the one below.
Hope this helps.
Recent posts
-

-

Had a customer with over 200 static routes on... Full Story
-

This is a work in progress, I will be... Full Story
