In FortiOS 7.4, Fortinet enhanced the ability to do... Full Story
By Manny Fernandez
November 14, 2019

Initial Config for a Stand Alone Checkpoint 1450 Appliance
I have many firewalls from many vendors. I have Palo Alto, Cisco, Juniper, SonicWall, Barracuda, and now a Checkpoint. Since I do not have a Central Manager, I am setting this one up as a stand-alone device or managed locally.

Connect your PC to port1 of the firewall and set your computer for DHCP. Open your web browser and browse to https://192.168.1.1:4434
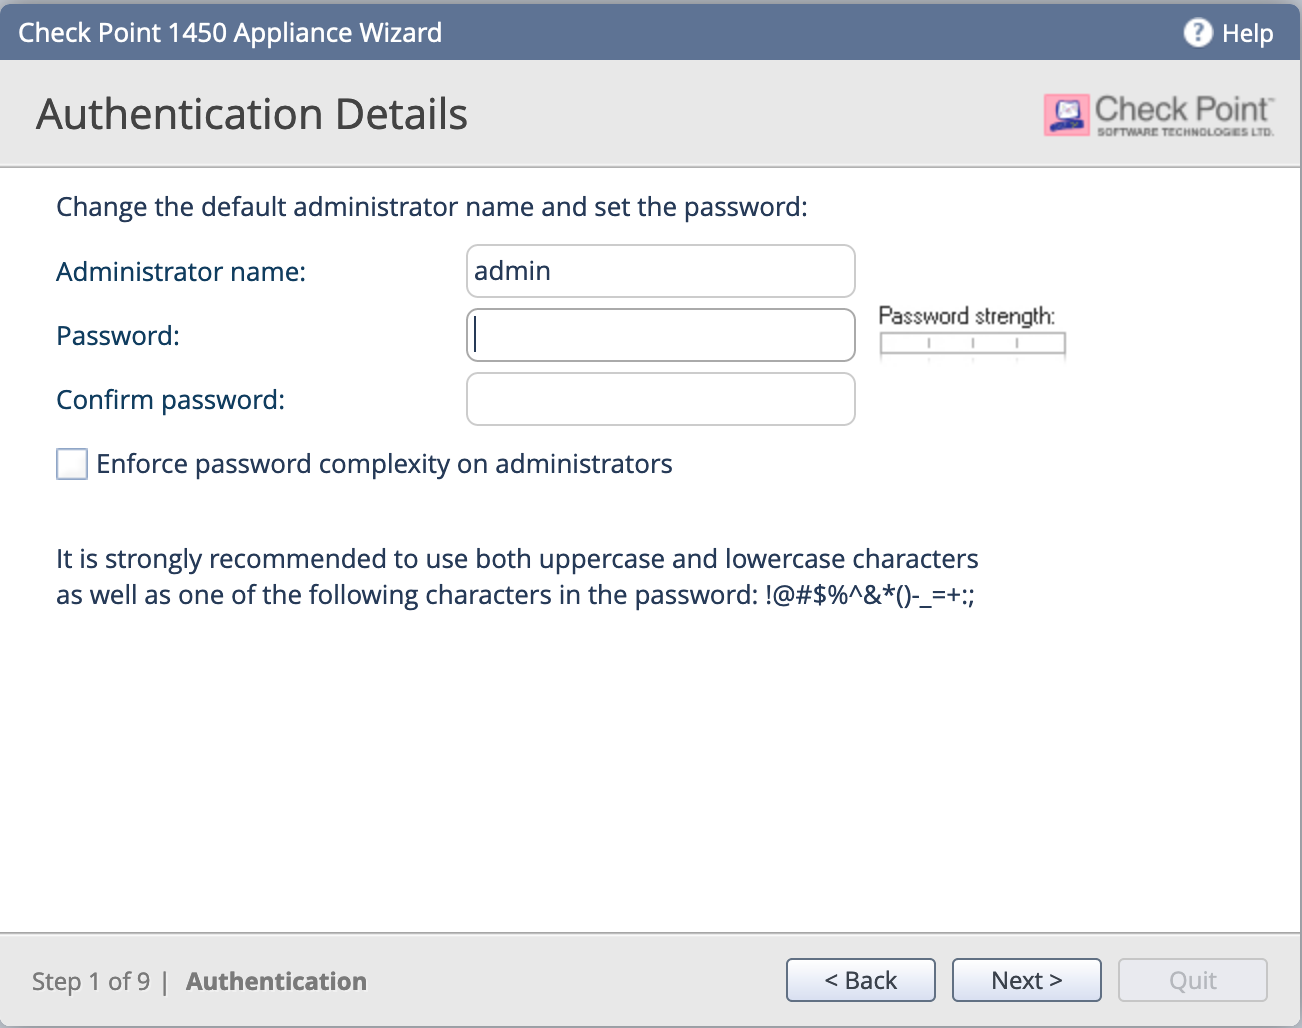
You will need to set and administrator name and password. Optionally, you can Enforce Password Complexity and hit Next
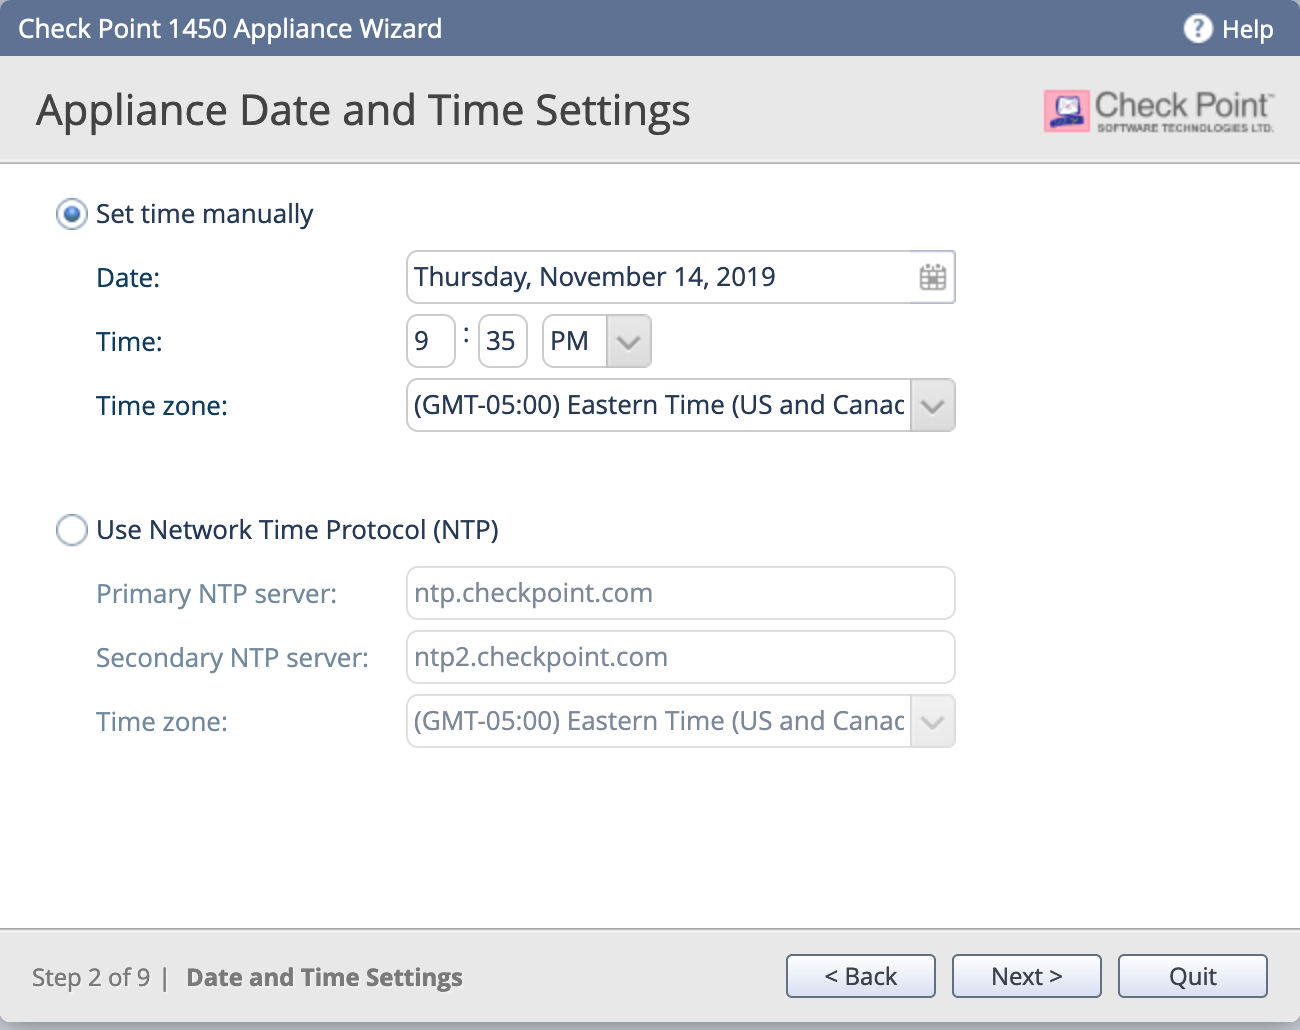
Next, we will set the Date, Time and Time Zone
And click Next
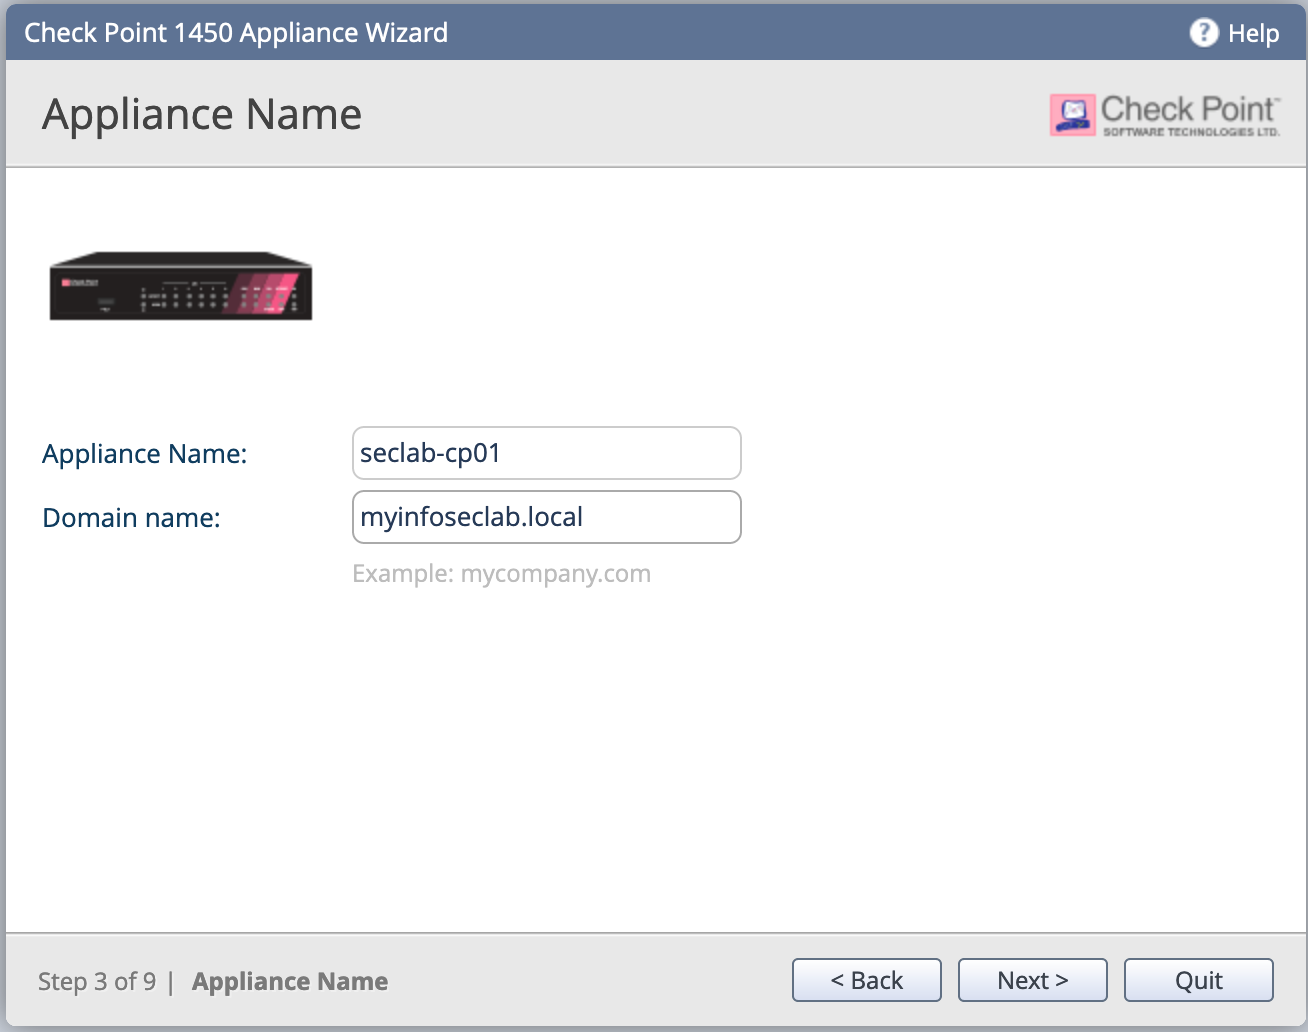
Next we will assign a host name and the corresponding domain name.
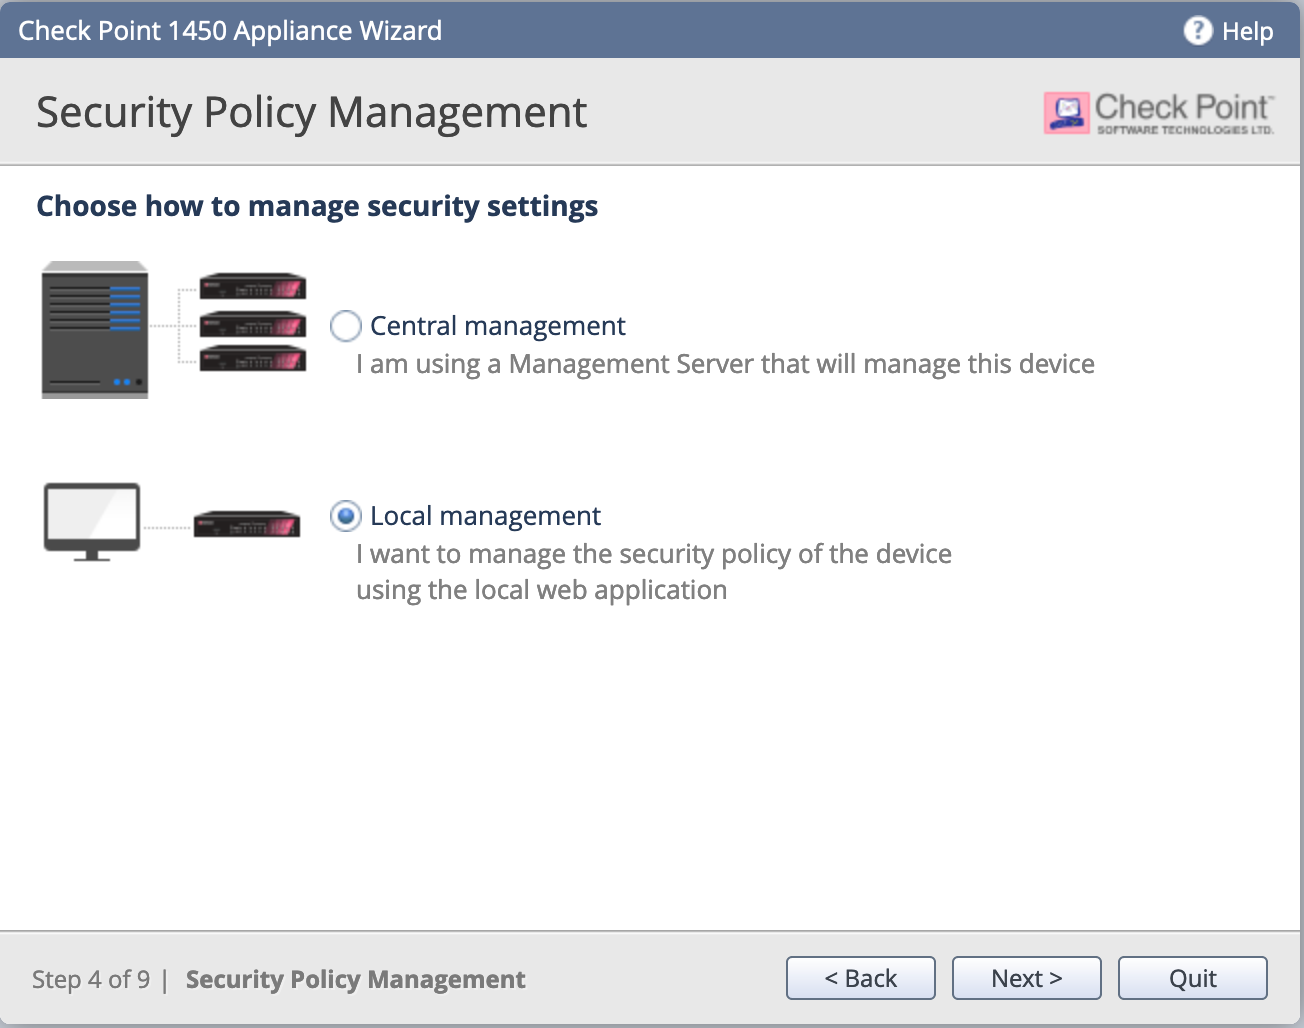
As I stated before, I do not have a Central Manager so I will choose Local management
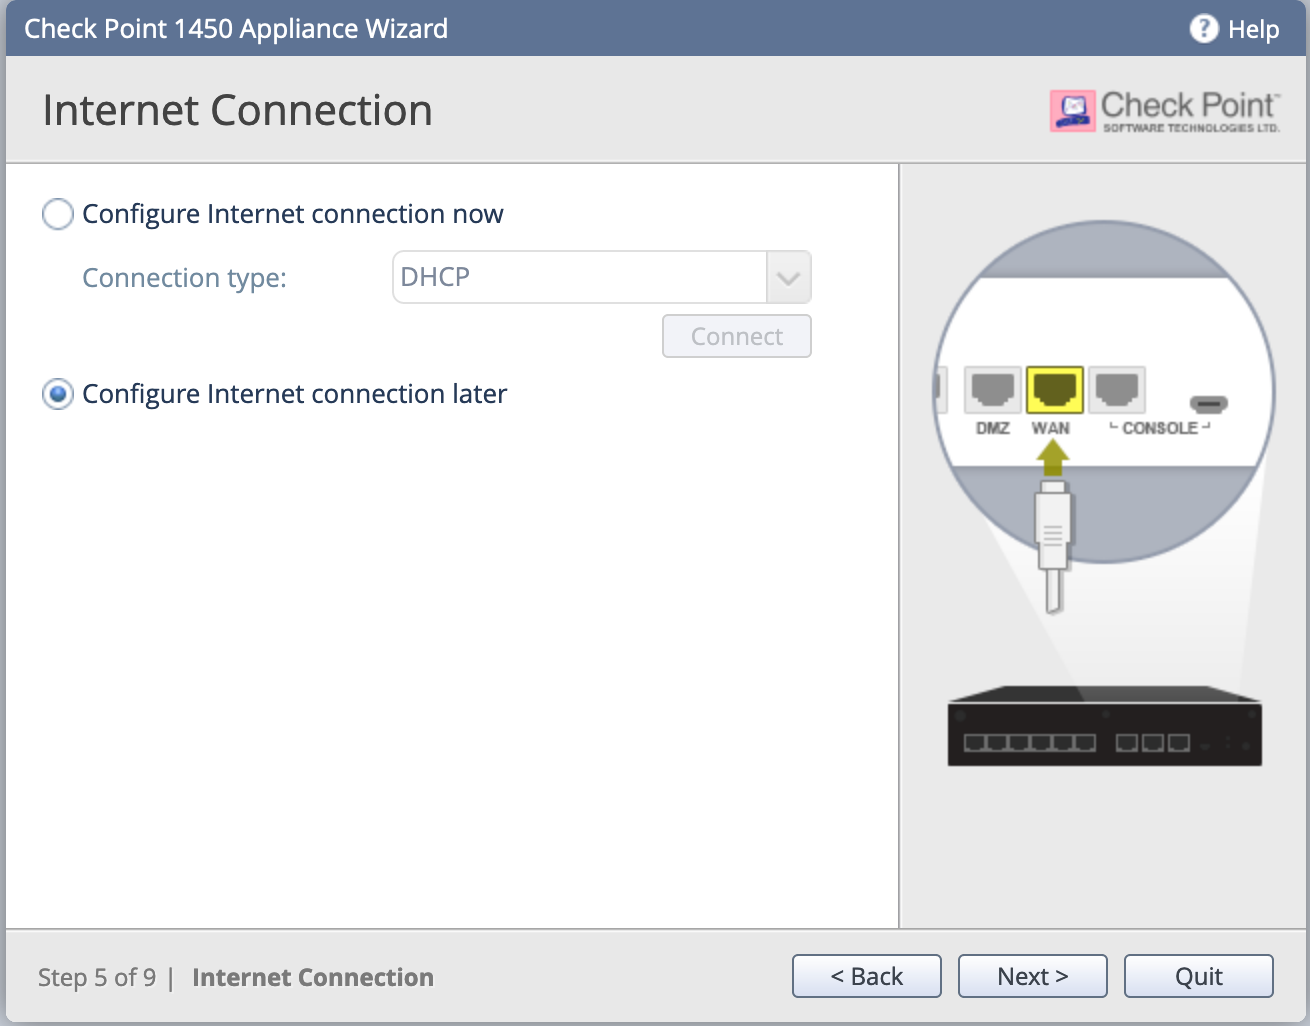
Since I am not putting this on the REAL Internet, I am going to choose the Configure Internet connection later
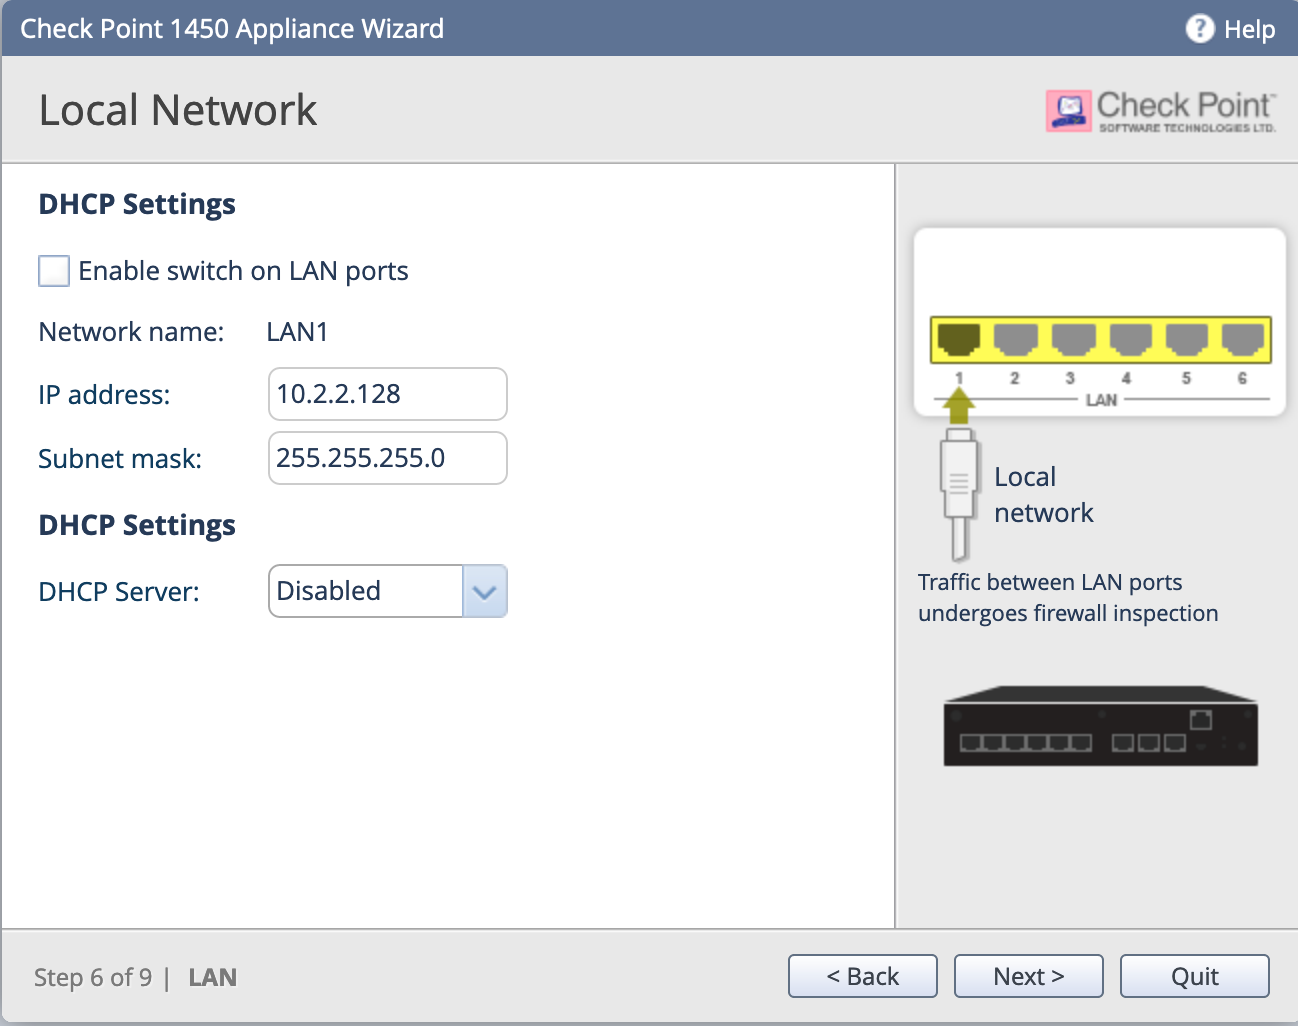
Next, I am going to disable the local switch since I only want to use port1 as the management interface and the others may be connected to other devices in my lab. Since I have other devices on my management port, I am disabling the DHCP server on this LAN.
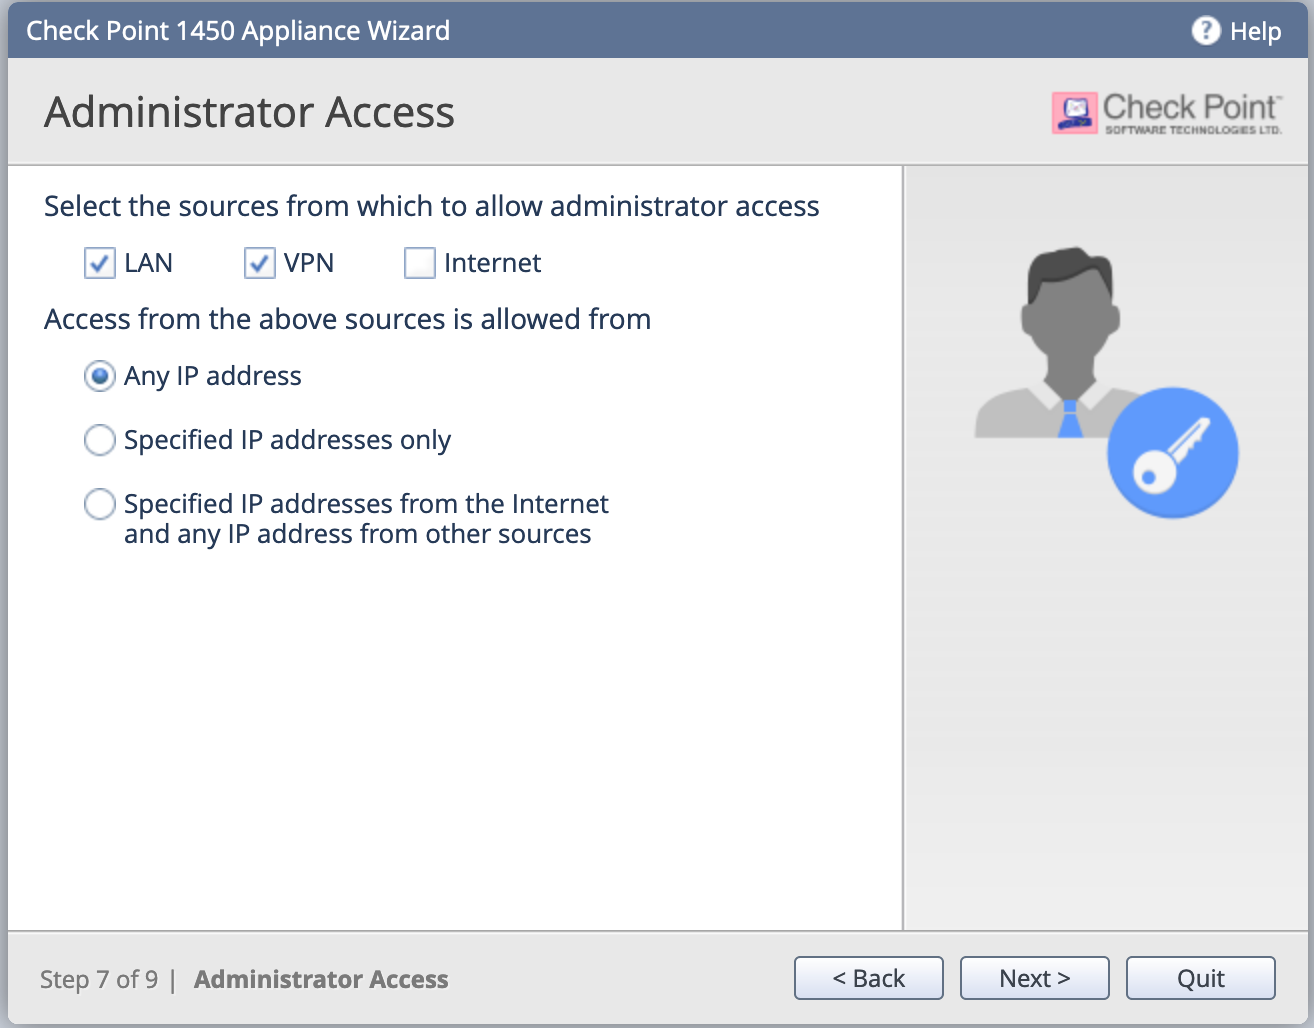
Here we can define what interfaces I want to allow management from. In my case, I am choosing the default which is LAN and VPN. We can also configure trusted hosts where we can permit access from certain IPs and/or subnets.
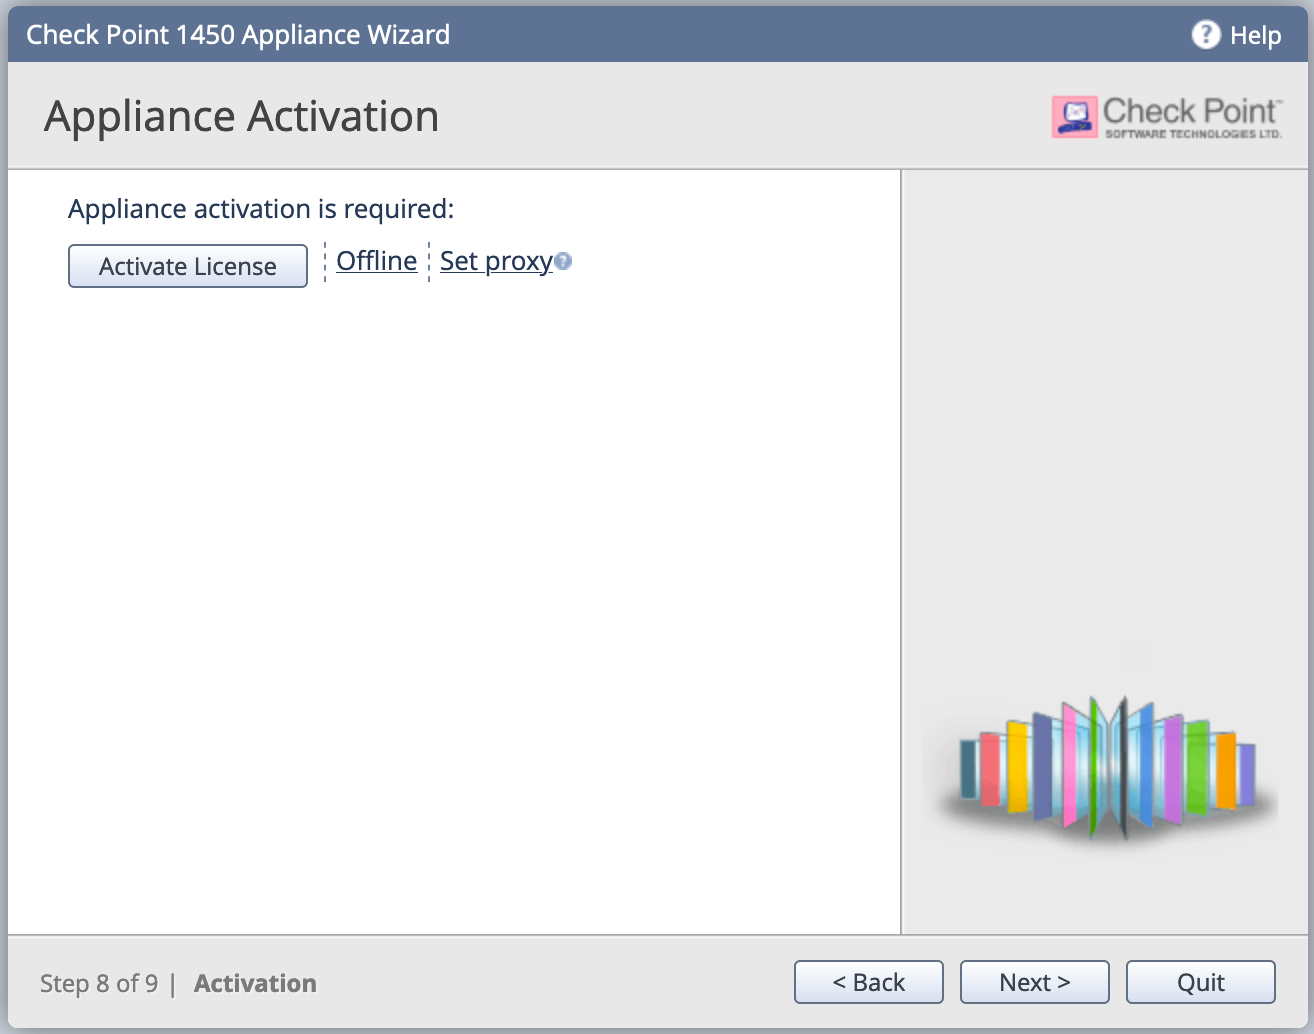
Since I do not have lics for this device, I am just going to hit Next

You will of course get an error telling you that by skipping this step, you are going to use the trial license.
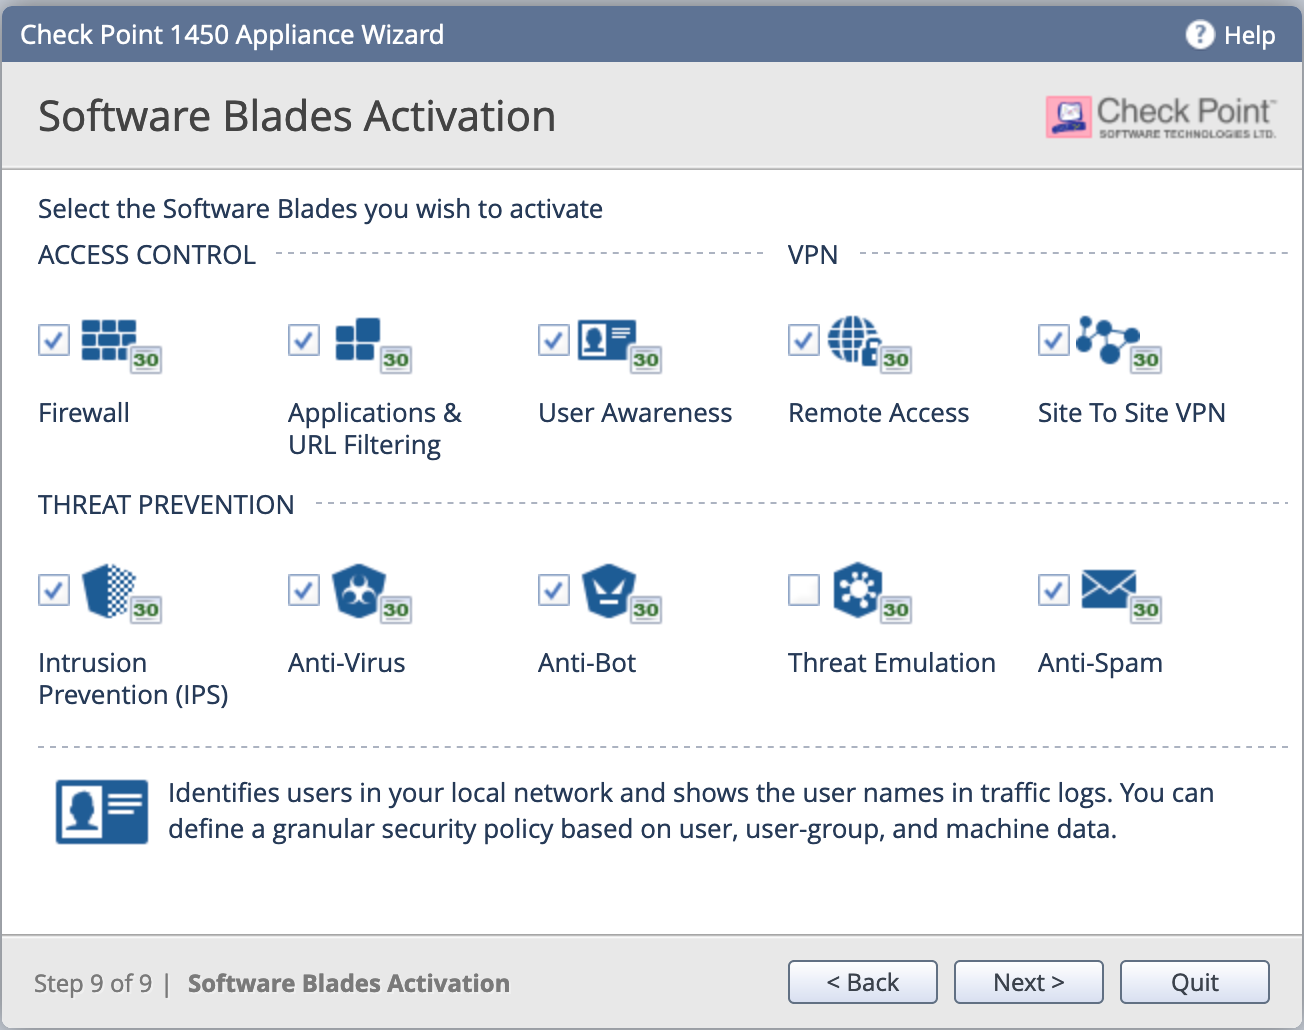
Now we will enable the various BLADES which is analogous to features you want to enable.
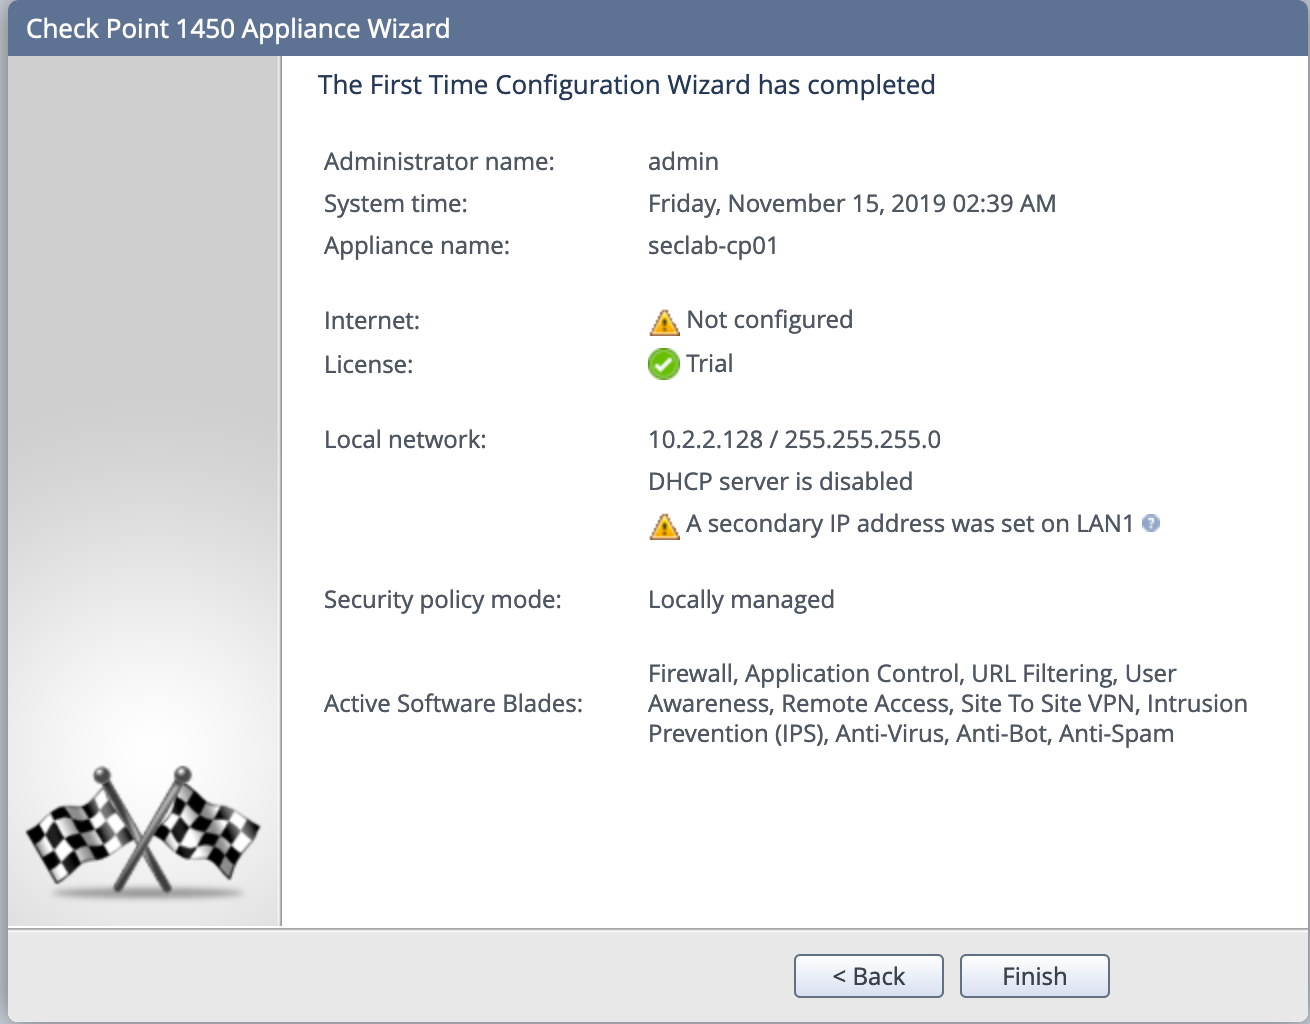 Lastly, we have the final validation where you need validate your configuration and hit
 Finish
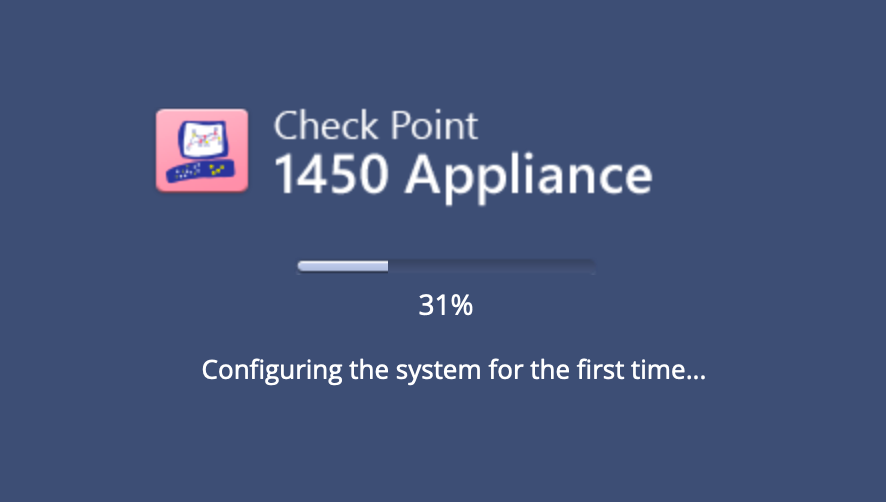
You will see the device rebooting.
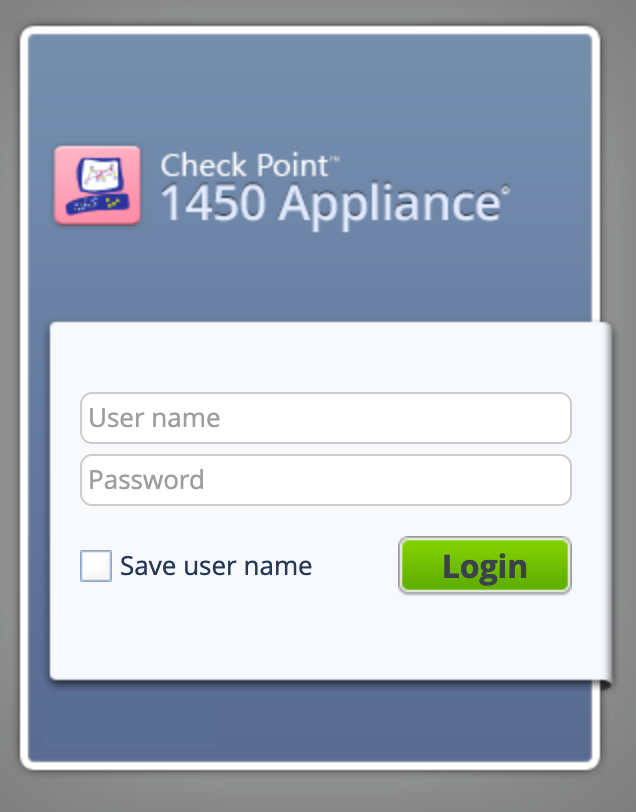
Now you can log in with the IP address you set,
Recent posts
-

-

Apple shortcuts have been an amazing addition to IOS. ... Full Story
-

Years ago, when I started using FortiGates, I had... Full Story
