At its core, IEEE 802.1X is a network layer... Full Story
By Manny Fernandez
September 13, 2019

Installing and Configuring FSSO
Fortinet Single Sign On or FSSO as it is called, is an agent that is installed on a Windows server that monitors log-on and log-off activity on the domain and provides the info to the Fortigate. This allows you to create policies that match Active Directory Groups. Additionally, this will populate the logs with the username instead of just the IP Address.
In 6.2.x, this process was modified and I will touch on it here as well, but expect a separate, in-depth post on it. There are a few ways to do this and I covered one of them on another blog post. In this post, I will cover the FSSO Agent.
Where to Find the FSSO Install
You will need access to the support.fortinet.com . Once you log in, you will need to..

Choose Download .
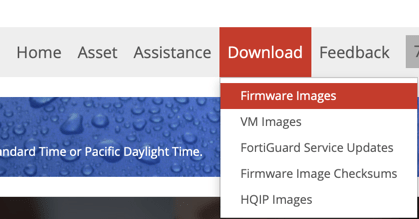
Then choose Firmware Images
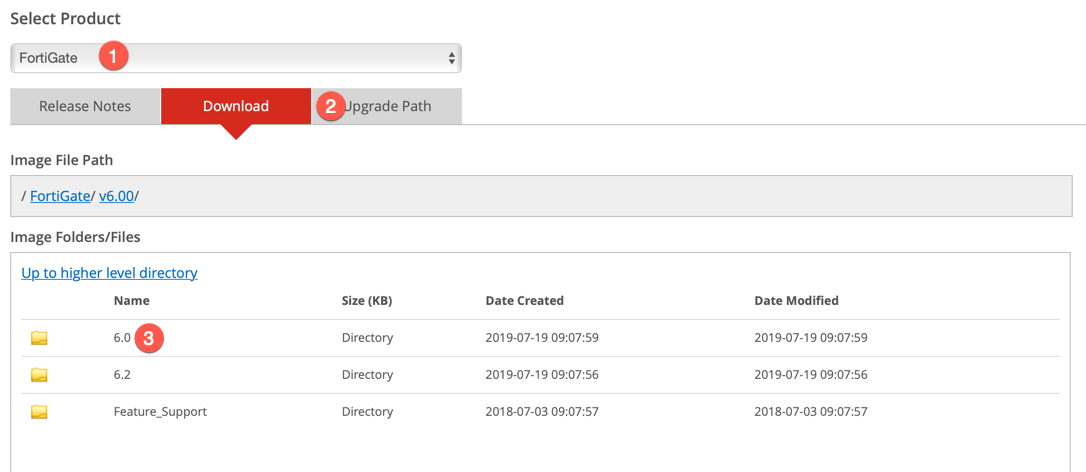
Once there, you will choose the Fortigate on the drop-down. Ensure you click on Download and then choose the train you have running on your Fortigate.
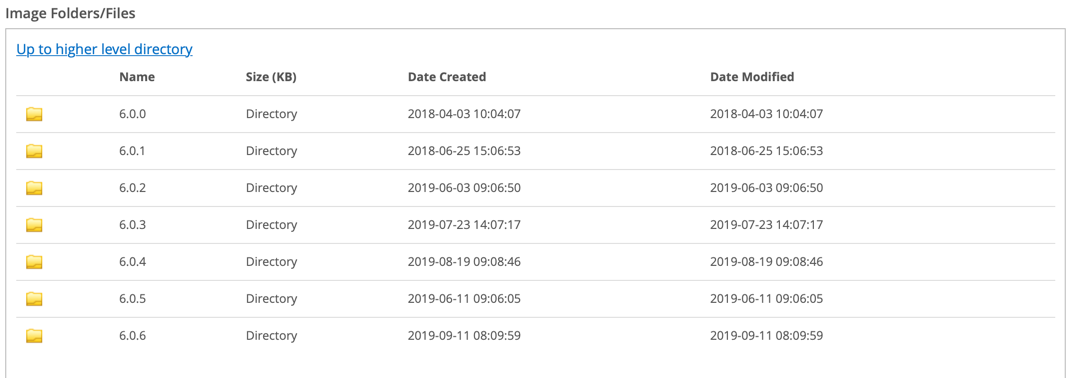
Choose the specific version you are running…
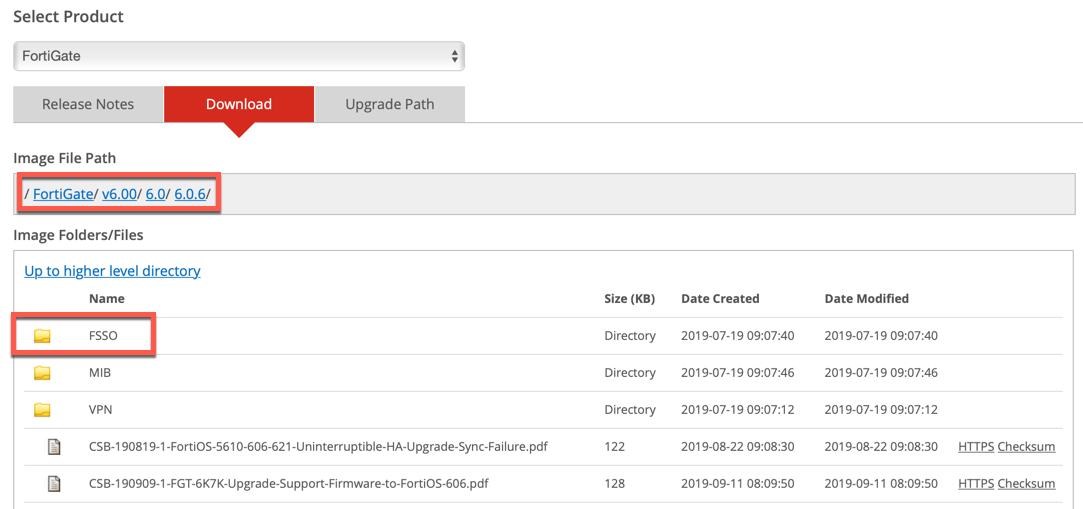
Once inside the folder, you will see a sub-folder named FSSO. This will contain all the FSSO files you need.
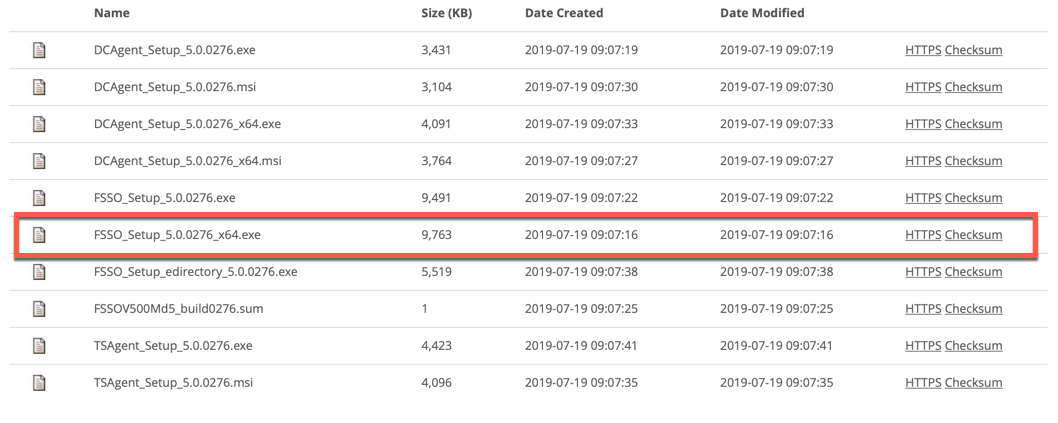
In most cases, you will use the FSSO_Setup_*_x64.exe . This file contains the DC Agent. You also have the TSAgent files which allow you to install on a Terminal Server or a PC that is being shared between users. To download the file, click on the HTTPS link. Don’t forget to check the Checksum as well.
Installing the FSSO Agent
Now that we have downloaded the file, we will need to install it.

Here we see the Windows Executable
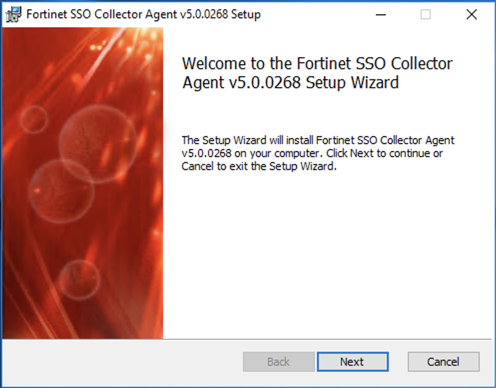
Choose Next which you are going to repeat.
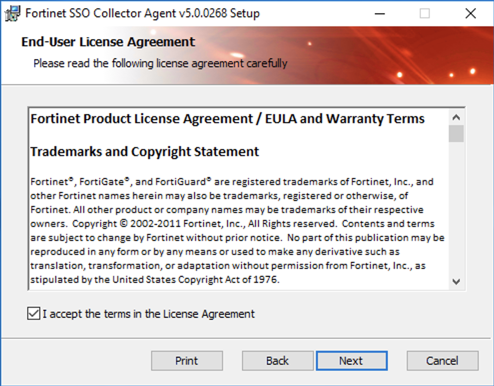
Read and Accept (if you do in fact accept) the EULA.
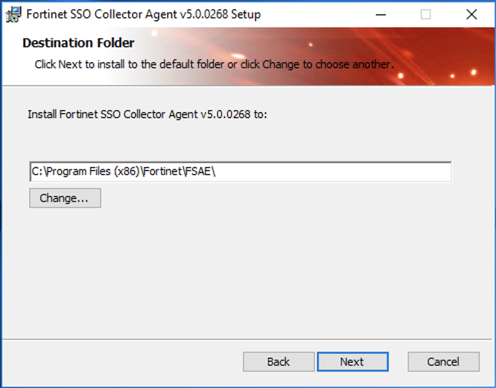
Choose the target directory and click Next
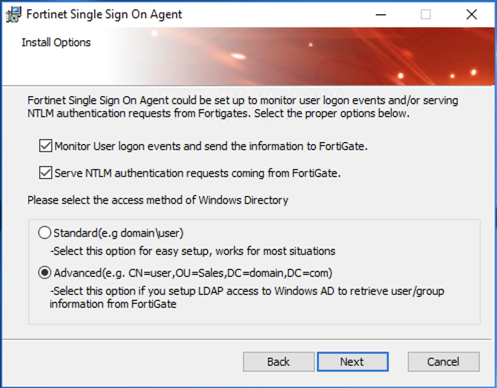
By default, the install will choose Standard but you will want to change that to Advanced and hit Next
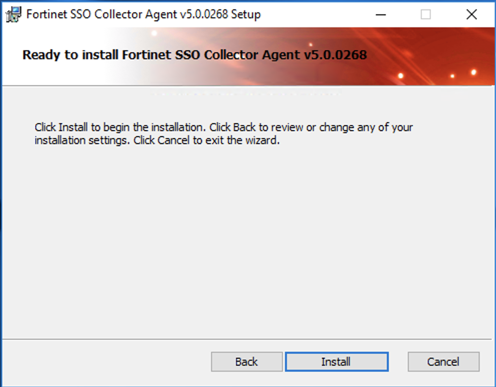
Choose Install
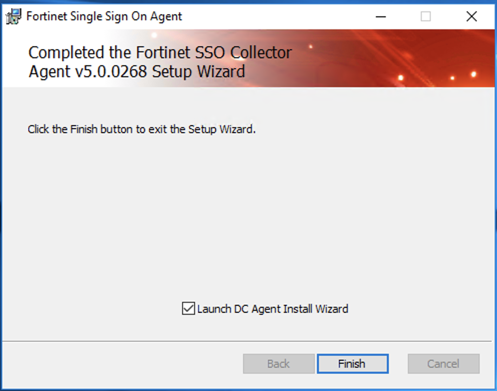
Ensure that you have the Launch DC Agent Install Wizard and hit Finish
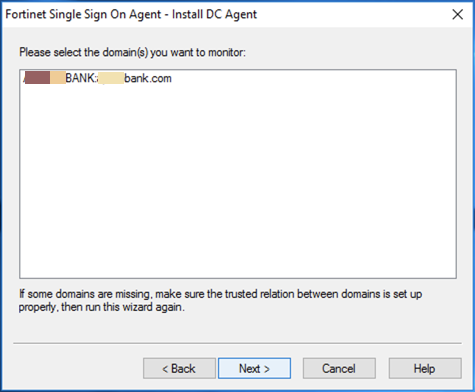
The DC Agent will see what Domains this server is a member of and will ask you to click on it. In the above Screenshot, the domain is NOT selected. If it was, you would have seen it in Blue which I did select after taking the screenshot.

As you can see, we have the FSSO installed. It is now ready for you to change the Password under the Authentication portion of the screen.
If you want to validate that it is working, you can click on the Show Logon Users and it will show you what the FSSO is seeing from a logged in user perspective.
The install will discover the Domain Controllers in your environment and ask you to install the DC agent. This will require a reboot.
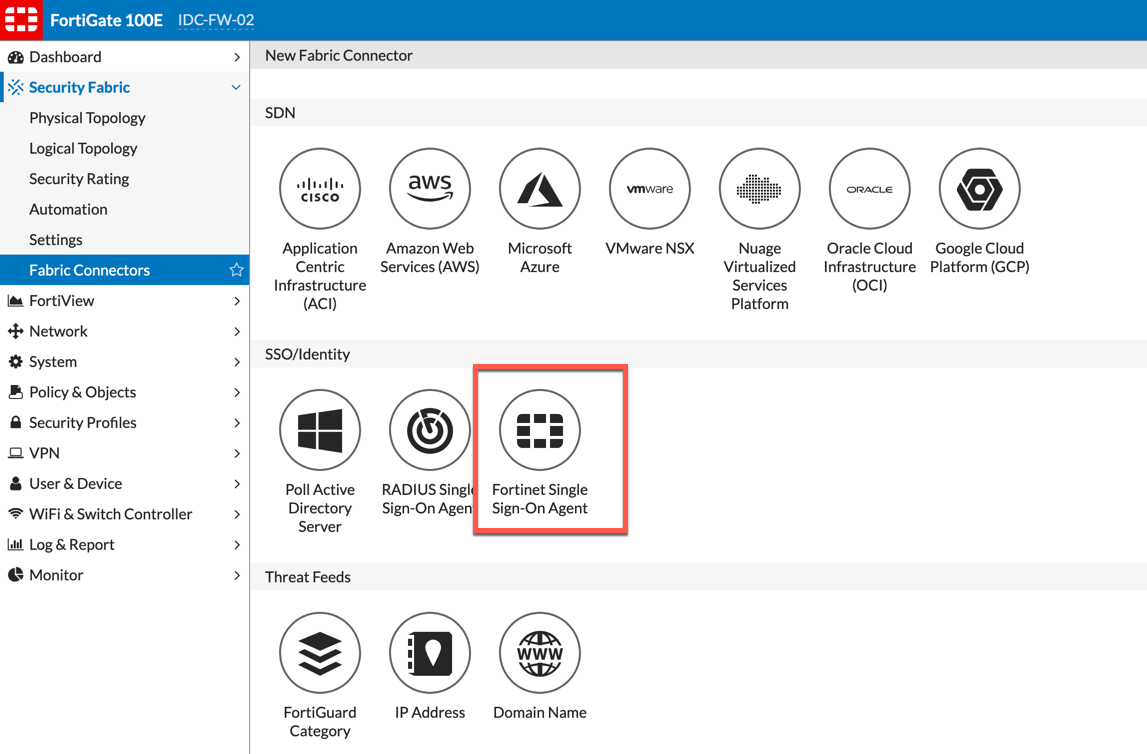
Creating the Fabric Connector
Once you have the FSSO Agent installed, head back to the Fortigate(s). Go to Security Fabiric then Fabric Connectors. Choose Create New
You will need to fill in the following:
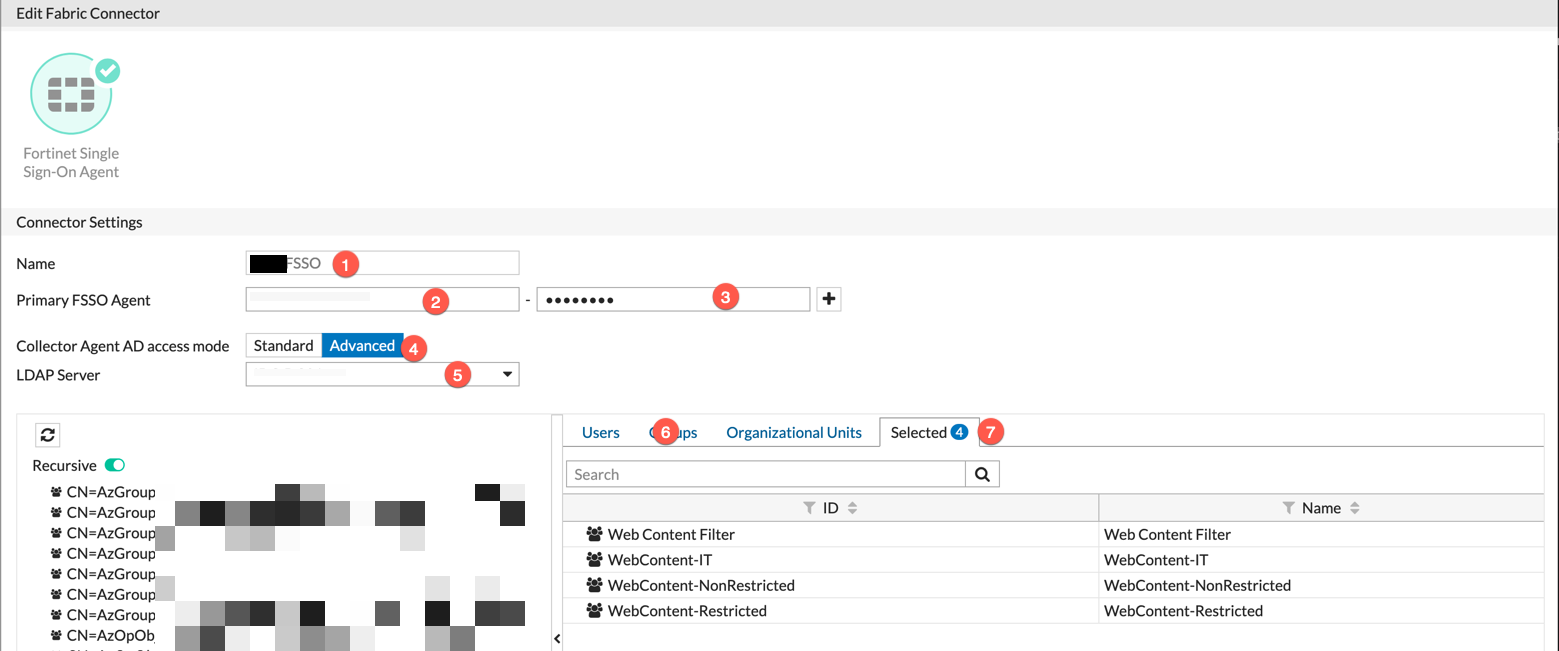
- Give it a name
- The IP address of the FSSO Agent we installed (The Windows Server)
- The Password (see above)
- Choose
Advanced - Select your LDAP server from the Drop Down.
- Choose
Groupsthen right click on them andAdd to Selected - Now you can double check the
Selected
Now you will create a group under User & Devices then User Groups.
NOTE: In 6.2 you will be able to use the groups directly in the policy without having to use this step.
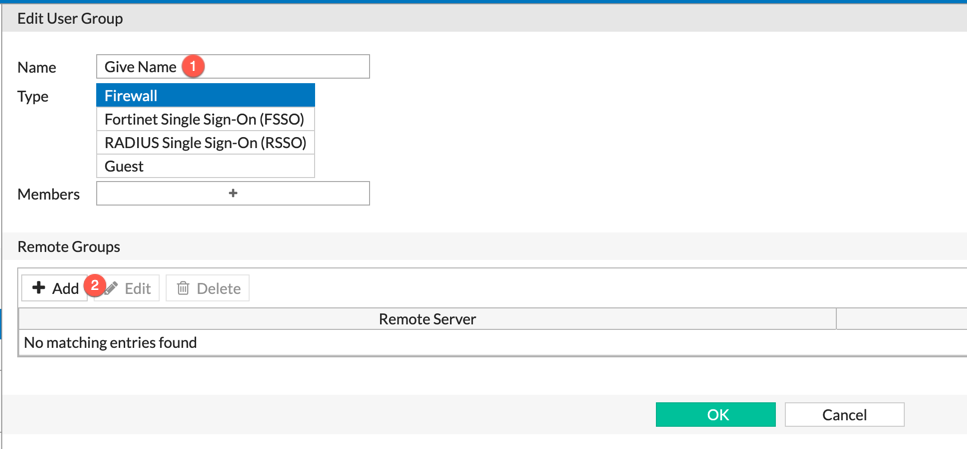
As you can see, we are creating a Group . We need to assign a name to it, then choose the Remote Groups section and hit Add. You will need to select the DC and then the groups, similar to what we did in the Fabric Connector side.
Creating the Policy
Now that you have all the pieces in place, we will create a policy.
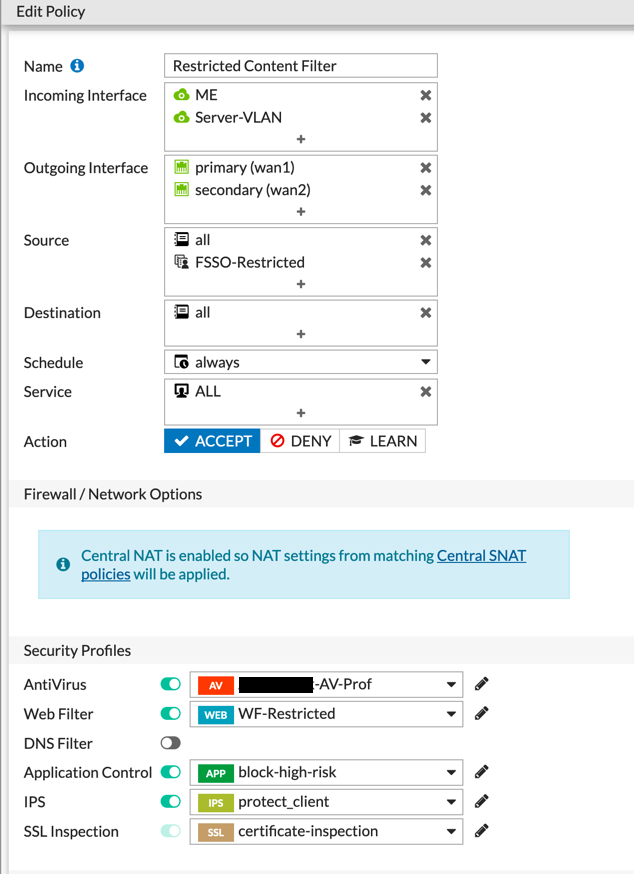
As you can see, we created a new Policy and under Source, we chose all and then under the User tab, we chose the correct group.
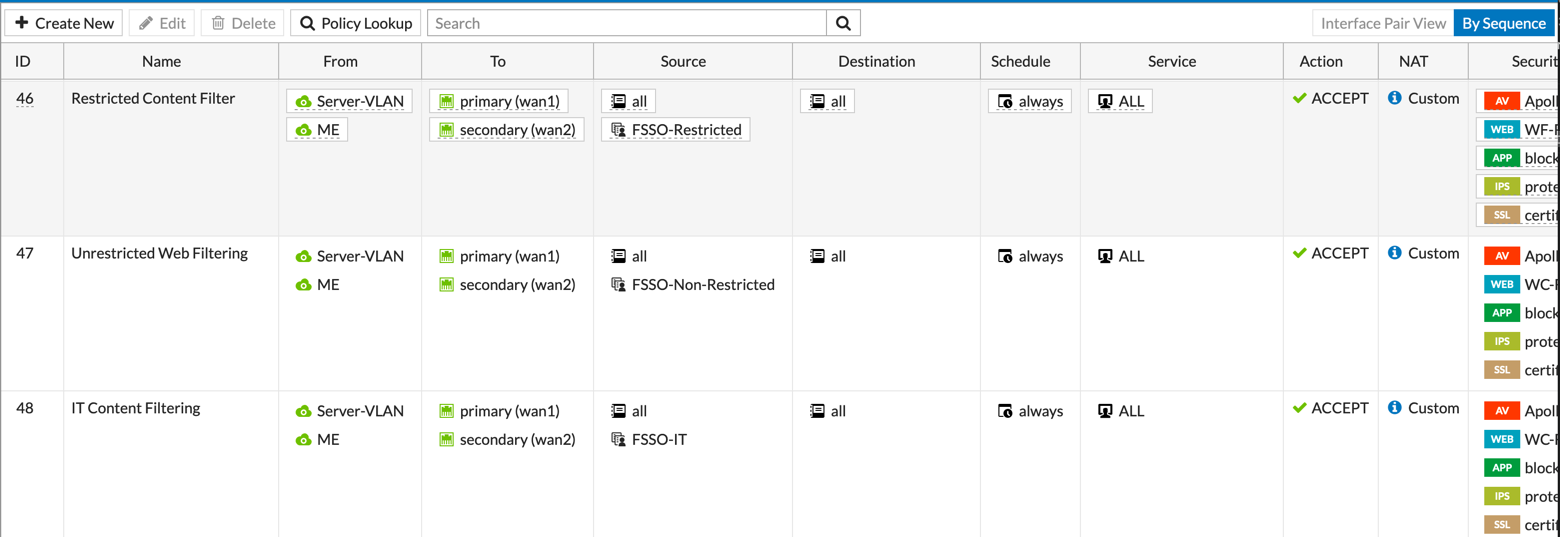
You should now see you three policies with your three AD Groups.
Recent posts
-

-

In case you did not see the previous FortiNAC... Full Story
-

This is our 5th session where we are going... Full Story
-

Now that we have Wireshark installed and somewhat configured,... Full Story
-

The Philosophy of Packet Analysis Troubleshooting isn't about looking... Full Story