At its core, IEEE 802.1X is a network layer... Full Story
By Manny Fernandez
January 26, 2026
On Screen Annotation With Ecamm Live and Video Pencil
For some time, I have been looking for an easy way to be able to do annotation or whiteboarding while on customer calls with Zoom, Teams, etc. Also, when I record training videos, this was a challenge as well. I even purchased a Wacom tablet which was not an easy thing to “master”, especially with an ultrawide monitor.
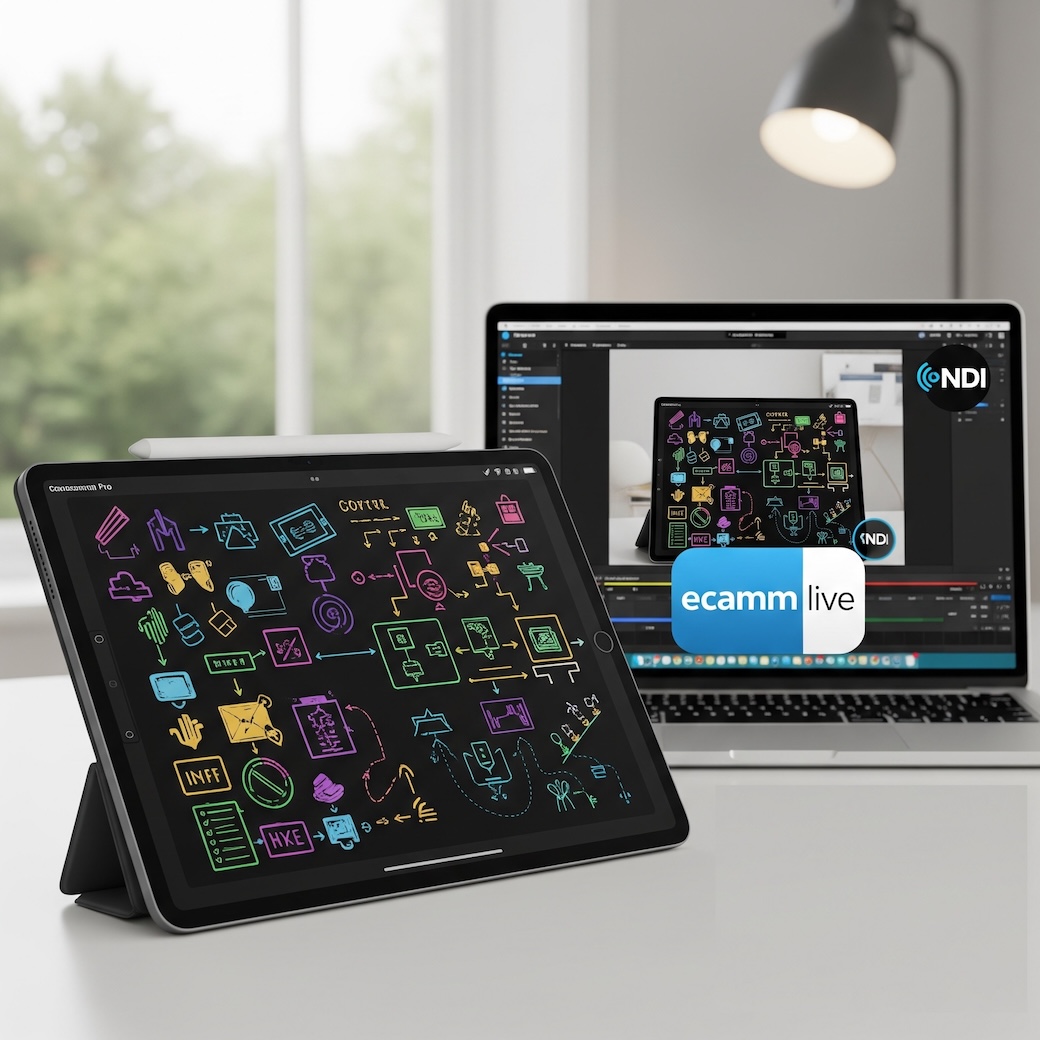
I am going to start producing video content to enhance this blog on YouTube, more to come on that. As I was researching how to share a screen “section” instead of my entire 49" main screen which would not do well with the audience, I stumbled on to NDI and the ability to use my Ecamm Live on my Mac Studio and while adding a video source of my MacBook Pro that is a 14" screen to share my browser and other apps while recording. I found a way to use NDI from an app on Apple’s App Store for my iPads (Pro 11.5 and Mini A17 Pro). The app is Video Pencil. It has a $39.00 lifetime cost but it disabled the watermark. Here is how I set it up.
What I have
Mac Studio running Ecamm Live 4.4 – This is the software where I have my scenses configured. I have multiple feeds of different cameras going into the Ecamm Live. It also allows me to have floating logos and QR codes on the screen which can be triggered during live streaming.
Stream Deck+ and Stream Deck XL – This is the control center for all that is going on. I can choose from my main 4K Cannon which is my main webcam, my Sony ZV1 mounted on a stand for overhead shots, a Logitech Brio for a side view and NOW, the NDI Feed coming from my iPads.
Microphone – Shure SM7B XLR connected to my Stream Deck + with XLR hub. (Unrelated to the solution)
El Gato Key Lights – I have two El Gato key lights also controlled through my Stream Deck+ (Unrelated to the solution)
Although I am currently not using it…. yet, Ecamm Live Pro allows you to produce a podcast and invite up to 4 guests and choose between each camera and microphone on the fly. It records each guest’s video and audio separately from the other guests for post-production.
For my post-production I use Apple’s Final Cut Pro and my son, a video editor, helps me on most of my stuff.
The App is Video Pencil available on the App Store. As stated, it has a $39.00 lifetime cost.
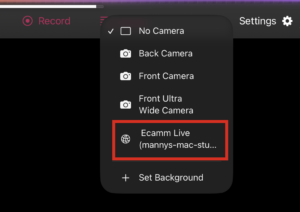
Once you install the app, You can go to the top menu in the iPad app, and you should see No Camera. If you click the drop down, you will see Back Camera, Front Camera and Front Ultra Wide.
On the Mac Studio, you will need to have Ecamm Pro Live installed. If you go to Output, then NDI Output, and there, I set mine to 1080p.

I also installed the NDI Tools for the Mac
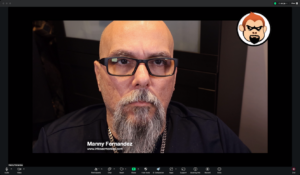
Now once you do that, you should be able to go back to the iPad and under the cameras, you should now see you Ecamm Live, in my case Ecamm Live (mannys-mac-studio)
Now when you are on a Zoom, Teams, etc and you go to share your screen, you will see the Video Pencil as an available screen.
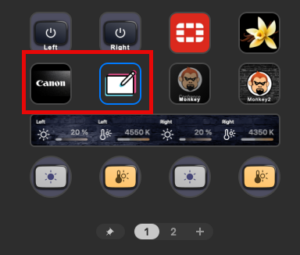
On my Stream Deck, I assigned a button for the Scene where I can choose the iPad as a virtual camera.
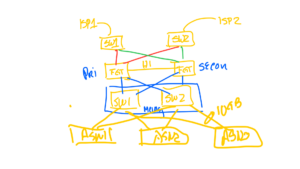
What was cool was, you can export the whiteboarding you did and send to the customer. This was a quick, and very dirty version of a diagram (don’t judge me).
Visit them below……
![]()
![]()
Hope this helps
Recent posts
-

-

In case you did not see the previous FortiNAC... Full Story
-

This is our 5th session where we are going... Full Story
-

Now that we have Wireshark installed and somewhat configured,... Full Story
-

The Philosophy of Packet Analysis Troubleshooting isn't about looking... Full Story