If you've spent any time configuring user authentication on... Full Story
By Manny Fernandez
November 25, 2019
Fortinet FIT / Tinycore Linux Static IP addressing
Last night, I decided to deploy the Fortinet FIT OVA which is essentially a packet generator that pushes attacks, web categories and the like to a FortiAnalyzer to show customers. I wanted to set a static IP as opposed to the dynamic IP it came with. I put together a small article showing how to do this. The way Tinycore works is based on a Live environment. When you reboot, it will revert back by default. There may be other ways of doing this but this is what worked for me with my situation.
Creating Internet Script
Here I will show you the basic file needed to assign a static IP address to the FIT OVA or Tinycore Linux installation.
cd /opt
vi eth0.sh
Above we can see that we are “changing directory” to /opt then issuing the vi command to load the text editor VI. Once you are inside the vi editor, you can type the letter i to enter into edit mode.
#!/bin/sh


sleep 1
if [ -f /var/run/udhcpc.eth0.pid ]; then
kill `cat /var/run/udhcpc.eth0.pid`
sleep 0.1
fi


ifconfig eth0 10.1.106.54 netmask 255.255.255.0 broadcast 10.1.106.255
route add default gw 10.1.106.1
echo nameserver 10.1.106.43 >> /etc/resolv.conf
The first set of commands after sleep essentially kills the DHCP client from running. Next we assign the IP address, default gateway and DNS servers.
NOTE: You COULD type these commands at the command line, but upon rebooting, you would lose all configurations.
Make Script Executable
Next we are going make the file executable
sudo chmod +x /opt/eth0.sh
This command adds the “execute” or “x” privilege to the file making the file executable.
Persistence
Next we will make the configuration me made persistent by adding it to some default scripts.
echo ‘/opt/eth0.sh’ >> /opt/.filetool.lst
echo ‘/opt/eth0.sh &’ >> /opt/bootlocal.sh
The .filetool.lst contains files and folders to be backed up. The next command copies the interface script into the bootlocal.sh file which loads on boot every time.
The .filetool.lst tells Tinycore where to store files it backs up. By default it is stored in a folder under the /mnt point under a tce folder.
NOTE: You should add the following paths to the backup:
/etc/passwd
/etc/group
/etc/shadow

Above we can see the file and the path it stores it in.
mannyf@box:/opt$ cat /opt/bootlocal.sh
#!/bin/sh
# put other system startup commands here
etc/init.d/dropbear start
/opt/eth0.sh &
As you can see from the cat command, we see the /opt/eth0.sh script file has been added or appended to the bottom of the file. Since we used the >> it means to append.
Restart
Either run service network restart or reboot.
Now we will run the ifconfig command to see the results
mannyf@box:/opt$ ifconfig
eth0 Link encap:Ethernet HWaddr 00:0C:<REMOVED>
inet addr:10.1.106.54 Bcast:10.1.106.255 Mask:255.255.255.0
UP BROADCAST RUNNING MULTICAST MTU:1500 Metric:1
RX packets:2896 errors:2 dropped:309 overruns:0 frame:0
TX packets:378 errors:0 dropped:0 overruns:0 carrier:0
collisions:0 txqueuelen:1000
RX bytes:449788 (439.2 KiB) TX bytes:35824 (34.9 KiB)
Interrupt:19 Base address:0x2000
Creating a User
To create a user in Tinycore, you will need to run the adduser command which is common in other Linux distros.
mannyf@box:~$ sudo adduser monkey
Password: <Enter your Sudo user password>
Changing password for monkey
New password: <Enter new password for user monkey>
Retype password: <Re-Enter the new password for user monkey>
Password for monkey changed by root
Sudoer
In order to add the user you just created to the sudoer list, you will need a special command. Sudoers are allowed to issue the sudo command at the command line.
sudo visudo
Run the sudo visudo command and add the last line (with your user that you created under the Creating a User section).
#
# This file MUST be edited with the 'visudo' command as root.
#
# See the man page for details on how to write a sudoers file.
#

# Host alias specification

# User alias specification

# Cmnd alias specification

# User privilege specification
root ALL=(ALL) ALL
monkey ALL=(ALL) ALL
Testing Connectivity
Well if you can get to the ssh prompt you should be ok with the IP address. But lets test by pinging 4.2.2.2
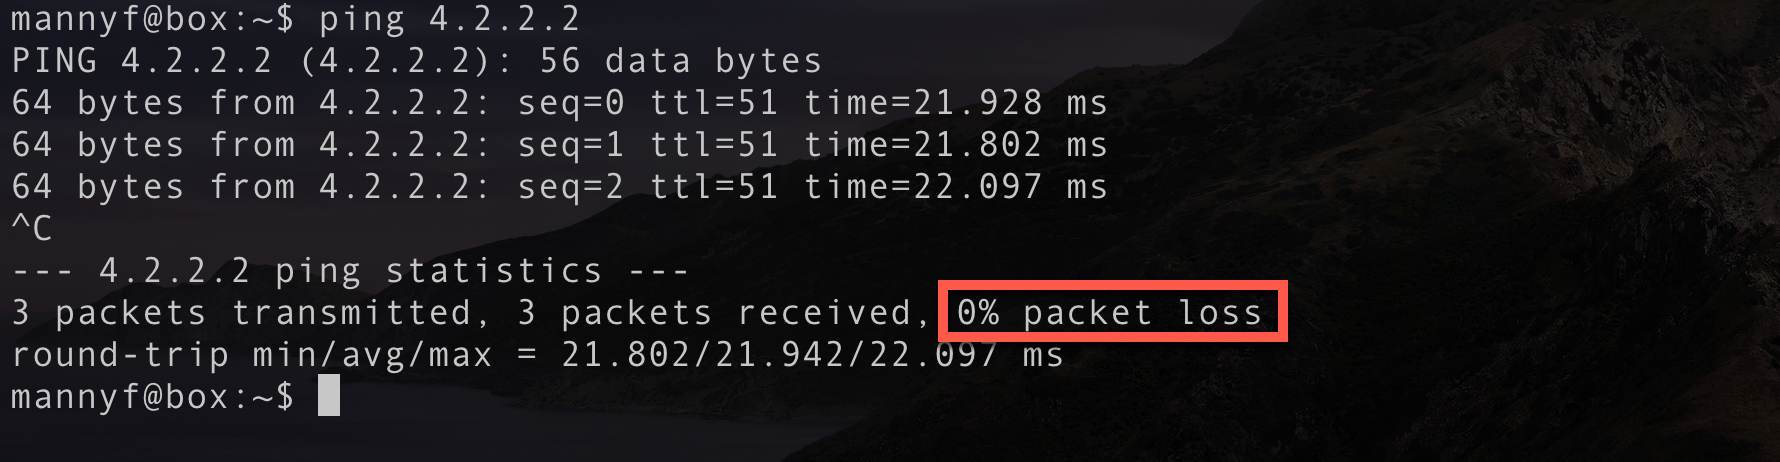
Here we can see 0% packet loss.
Hope this helps
Recent posts
-

-

DNS is one of those technologies that quietly underpins... Full Story
-

BGP issues on FortiGate firewalls usually trace back to... Full Story
-

Every time your laptop talks to your router, a... Full Story
-

If you've spent any time configuring NAT on a... Full Story
-

If you have spent any time configuring firewall policies... Full Story
-

High availability on FortiGate is one of those features... Full Story
-

If you've configured SD-WAN on a FortiGate, you've almost... Full Story
-

FortiLink is the management protocol that turns a FortiSwitch... Full Story
-

FortiSwitches are pretty rock solid from Mean Time Between... Full Story
-

This is a quicky tip. Have you ever gone... Full Story
-

DNS is one of those quiet pieces of internet... Full Story
-

This article is an updated version of the previous... Full Story
-

You will add ns2 as a secondary (slave) BIND9... Full Story
-

In the process of deploying my lab, I needed... Full Story
-

RFC 8805, used to be known as Self-Correcting IP... Full Story
-

Years back, I wrote an article about certificate pinning. ... Full Story
-

FortiGates have the ability to send alerts to Microsoft... Full Story
-

In this post, I am going to walk through... Full Story
-

Troubleshooting VoIP on a FortiGate can feel like trying... Full Story
-

Prior to FortiOS 7.0, there were three commands to... Full Story
-

In this post, I am going to go over... Full Story
-

What we are going to do: We are going... Full Story
-

Choosing between FGCP (FortiGate Clustering Protocol) and FGSP (FortiGate... Full Story
-

Creating a VLAN on macOS (The "Pro" Move) A... Full Story
-

This blog post explores the logic behind how macOS... Full Story
-

Pretty Fly for a Wi-Fi Tell My Wi-Fi Love... Full Story
-

Part of my daily gig is creating BoMs (Bill-of-Materials)... Full Story
-

ICMP introduces several security risks, but careful filtering, rate... Full Story
-

The command diag debug application dhcps -1 enables full... Full Story
-

In the world of FortiOS, execute tac report is... Full Story
-

LLDP; What is it The Link Layer Discovery Protocol... Full Story
-

What it actually does When you run diagnose fdsm... Full Story
-

Monkey Bites are bite-sized, high-impact security insights designed for... Full Story
-

I have run macOS in macOS with Parallels but... Full Story
-

Don't be confused with my other FortiNAC posts where... Full Story
-

This is the third session in a multi-part article... Full Story
-

Today I was configuring key-based authentication on a FortiGate... Full Story
-

Netcat, often called the "Swiss Army knife" of networking,... Full Story
-

At its core, IEEE 802.1X is a network layer... Full Story
-

In case you did not see the previous FortiNAC... Full Story
-

This is our 5th session where we are going... Full Story
-

Now that we have Wireshark installed and somewhat configured,... Full Story
-

The Philosophy of Packet Analysis Troubleshooting isn't about looking... Full Story
-

Have you ever wanted to do some testing on... Full Story
-

Ask ten engineers to define "a network" and you... Full Story
-

1. Executive Summary Objective: This guide turns a FortiAuthenticator... Full Story