If you've spent any time configuring user authentication on... Full Story
By Manny Fernandez
December 4, 2018

Using OpenSSL for Your Internal Servers
If you are like me, you have a bunch of servers and applications that run internally at home or in your offices. Like me, you probably just use the self-signed certificates it generates. If you are like most people, you click on the ‘accept the risk’ button and move forward. I am NOT that person and because of that, I am going to share what it is that I do.
I installed CentOS 7 from the minimal installation
Not sure why, but even though I tell the CentOS install to enable my interface at boot, it never does.
cd /etc/sysconfig/network-scripts
ls
vi ifcg-enXXXX (where XXXX is the interface name you have)
If you are like me, you do not use DHCP on a ’server’. Modify the interface file with the following:
ONBOOT=yes
IPADDR=10.1.105.48 (use your IP)
PREFIX=24 (use your mask)
GATEWAY=10.1.105.1 (use your GW)
DNS1=8.8.8.8
DNS2=4.2.2.2
The you can restart the networking by typing:
service network restart
Now you probably want some essentials (e.g. tcpdump, ifconig)
yum install net-tools (will give you ifconfig)
yum install tcpdump
Install any other service you may need.
Since you are in the installing mood, ensure you have openssl installed:
openssl version
OpenSSL 1.0.2k-fips 26 Jan 2017
You should get something like what I have above.
[root@ca /]# mkdir /opt/ca
# Create a directory under /opt named ‘ca'
[root@ca /]# cd /opt/ca/
#Move yourself into the newly created directory (folders for the noobz :-))
[root@ca ca]# mkdir certs crl newcerts private
# Create additional directories
[root@ca ca]# ls
# lets see what we did
certs crl newcerts private
[root@ca ca]# chmod 700 private
# Here we change the access to the directory
[root@ca ca]# touch index.txt
# Create an empty file named index.txt
[root@ca ca]# echo 1000 > serial
# Here we are telling the CA to start assigning serial numbers from 1000.
[root@ca ca]# cp /etc/pki/tls/openssl.cnf /opt/ca

[root@ca ca]# pwd
/opt/ca
[root@ca ca]# ls
certs crl index.txt newcerts openssl.cnf private serial
[root@ca ca]# vi openssl.cnf
# Here we will modify this file which is used to configure the openssl
Once you ‘vi’ the file, make sure that the paths line up. I had an issue because my certificate name was not matching (it was looking for cakey.pem instead of ca.key.pem)
# The root key and root certificate.
private_key = $dir/private/ca.key.pem
certificate = $dir/certs/ca.cert.pem

# For certificate revocation lists.
crlnumber = $dir/crlnumber
crl = $dir/crl/ca.crl.pem
crl_extensions = crl_ext
default_crl_days = 30

# SHA-1 is deprecated, so use SHA-2 instead.
default_md = sha256

name_opt = ca_default
cert_opt = ca_default
default_days = 3650
preserve = no
policy = policy_strict
You need to modify these paths. Mostly it is the first one and the others follow with the ‘directory’ variable off of the first.
openssl genrsa -aes256 -out private/ca.key.pem 4096
# This command generates a private key for your CA server.
Generating RSA private key, 4096 bit long modulus
..............................++
.........++
e is 65537 (0x10001)
Enter pass phrase for private/ca.key.pem: (enter a pass phrase)
Verifying - Enter pass phrase for private/ca.key.pem: (re-enter the pass phrase)
[root@ca ca]# chmod 400 private/ca.key.pem
# Essentially making this file read-only
[root@ca ca]# pwd
/opt/ca
# This is just me always checking where there hell I am at with ‘pwd’. Its a habit. Pwd stands for ‘print working directory'
[root@ca ca]# openssl req -config openssl.cnf -key private/ca.key.pem -new -x509 -days 7300 -sha256 -extensions v3_ca -out certs/ca.cert.pem
# Creating the public certitificate based on the private key.
Enter pass phrase for private/ca.key.pem: (enter a pass phrase)
You are about to be asked to enter information that will be incorporated
into your certificate request.
What you are about to enter is what is called a Distinguished Name or a DN.
There are quite a few fields but you can leave some blank
For some fields there will be a default value,
If you enter '.', the field will be left blank.
-----
Country Name (2 letter code) [XX]:US
State or Province Name (full name) []:FL
Locality Name (eg, city)
Fill in the information necessary for the certificate.
You can now (copy/paste, SCP, SFTP, etc) get the certificate from the CA and instll it on your machine.
You will need to create a CSR (Certificate Signing Request) on the gear you are using:
Cisco
On a Cisco switch or router you can use the following command. Depending on the version of IOS, there may be ability to use longer keys.
crypto key generate rsa general-keys label monkey-key exportable

The name for the keys will be: monkey-key
Choose the size of the key modulus in the range of 360 to 2048 for your
General Purpose Keys. Choosing a key modulus greater than 512 may take
a few minutes.

How many bits in the modulus [512]: 2048
% Generating 2048 bit RSA keys ...[OK]

crypto ca trustpoint yoursite
enrollment terminal pem
crl optional
subject-name C=US, ST=Florida, L=Pembroke Pins, O=InfoSecMonkey,
OU=Lab, CN=www.infosekmonkey.com
fqdn www.yourdomain.com
rsakeypair monkey-key
exit

FORIGATE (Mostly any Fortinet device)
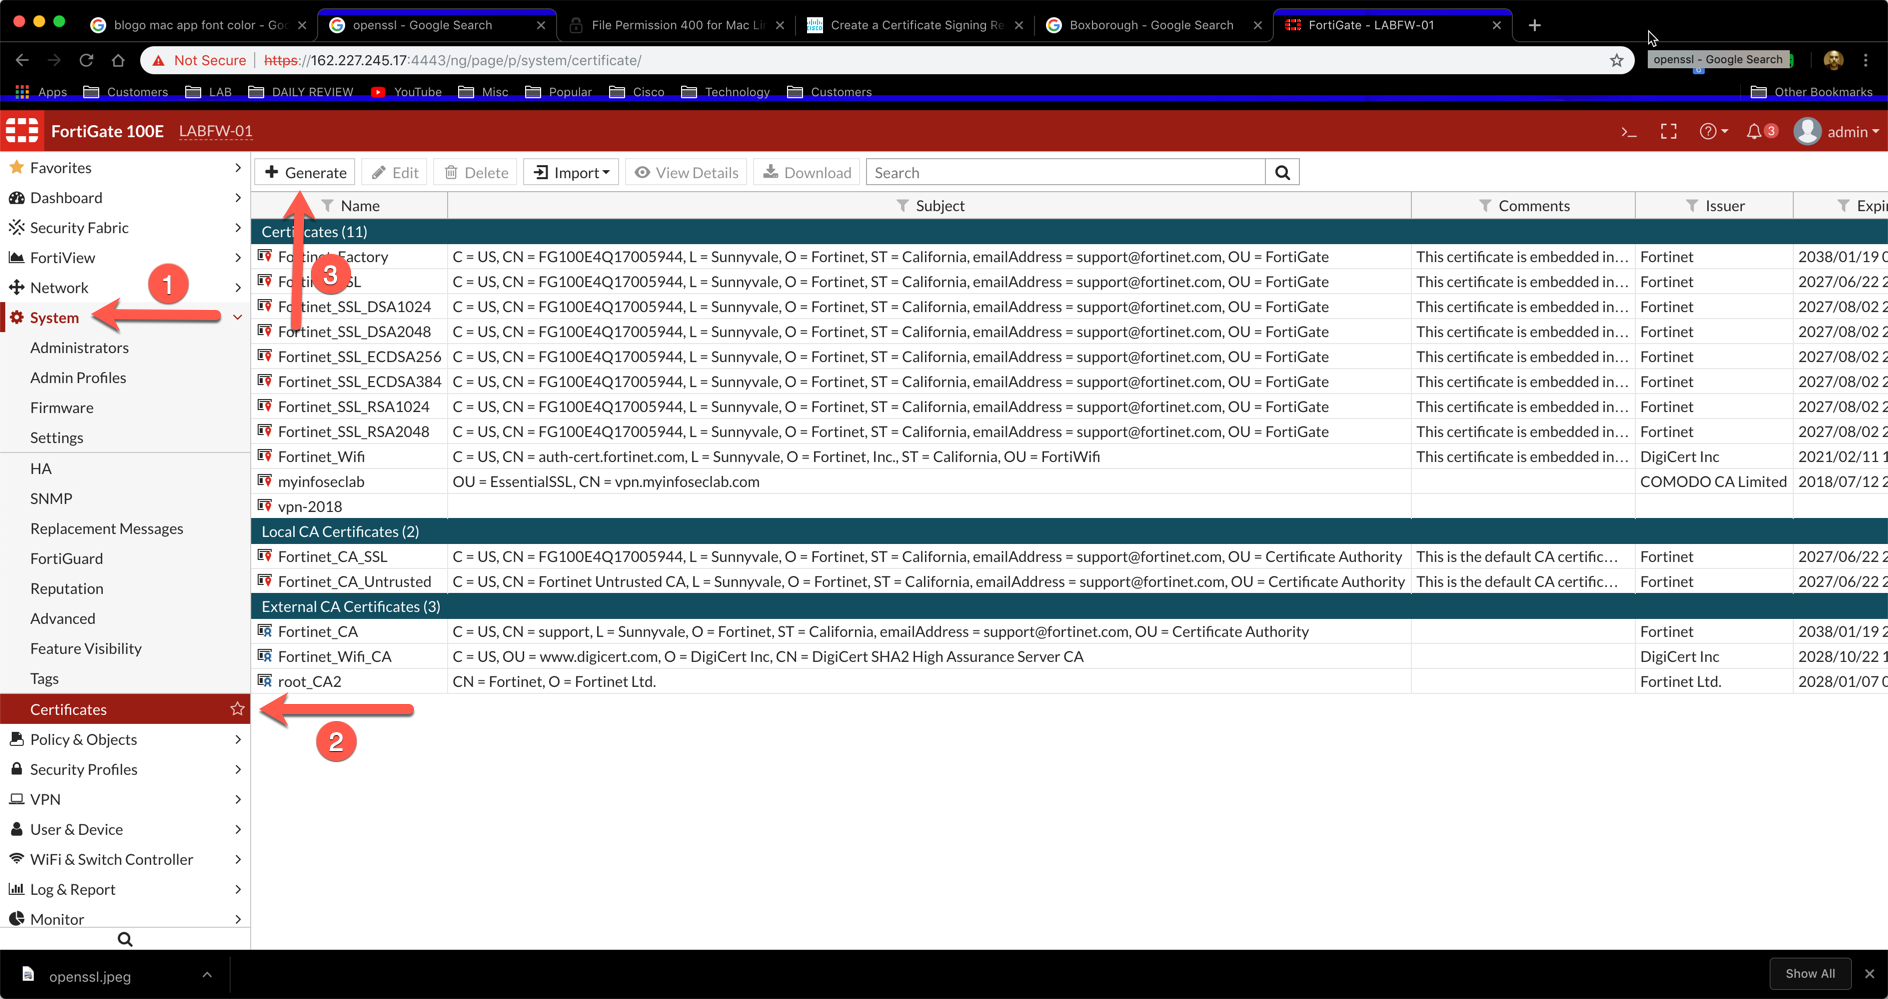
Launch the GUI and ensure that you have ‘Certificates’ selected in the ‘Feature Visibility’. Go to System, then Certificates. You will then ‘Generate’
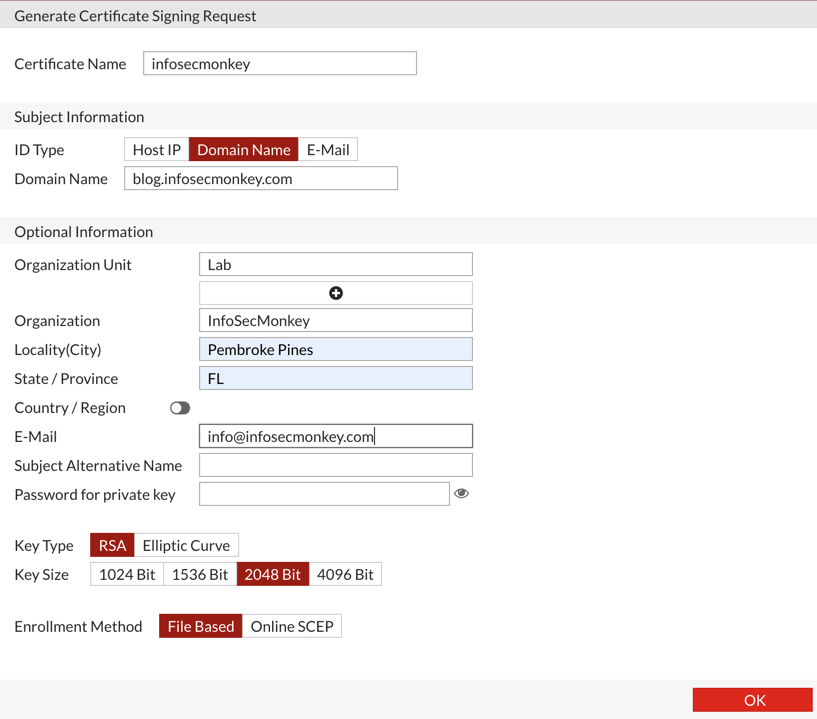
Fill out the pertinent information and hit OK.
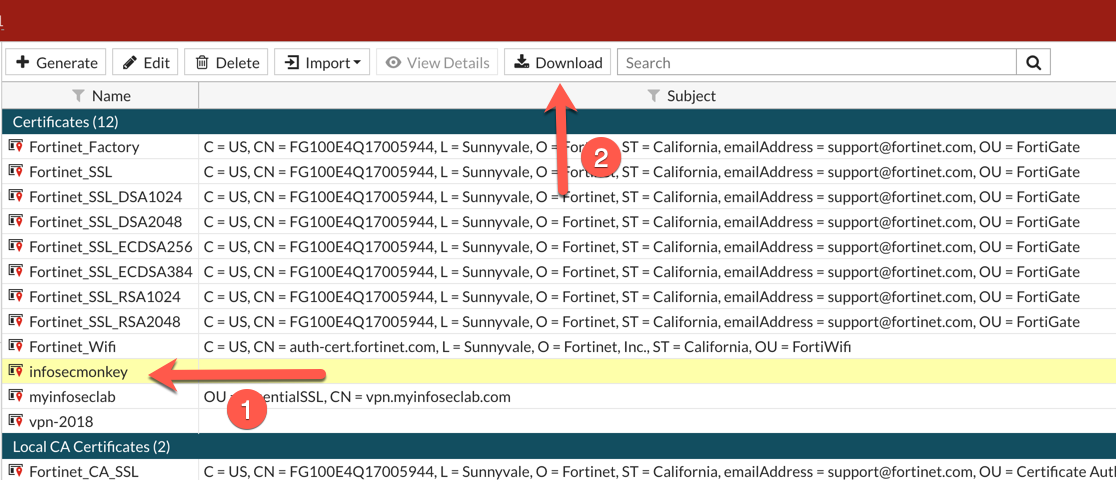
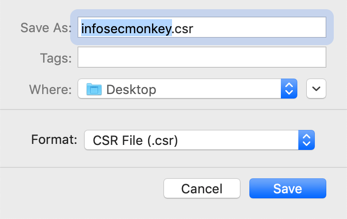
Now you can download the file and save it.
Once you get the CSR, you can either transfer it to the CA or open it, copy and create a new file on the CA server then paste. You can now run the following command.
openssl ca -config /opt/ca/openssl.cnf -out monkey.crt -infiles monkey.csr
This command will use the openssl.cnf as a config file. It will use the monkey.csr to create a certificate named monkey.crt.
You can now export (copy/paste, SCP, SFTP, etc) the certificate to install on the device.
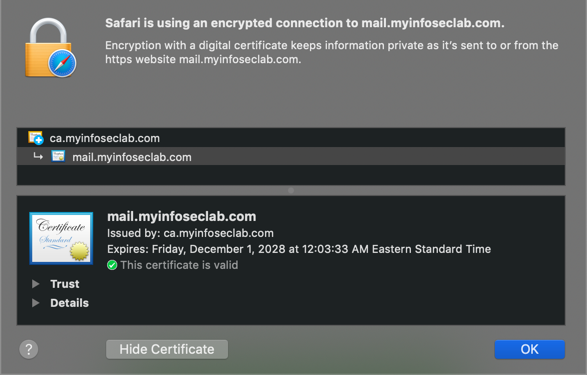
Now when you connect to the server/device, you will not be prompted for certificate being untrusted. (Yes I know that is another device and not monkey.myinfoseclab.com but I had already done this one.
NOTE: You will need to connect to the device via its FQDN or it will give you the untrusted error. You may need to either modify your /etc/hosts (or comparable) and/or add a record to your DNS. Setting up DNS will be another blog post :-).
Recent posts
-

-

DNS is one of those technologies that quietly underpins... Full Story
-

BGP issues on FortiGate firewalls usually trace back to... Full Story
-

Every time your laptop talks to your router, a... Full Story
-

If you've spent any time configuring NAT on a... Full Story
-

If you have spent any time configuring firewall policies... Full Story
-

High availability on FortiGate is one of those features... Full Story
-

If you've configured SD-WAN on a FortiGate, you've almost... Full Story
-

FortiLink is the management protocol that turns a FortiSwitch... Full Story
-

FortiSwitches are pretty rock solid from Mean Time Between... Full Story
-

This is a quicky tip. Have you ever gone... Full Story
-

DNS is one of those quiet pieces of internet... Full Story
-

This article is an updated version of the previous... Full Story
-

You will add ns2 as a secondary (slave) BIND9... Full Story
-

In the process of deploying my lab, I needed... Full Story
-

RFC 8805, used to be known as Self-Correcting IP... Full Story
-

Years back, I wrote an article about certificate pinning. ... Full Story
-

FortiGates have the ability to send alerts to Microsoft... Full Story
-

In this post, I am going to walk through... Full Story
-

Troubleshooting VoIP on a FortiGate can feel like trying... Full Story
-

Prior to FortiOS 7.0, there were three commands to... Full Story
-

In this post, I am going to go over... Full Story
-

What we are going to do: We are going... Full Story
-

Choosing between FGCP (FortiGate Clustering Protocol) and FGSP (FortiGate... Full Story
-

Creating a VLAN on macOS (The "Pro" Move) A... Full Story
-

This blog post explores the logic behind how macOS... Full Story
-

Pretty Fly for a Wi-Fi Tell My Wi-Fi Love... Full Story
-

Part of my daily gig is creating BoMs (Bill-of-Materials)... Full Story
-

ICMP introduces several security risks, but careful filtering, rate... Full Story
-

The command diag debug application dhcps -1 enables full... Full Story
-

In the world of FortiOS, execute tac report is... Full Story
-

LLDP; What is it The Link Layer Discovery Protocol... Full Story
-

What it actually does When you run diagnose fdsm... Full Story
-

Monkey Bites are bite-sized, high-impact security insights designed for... Full Story
-

I have run macOS in macOS with Parallels but... Full Story
-

Don't be confused with my other FortiNAC posts where... Full Story
-

This is the third session in a multi-part article... Full Story
-

Today I was configuring key-based authentication on a FortiGate... Full Story
-

Netcat, often called the "Swiss Army knife" of networking,... Full Story
-

At its core, IEEE 802.1X is a network layer... Full Story
-

In case you did not see the previous FortiNAC... Full Story
-

This is our 5th session where we are going... Full Story
-

Now that we have Wireshark installed and somewhat configured,... Full Story
-

The Philosophy of Packet Analysis Troubleshooting isn't about looking... Full Story
-

Have you ever wanted to do some testing on... Full Story
-

Ask ten engineers to define "a network" and you... Full Story
-

1. Executive Summary Objective: This guide turns a FortiAuthenticator... Full Story