
If you've spent any time configuring user authentication on... Full Story
By Manny Fernandez
September 24, 2026
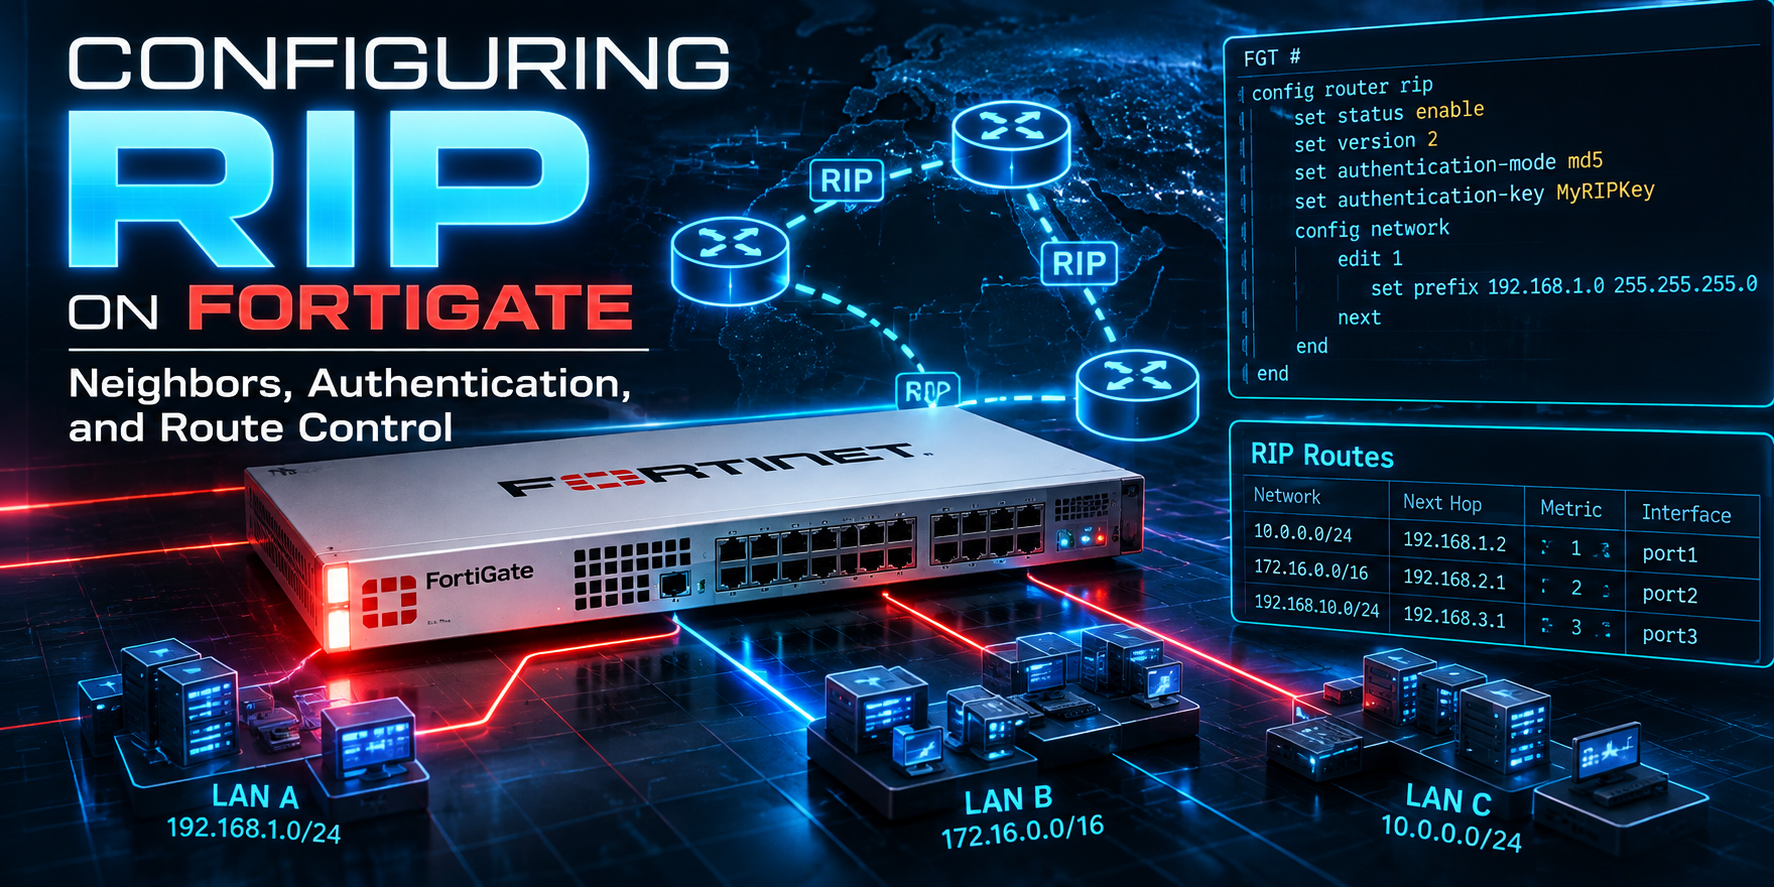
Configuring RIP on FortiGate: Neighbors, Authentication, and Route Control
Executive Summary
Objective: Stand up RIPv2 between two FortiGates, advertise their LANs, lock the adjacency down with MD5 authentication through a key chain, and control what gets advertised with passive interfaces, redistribution, and distribute lists.
Target audience: FortiGate administrators and SEs who need RIP for a legacy integration, a small branch, or a migration path, and want a clean, verifiable build rather than a checkbox walkthrough.
RIP is not what you pick for a greenfield design. OSPF or BGP will serve you better almost every time. But RIP still shows up in the field: old routers that only speak RIP, industrial and OT gear, carrier CPE, and migrations where you need a stepping stone. When it shows up, you want it configured tightly.
RIP in 60 Seconds
| Attribute | RIPv1 | RIPv2 |
|---|---|---|
| Routing type | Classful (no mask in updates) | Classless (VLSM and CIDR) |
| Update destination | Broadcast 255.255.255.255 | Multicast 224.0.0.9 |
| Transport | UDP 520 | UDP 520 |
| Authentication | None | Plain text or MD5 |
| Metric | Hop count. 15 is the maximum reachable, 16 means unreachable. | |
| Administrative distance | 120 on FortiOS (static is 10, eBGP is 20, OSPF is 110) | |
| Default timers | Update 30s, timeout 180s, garbage 120s | |
Run RIPv2. There is no good reason to run v1 in 2026 unless the peer physically cannot do anything else.
Prerequisites and Architecture
Assumed knowledge
Comfort with the FortiOS CLI, interface configuration, and reading the routing table. Familiarity with distance-vector concepts (split horizon, poison reverse, hop count) helps but is not required.
Lab topology
Two FortiGates connected over a /30 transit link, each with a LAN behind it. Addressing follows the InfoSecMonkey convention: 198.18.0.0/15 for transit, 10.0.0.0/16 for internal LANs.
   10.0.1.0/24                                        10.0.2.0/24
   [ LAN-A ]                                          [ LAN-B ]
       |                                                  |
  port3 10.0.1.1                                    port3 10.0.2.1
   +---------+   port2                     port2    +---------+
   |  FGT-A  |---   198.18.1.1/30----198.18.1.2/30---|  FGT-B  |
   +---------+               RIPv2 (UDP 520)         +---------+
Components
| Component | Role | Details |
|---|---|---|
| FGT-A | RIP speaker | port2 198.18.1.1/30 (transit), port3 10.0.1.1/24 (LAN) |
| FGT-B | RIP speaker | port2 198.18.1.2/30 (transit), port3 10.0.2.1/24 (LAN) |
| FortiOS | Platform | 7.2, 7.4, or 7.6. The config router rip syntax is stable across these trains. |
| VDOM | Scope | RIP is configured per VDOM. In multi-VDOM mode, enter the right VDOM first. |
Step-by-Step Implementation
Step 1: Expose RIP in the GUI (optional)
Goal: Make the RIP page visible if you want GUI access.
Action: Go to System > Feature Visibility and enable Advanced Routing. The Network > RIP page appears. Everything below is shown in CLI, because the CLI exposes options the GUI does not.
Step 2: Build the authentication key chain
Goal: Prevent rogue or misconfigured routers from injecting routes.
Action: Create an identical key chain on both FortiGates. The key ID and key string must match on both ends.
config router key-chain
    edit "RIP-KEYS"
        config key
            edit "1"
                set key-string <SHARED_SECRET>
                set accept-lifetime 00:00 01 01 2026 00:00 01 01 2038
                set send-lifetime 00:00 01 01 2026 00:00 01 01 2038
            next
        end
    next
end
Lifetimes let you rotate keys without an outage: add key 2 with an overlapping accept window, then retire key 1. If you leave lifetimes unset the key never expires, which is fine for a lab and a liability in production.
Step 3: Enable RIPv2 and define networks
Goal: Tell FortiOS which interfaces participate in RIP and which prefixes to advertise.
Action: The network table does two jobs: any interface whose address falls inside a listed prefix sends and receives RIP, and that interface’s connected subnet gets advertised. On FGT-A:
config router rip
    set version 2
    config network
        edit 1
            set prefix 198.18.1.0 255.255.255.252
        next
        edit 2
            set prefix 10.0.1.0 255.255.255.0
        next
    end
    set passive-interface "port3"
end
On FGT-B, use the same transit prefix and swap the LAN to 10.0.2.0 255.255.255.0.
passive-interface keeps the LAN prefix in the advertisements but stops FortiOS from sending RIP updates out port3. Nothing on a user LAN should be hearing or speaking RIP. Make this a habit on every stub interface.
Step 4: Configure the RIP interface settings
Goal: Attach authentication and pin versions on the transit link.
Action: Apply on both FortiGates:
config router rip
    config interface
        edit "port2"
            set auth-mode md5
            set auth-keychain "RIP-KEYS"
            set receive-version 2
            set send-version 2
            set split-horizon-status enable
            set split-horizon poisoned
        next
    end
end
| Option | What it does |
|---|---|
auth-mode |
none, text, or md5. Use md5. Text sends the password in clear. |
auth-keychain |
References the key chain from Step 2. The alternative, auth-string, sets a single static key with no rotation. |
send-version / receive-version |
Per-interface override of the global version. Set 1 2 only when migrating a v1 peer. |
send-version2-broadcast |
Sends v2 updates as broadcast instead of multicast, for peers that cannot join 224.0.0.9. |
split-horizon |
regular suppresses routes back out the interface they were learned on. poisoned advertises them back with metric 16, which converges faster when a path dies. |
Step 5: Redistribute what the network table does not cover
Goal: Advertise static routes or connected subnets without adding every interface to RIP.
Action: Redistribute through a route map so you advertise exactly what you intend. Example: send only the 10.0.50.0/24 static route on FGT-A.
config router prefix-list
    edit "PL-RIP-STATIC"
        config rule
            edit 1
                set prefix 10.0.50.0 255.255.255.0
                unset ge
                unset le
            next
        end
    next
end
config router route-map
    edit "RM-STATIC-TO-RIP"
        config rule
            edit 1
                set match-ip-address "PL-RIP-STATIC"
            next
        end
    next
end
config router rip
    config redistribute "static"
        set status enable
        set metric 2
        set routemap "RM-STATIC-TO-RIP"
    end
end
Unmatched routes hit the implicit deny at the end of the route map, so nothing else leaks. Other redistribute sources are connected, ospf, bgp, and isis.
Step 6: Originate a default route (optional)
Goal: Have the Internet-facing FortiGate hand 0.0.0.0/0 to downstream RIP speakers.
config router rip
    set default-information-originate enable
end
The FortiGate needs its own default route in the routing table for this to advertise anything.
Step 7: Filter and steer routes
Goal: Block unwanted prefixes inbound and make a backup path less preferred.
Action: A distribute list filters updates per interface and direction. An offset list adds hops to matching routes, which is how you bias path selection in a protocol that only understands hop count.
config router access-list
    edit "ACL-RIP-IN"
        config rule
            edit 1
                set action deny
                set prefix 10.0.99.0 255.255.255.0
                set exact-match enable
            next
            edit 2
                set action permit
                set prefix any
            next
        end
    next
end
config router rip
    config distribute-list
        edit 1
            set status enable
            set direction in
            set listname "ACL-RIP-IN"
            set interface "port2"
        next
    end
    config offset-list
        edit 1
            set status enable
            set direction in
            set access-list "ACL-RIP-IN"
            set offset 3
            set interface "port4"
        next
    end
end
In this example port4 is a hypothetical backup link. Routes learned there get 3 extra hops, so the port2 path wins while it is up. Keep the math in mind: every offset brings you closer to the 15-hop ceiling.
Step 8: Unicast neighbors and timers (situational)
If the link does not carry multicast (some carrier handoffs, certain tunnels), define the neighbor explicitly so updates are sent unicast:
config router rip
    config neighbor
        edit 1
            set ip 198.18.1.2
        next
    end
    set update-timer 30
    set timeout-timer 180
    set garbage-timer 120
end
Leave the timers at default unless a peer demands otherwise. They must match on both ends, and shortening them adds CPU and bandwidth load for very little gain.
Verification and Validation
Check the protocol state, interfaces, and learned routes:
get router info rip status
get router info rip interface
get router info rip database
get router info routing-table rip
Expected success on FGT-A: the RIP database shows 10.0.2.0/24 learned from 198.18.1.2 with metric 2, and the routing table shows it with AD 120.
FGT-A # get router info routing-table rip
Routing table for VRF=0
R       10.0.2.0/24 [120/2] via 198.18.1.2, port2, 00:04:12
Read [120/2] as administrative distance 120, hop count 2. Then confirm the updates on the wire:
diagnose sniffer packet port2 'udp port 520' 4 20
You should see an update toward 224.0.0.9 from each side roughly every 30 seconds. Nothing should appear on port3.
GUI verification: the Routing Monitor (under Dashboard > Network in current builds) shows RIP routes with type RIP. Finally, ping between LANs with a sourced ping: execute ping-options source 10.0.1.1 then execute ping 10.0.2.1. Routing working does not mean traffic flows; you still need firewall policies between port3 and port2.
Troubleshooting and Gotchas
1. No routes learned, updates visible in the sniffer
Almost always authentication or version mismatch. Updates arrive and get dropped silently. Turn on RIP debug:
diagnose ip router rip level info
diagnose ip router rip all enable
diagnose debug enable
# reproduce, then stop:
diagnose debug disable
diagnose ip router rip all disable
Resolution: look for authentication failure or version-mismatch messages. Compare key IDs, key strings, and lifetimes on both ends (an expired or not-yet-valid key looks exactly like a wrong password), and confirm both sides send and receive v2.
2. Interface not participating at all
The network statement does not cover the interface address, or the interface is listed as passive. get router info rip interface will not list it.
Resolution: fix the prefix and mask in config network, check show router rip | grep passive, and confirm the interface is in the VDOM where you configured RIP.
3. Route is in the RIP database but not the routing table
Something with a lower administrative distance already owns that prefix: a static route (10), eBGP (20), or OSPF (110) beats RIP at 120. It can also be a metric of 16, which means unreachable.
Resolution: run get router info routing-table details 10.0.2.0/24 to see which source won. Remove the competing route, or deliberately float a static backup above 120 so RIP stays primary. For metric 16, count hops and offsets along the path.
Full Reference Config (FGT-A)
config router key-chain
    edit "RIP-KEYS"
        config key
            edit "1"
                set key-string <SHARED_SECRET>
            next
        end
    next
end
config router rip
    set version 2
    set passive-interface "port3"
    config network
        edit 1
            set prefix 198.18.1.0 255.255.255.252
        next
        edit 2
            set prefix 10.0.1.0 255.255.255.0
        next
    end
    config interface
        edit "port2"
            set auth-mode md5
            set auth-keychain "RIP-KEYS"
            set receive-version 2
            set send-version 2
            set split-horizon poisoned
        next
    end
end
Recent posts
-

-

DNS is one of those technologies that quietly underpins... Full Story
-

BGP issues on FortiGate firewalls usually trace back to... Full Story
-

Every time your laptop talks to your router, a... Full Story
-

If you've spent any time configuring NAT on a... Full Story
-

If you have spent any time configuring firewall policies... Full Story
-

High availability on FortiGate is one of those features... Full Story
-

If you've configured SD-WAN on a FortiGate, you've almost... Full Story
-

FortiLink is the management protocol that turns a FortiSwitch... Full Story
-

FortiSwitches are pretty rock solid from Mean Time Between... Full Story
-

This is a quicky tip. Have you ever gone... Full Story
-

DNS is one of those quiet pieces of internet... Full Story
-

This article is an updated version of the previous... Full Story
-

You will add ns2 as a secondary (slave) BIND9... Full Story
-

In the process of deploying my lab, I needed... Full Story
-

RFC 8805, used to be known as Self-Correcting IP... Full Story
-

Years back, I wrote an article about certificate pinning. ... Full Story
-

FortiGates have the ability to send alerts to Microsoft... Full Story
-

In this post, I am going to walk through... Full Story
-

Troubleshooting VoIP on a FortiGate can feel like trying... Full Story
-

Prior to FortiOS 7.0, there were three commands to... Full Story
-

In this post, I am going to go over... Full Story
-

What we are going to do: We are going... Full Story
-

Choosing between FGCP (FortiGate Clustering Protocol) and FGSP (FortiGate... Full Story
-

Creating a VLAN on macOS (The "Pro" Move) A... Full Story
-

This blog post explores the logic behind how macOS... Full Story
-

Pretty Fly for a Wi-Fi Tell My Wi-Fi Love... Full Story
-

Part of my daily gig is creating BoMs (Bill-of-Materials)... Full Story
-

ICMP introduces several security risks, but careful filtering, rate... Full Story
-

The command diag debug application dhcps -1 enables full... Full Story
-

In the world of FortiOS, execute tac report is... Full Story
-

LLDP; What is it The Link Layer Discovery Protocol... Full Story
-

What it actually does When you run diagnose fdsm... Full Story
-

Monkey Bites are bite-sized, high-impact security insights designed for... Full Story
-

I have run macOS in macOS with Parallels but... Full Story
-

Don't be confused with my other FortiNAC posts where... Full Story
-

This is the third session in a multi-part article... Full Story
-

Today I was configuring key-based authentication on a FortiGate... Full Story
-

Netcat, often called the "Swiss Army knife" of networking,... Full Story
-

At its core, IEEE 802.1X is a network layer... Full Story
-

In case you did not see the previous FortiNAC... Full Story
-

This is our 5th session where we are going... Full Story
-

Now that we have Wireshark installed and somewhat configured,... Full Story
-

The Philosophy of Packet Analysis Troubleshooting isn't about looking... Full Story
-

Executive Summary Objective: Get HopMatrix installed, verified, and working... Full Story
-

Executive Summary Objective: Stand up RIPv2 between two FortiGates,... Full Story
-

Executive Summary Every FortiGate IPsec write-up tells you to... Full Story