
If you've spent any time configuring user authentication on... Full Story
By Manny Fernandez
July 19, 2026
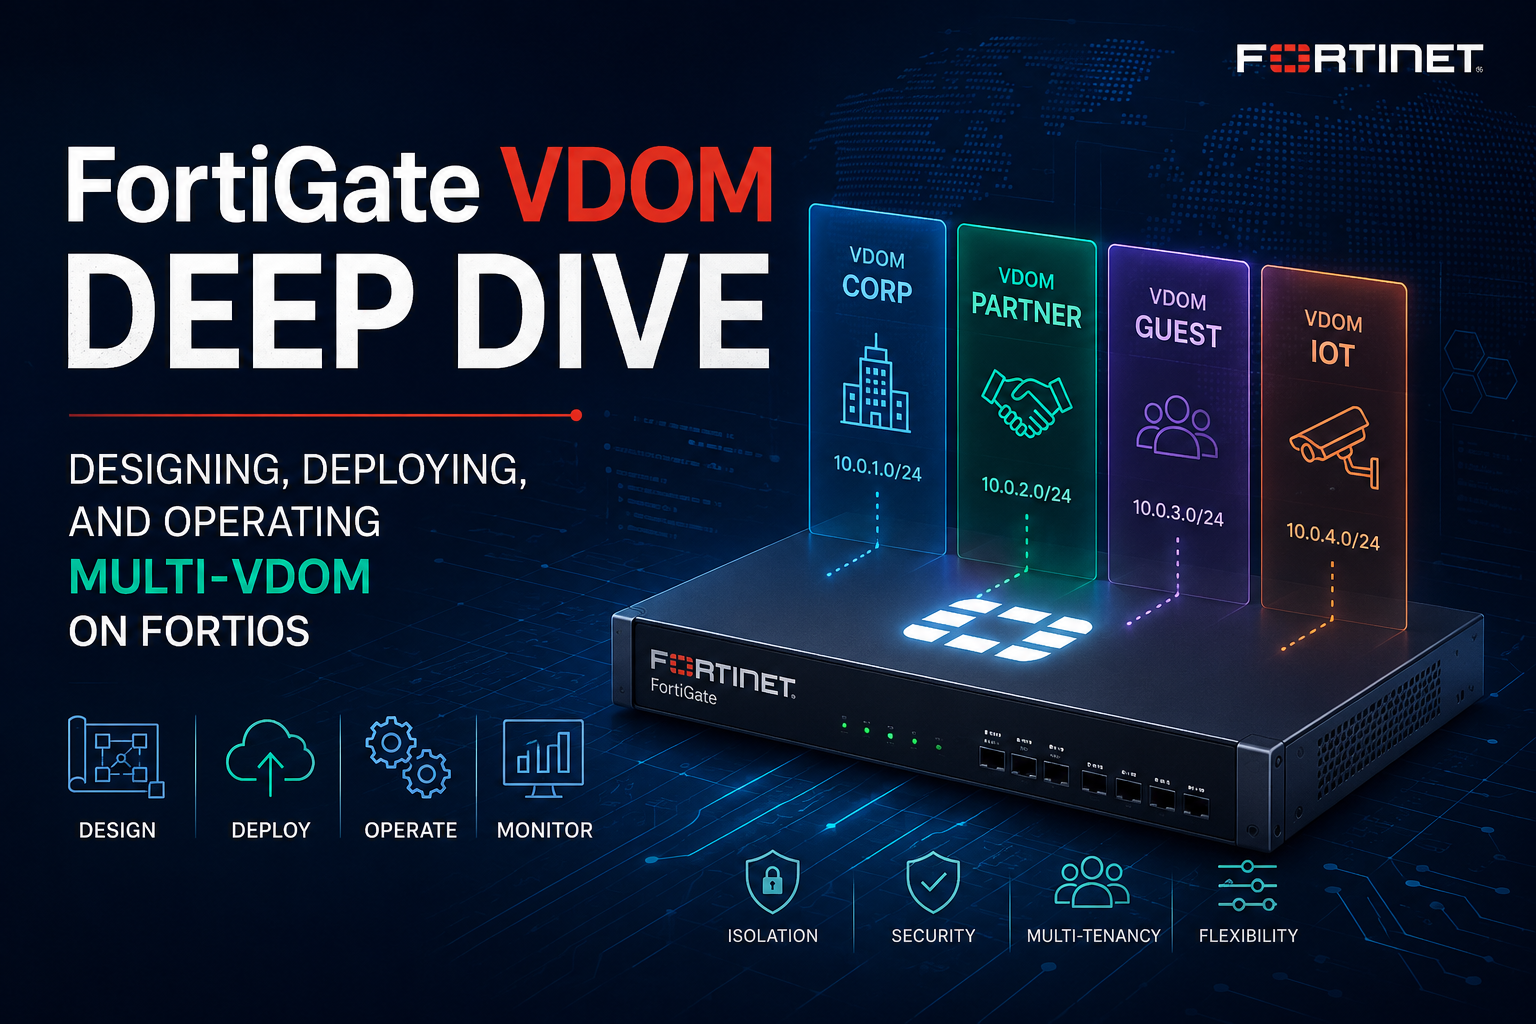
FortiGate VDOM Deep Dive: Designing, Deploying, and Operating Multi-VDOM on FortiOS
Note: Version target: FortiOS 7.6.x on an NP6/NP7-class FortiGate. CLI is consistent from 6.2 onward except where flagged. Where a value must be supplied, placeholders like <mgmt_ip> or <tenant_vdom> are used.
1. Title and Executive Summary
Objective
This guide takes a FortiGate from a single flat context to a segmented multi-VDOM deployment: independent virtual firewalls sharing one chassis, each with its own routing table, policy set, administrators, and resource envelope. It matters because VDOMs let one appliance replace a rack of firewalls for MSSP tenancy, PCI/OT/corporate zone isolation, or lab-vs-production separation, while keeping hard traffic and management boundaries between contexts.
Target Audience
Network and Security Engineers, MSSP and multi-tenant architects, and System Administrators who already run FortiGate and need to carve it into isolated security domains with controlled inter-domain routing.
2. Prerequisites and Architecture
Assumed Knowledge
- FortiGate CLI navigation:
config,edit,set,next,end, and theconfig globalvsconfig vdomscoping model. - The FortiGate policy model (interfaces, zones, firewall policies) and NAT behavior (Central SNAT vs policy NAT).
- IPv4 routing fundamentals: static routes, administrative distance, and how a route lookup selects an egress interface.
- VLAN sub-interfaces (802.1Q) and the difference between a physical port and a logical interface.
Environment and Lab Requirements
- A FortiGate (physical or VM) running FortiOS 7.6.x. Multi-VDOM is supported on nearly all models; a few entry units support only Split-Task VDOM. NPU-accelerated inter-VDOM links require NP6/NP7 silicon (FortiGate VMs use software vlinks only).
- A
super_admin-scope administrator account. Enabling VDOM mode logs you out, so console or out-of-band access is strongly recommended before you flip the switch. - Licensing: every FortiGate ships with 10 VDOMs by default. Beyond that you stack
FG-VDOM-XX-UGlicenses and apply them withexecute upd-vd-license. Note the recent table-size change: on 200-900 series the ceiling was 10 through v7.4.8 / v7.6.0, then raised to 25 VDOMs (200-400 series) and 50 VDOMs (500-900 series) in v7.4.9 / v7.6.1. - Optional lab fabric: EVE-NG or Proxmox with a FortiGate-VM, or a single hardware unit. Two client hosts (one per tenant) make inter-VDOM and isolation testing concrete.
Reference Topology and Component Table
The design below uses one edge/transit VDOM that owns the internet uplink, with two isolated tenant VDOMs reaching the internet through it over inter-VDOM links. root is retained as the management VDOM.
| Component | Role | Interface / Link | Example IP / FQDN |
|---|---|---|---|
root (management VDOM) |
Sourced system traffic: DNS, NTP, FortiGuard, logging | mgmt (dedicated) |
<mgmt_ip>/24 fw.example.local |
EDGE VDOM |
Owns the WAN uplink; shared internet egress and NAT | wan1 |
203.0.113.10/29 (ISP-assigned) |
TENANT-A VDOM |
Isolated tenant / zone A firewall | port3 |
10.10.0.1/24 (inside) |
TENANT-B VDOM |
Isolated tenant / zone B firewall | port4 |
10.20.0.1/24 (inside) |
| Inter-VDOM link A | TENANT-A to EDGE transit (NPU-accelerated) | npu0_vlink0/1 (VLAN 4001) |
10.255.1.0/30 |
| Inter-VDOM link B | TENANT-B to EDGE transit (NPU-accelerated) | npu0_vlink0/1 (VLAN 4002) |
10.255.2.0/30 |
3. Step-by-Step Implementation Workflow
Phase 0: Choose the VDOM Mode and Design Pattern
Goal: Decide the operating mode and the inter-VDOM topology before touching config, because the mode dictates how many contexts you get and the pattern dictates your routing.
Action: FortiOS 6.2+ exposes three modes through the hidden vdom-mode setting:
| Mode | What you get | Use when |
|---|---|---|
no-vdom |
Single flat context (default) | One firewall role, no segmentation needed |
split-vdom |
Two fixed VDOMs: root (management only) plus FG-traffic (all traffic) |
You want management separated from the data plane but need only one traffic context |
multi-vdom |
root plus any additional custom VDOMs up to your license |
True multi-tenant / multi-zone isolation (this guide) |
Then pick a design pattern: Independent (each VDOM owns its own uplink, no links between them), Routing-through / management VDOM (tenants share one internet-facing VDOM via inter-VDOM links), or Meshed (selective links between tenant VDOMs). This guide implements the routing-through pattern with an EDGE VDOM.
Phase 1: Enable Multi-VDOM Mode
Goal: Switch the appliance into multi-VDOM so the global vs per-VDOM scoping becomes available. Your entire existing configuration is inherited by root.
Action: Set the mode from the global scope. This does not require a reboot but it does log you out immediately.
config system global
    set vdom-mode multi-vdom
end
# You are logged out here. Log back in.
Note: vdom-mode is a hidden command: it does not appear in show, show full, or the ? parameter list on 7.4/7.6. Type it out in full. The legacy pre-6.2 equivalent was set vdom-admin enable.
Optionally, protect against fat-fingered VDOM creation (6.4+), which forces a confirmation prompt whenever edit <name> would create a new VDOM:
config system global
    set edit-vdom-prompt enable
end
GUI Verification: Go to System > Settings, section System Operation Settings. Virtual Domains is now enabled with Multi VDOM selected. A global Global selector appears at the top of the tree, and a new Global > System > VDOM node is available.
Phase 2: Create the VDOMs and Set Per-VDOM Modes
Goal: Stand up EDGE, TENANT-A, and TENANT-B, then set each context’s inspection mode, NGFW mode, and NAT vs transparent operation.
Action: VDOM creation happens from the global scope. NGFW mode, inspection mode, and operation mode are per-VDOM settings.
config vdom
    edit EDGE
    next
    edit TENANT-A
    next
    edit TENANT-B
    next
end

# Per-VDOM operation settings (repeat per context, values shown for TENANT-A)
config vdom
    edit TENANT-A
        config system settings
            set opmode nat
            set inspection-mode flow
            set ngfw-mode profile-based
        end
    next
end
A VDOM can run in NAT or transparent mode independently of its neighbors, and you can mix both on the same chassis. For a transparent VDOM you also set a management IP:
config vdom
    edit TENANT-B
        config system settings
            set opmode transparent
            set manageip <transparent_mgmt_ip> 255.255.255.0
            set gateway <upstream_gw>
        end
    next
end
GUI Verification: In the Global context, System > VDOM lists all three VDOMs with their inspection and NGFW modes. Use Create New here to add VDOMs from the GUI.
Phase 3: Assign Interfaces to VDOMs
Goal: Move each physical port (and any VLAN sub-interface) into the correct context. An interface belongs to exactly one VDOM at a time.
Action: Interface-to-VDOM assignment is a global operation. Assign first, then address the interface inside its new VDOM.
config global
    config system interface
        edit wan1
            set vdom EDGE
        next
        edit port3
            set vdom TENANT-A
            set ip 10.10.0.1 255.255.255.0
            set allowaccess ping
        next
        edit port4
            set vdom TENANT-B
            set ip 10.20.0.1 255.255.255.0
            set allowaccess ping
        next
    end
end
Note: If set vdom is rejected, the interface is still referenced by a policy, route, or address object in its current VDOM. Clear those references first (see Troubleshooting). A move wipes the interface IP, so re-apply addressing after the move.
GUI Verification: Global > Network > Interfaces shows a Virtual Domain column. Confirm each port sits in the intended VDOM before proceeding.
Phase 4: Set the Management VDOM and System-Sourced Traffic
Goal: Nominate which VDOM sources FortiGate-originated traffic (FortiGuard, NTP, DNS, log export, SNMP). This is the single most common cause of a healthy box that cannot reach FortiGuard.
Action: Set the management VDOM globally. It must have a working route to the services it needs.
config system global
    set management-vdom root
end
If root has no internet path, either point management-vdom at the EDGE VDOM or give root a route toward EDGE over an inter-VDOM link (built next). Confirm resolver and time source live in the management VDOM:
config vdom
    edit root
        config system dns
            set primary <dns_ip>
        end
    next
end
GUI Verification: Global > System > Settings shows the current management VDOM. Dashboard > Status license widgets turn green once the management VDOM can reach FortiGuard.
Phase 5: Build Inter-VDOM Links and Shared Internet Egress
Goal: Connect TENANT-A and TENANT-B to EDGE so both tenants reach the internet through a single NATed uplink while staying isolated from each other.
Action (option A, NPU-accelerated): On NP6/NP7 hardware the interfaces npu0_vlink0 and npu0_vlink1 appear automatically once multi-VDOM is enabled; they are a hardware-accelerated back-to-back pair. Put each end in a different VDOM. To serve multiple tenant pairs over one physical vlink, layer 802.1Q sub-interfaces with matching VLAN IDs and subnets on each end.
config global
    config system interface
        # TENANT-A <-> EDGE over VLAN 4001
        edit vlink-a-tenant
            set vdom TENANT-A
            set interface npu0_vlink0
            set vlanid 4001
            set ip 10.255.1.2 255.255.255.252
        next
        edit vlink-a-edge
            set vdom EDGE
            set interface npu0_vlink1
            set vlanid 4001
            set ip 10.255.1.1 255.255.255.252
        next
        # TENANT-B <-> EDGE over VLAN 4002
        edit vlink-b-tenant
            set vdom TENANT-B
            set interface npu0_vlink0
            set vlanid 4002
            set ip 10.255.2.2 255.255.255.252
        next
        edit vlink-b-edge
            set vdom EDGE
            set interface npu0_vlink1
            set vlanid 4002
            set ip 10.255.2.1 255.255.255.252
        next
    end
end
Note: Both members of a pair must ride the same NPU (npu0_vlink0 pairs only with npu0_vlink1), share the same subnet, and carry the same VLAN ID. Mismatched NPU, subnet, or VLAN is the top reason an inter-VDOM link silently blackholes.
Action (option B, software vlink): On a FortiGate-VM or when you prefer non-accelerated links, create a vdom-link. Defining a link named t2e auto-creates two interfaces, t2e0 and t2e1:
config global
    config system vdom-link
        edit t2e
        next
    end
    config system interface
        edit t2e0
            set vdom TENANT-A
            set ip 10.255.1.2 255.255.255.252
        next
        edit t2e1
            set vdom EDGE
            set ip 10.255.1.1 255.255.255.252
        next
    end
end
Routing and policy (both options): Each side needs a route and a firewall policy. In the tenant VDOM, default-route to the EDGE side of the link. In EDGE, route the tenant prefix back and add a NAT policy to wan1.
# In TENANT-A: default route toward EDGE
config vdom
    edit TENANT-A
        config router static
            edit 1
                set gateway 10.255.1.1
                set device vlink-a-tenant
            next
        end
        config firewall policy
            edit 1
                set name "A-to-EDGE"
                set srcintf port3
                set dstintf vlink-a-tenant
                set srcaddr all
                set dstaddr all
                set action accept
                set schedule always
                set service ALL
            next
        end
    next
end

# In EDGE: return route to TENANT-A + NAT egress to wan1
config vdom
    edit EDGE
        config router static
            edit 10
                set dst 10.10.0.0 255.255.255.0
                set gateway 10.255.1.2
                set device vlink-a-edge
            next
            edit 1
                set gateway 203.0.113.9
                set device wan1
            next
        end
        config firewall policy
            edit 1
                set name "EDGE-to-WAN-A"
                set srcintf vlink-a-edge
                set dstintf wan1
                set srcaddr all
                set dstaddr all
                set action accept
                set schedule always
                set service ALL
                set nat enable
            next
        end
    next
end
GUI Verification: Global > Network > Interfaces groups the vlink interfaces under their parent. In each tenant VDOM, Network > Static Routes shows the default route resolving over the vlink, and Policy & Objects > Firewall Policy shows the transit policy.
Phase 6: Per-VDOM Administrators
Goal: Give each tenant an admin scoped to only their VDOM, unable to see or touch global settings or other tenants.
Action: Create a vdom-scope access profile, then bind admins to a specific VDOM. The built-in prof_admin profile is already VDOM-scoped and can be reused.
config global
    config system accprofile
        edit "tenant-admin"
            set scope vdom
            set fwgrp read-write
            set netgrp read-write
            set loggrp read
        next
    end
    config system admin
        edit "tenant-a-op"
            set accprofile "tenant-admin"
            set vdom TENANT-A
            set password <set_strong_password>
        next
    end
end
Note: An admin with scope vdom cannot enter config global or switch to a VDOM outside its assigned list. Only a super_admin-scope account (for example the default admin) can create VDOMs, move interfaces, or change vdom-mode.
Phase 7: Resource Limits (Noisy-Neighbor Control)
Goal: Stop one busy VDOM from exhausting shared tables (sessions, policies, IPsec tunnels) and starving the others.
Action: Set per-VDOM maximum and guaranteed values. The two numbers are <max> <guaranteed>: the cap the VDOM may reach, and the floor reserved for it.
config global
    config system vdom-property
        edit TENANT-A
            set session 200000 50000
            set firewall-policy 5000 500
            set ipsec-phase1 200 20
            set dialup-tunnel 100 10
        next
    end
end
GUI Verification: Global > System > VDOM, edit a VDOM, and the Global Resources panel exposes the same maximum/guaranteed sliders with live usage bars.
4. Verification and Validation
Work top-down: confirm the mode, then the contexts, then interface placement, then the data path.
Confirm mode and VDOM count. get system status reports the configuration type and the licensed ceiling:
get system status
# Look for:
#   Virtual domain configuration: multiple
#   Current virtual domain: root
#   Max number of virtual domains: 10   (or 25/50 on newer 200-900 series)
List the VDOMs and their indexes:
diagnose sys vd list | grep name
# Each line shows name=<vdom> index=<n> ... enabled
Confirm interface placement:
config global
    show system interface | grep -A1 "edit"
# Each interface stanza carries: set vdom "<vdom>"
Prove per-VDOM routing isolation. Enter a context and read its own table; a tenant should only see its own routes plus the vlink default:
config vdom
    edit TENANT-A
        get router info routing-table all
    end
# Expect: connected 10.10.0.0/24, and 0.0.0.0/0 via 10.255.1.1 over the vlink
Prove the shared-egress data path from the tenant context, then confirm the session offloaded to the NPU on the EDGE side:
config vdom
    edit TENANT-A
        execute ping 8.8.8.8
    end

# On EDGE, confirm the offloaded session over the vlink:
config vdom
    edit EDGE
        diagnose sys session filter dst 8.8.8.8
        diagnose sys session list
    end
# A hardware-accelerated flow shows: npu_state=0x040 (offloaded) / npu info present
Confirm tenant isolation (the critical success test): a ping from a TENANT-A host to a TENANT-B host must fail, because there is no inter-VDOM link or route between them and each keeps a separate routing table.
What success looks like: get system status shows multiple; each tenant VDOM reaches the internet through EDGE with NAT to wan1; management VDOM license widgets are green; and cross-tenant traffic is dropped with no policy permitting it.
5. Troubleshooting and Gotchas
Gotcha 1: You cannot set or change vdom-mode
Symptom: set vdom-mode is not offered by ?, or switching back to no-vdom/split-vdom is refused.
Cause: vdom-mode is a hidden command (type it in full), and you cannot leave multi-VDOM while custom VDOMs still exist.
# Delete every custom VDOM first (root and mgmt-vdom cannot be removed)
config vdom
    delete TENANT-A
    delete TENANT-B
    delete EDGE
end
config system global
    set vdom-mode no-vdom
end
Resolution: Remove all non-default VDOMs, then set the mode. Remember the change logs you out and, on some platforms, that switching modes is service-affecting, so schedule a window.
Gotcha 2: Inter-VDOM traffic is silently dropped
Symptom: Tenant hosts cannot reach the internet even though the vlink interfaces are up.
Cause: Inter-VDOM traffic needs a policy in both VDOMs and a route on both sides. For NPU vlinks, the pair must share NPU, subnet, and VLAN ID.
# Trace the drop live from the EDGE context
config vdom
    edit EDGE
        diagnose debug reset
        diagnose debug flow filter addr 10.10.0.10
        diagnose debug flow show function-name enable
        diagnose debug flow trace start 20
        diagnose debug enable
    end
# 'no matching policy' -> missing policy on that side
# 'reverse path check fail' -> missing/incorrect return route
Resolution: Add the missing policy or route on the failing side. Verify the vlink pairing: both ends on the same npu0_vlinkX parent, identical /30, identical vlanid. Turn debug off with diagnose debug disable.
Gotcha 3: Cannot enable more than 10 VDOMs despite a license
Symptom: get system status still caps at 10 after adding a VDOM upgrade license.
Cause: The license was registered but not applied, or the platform predates the table-size bump. Licenses stack on top of the base 10 and must be pushed to the unit.
execute upd-vd-license <license_key>
get system status | grep "Max number of virtual domains"
Resolution: Run execute upd-vd-license, then re-check the max. On 200-900 series the hard ceiling was 10 through v7.4.8 / v7.6.0; upgrade to v7.4.9 / v7.6.1 or later to unlock 25 (200-400 series) or 50 (500-900 series). FortiGate-VM VDOM counts are tied to the VM license tier.
Gotcha 4: Interface refuses to move VDOMs
Symptom: set vdom <name> on an interface returns an error and rolls back.
Cause: The interface is still referenced (firewall policy, static route, address object, DHCP server, or IPsec phase1) inside its current VDOM. FortiOS will not orphan those references.
# Find what references the interface inside its current VDOM
config vdom
    edit <current_vdom>
        diagnose sys checkused system.interface.name <interface>
    end
Resolution: Delete or repoint every reference diagnose sys checkused reports, then reassign the interface. Re-add its IP and allowaccess afterward, since moving an interface clears its addressing.
Recent posts
-

-

DNS is one of those technologies that quietly underpins... Full Story
-

BGP issues on FortiGate firewalls usually trace back to... Full Story
-

Every time your laptop talks to your router, a... Full Story
-

If you've spent any time configuring NAT on a... Full Story
-

If you have spent any time configuring firewall policies... Full Story
-

High availability on FortiGate is one of those features... Full Story
-

If you've configured SD-WAN on a FortiGate, you've almost... Full Story
-

FortiLink is the management protocol that turns a FortiSwitch... Full Story
-

FortiSwitches are pretty rock solid from Mean Time Between... Full Story
-

This is a quicky tip. Have you ever gone... Full Story
-

DNS is one of those quiet pieces of internet... Full Story
-

This article is an updated version of the previous... Full Story
-

You will add ns2 as a secondary (slave) BIND9... Full Story
-

In the process of deploying my lab, I needed... Full Story
-

RFC 8805, used to be known as Self-Correcting IP... Full Story
-

Years back, I wrote an article about certificate pinning. ... Full Story
-

FortiGates have the ability to send alerts to Microsoft... Full Story
-

In this post, I am going to walk through... Full Story
-

Troubleshooting VoIP on a FortiGate can feel like trying... Full Story
-

Prior to FortiOS 7.0, there were three commands to... Full Story
-

In this post, I am going to go over... Full Story
-

What we are going to do: We are going... Full Story
-

Choosing between FGCP (FortiGate Clustering Protocol) and FGSP (FortiGate... Full Story
-

Creating a VLAN on macOS (The "Pro" Move) A... Full Story
-

This blog post explores the logic behind how macOS... Full Story
-

Pretty Fly for a Wi-Fi Tell My Wi-Fi Love... Full Story
-

Part of my daily gig is creating BoMs (Bill-of-Materials)... Full Story
-

ICMP introduces several security risks, but careful filtering, rate... Full Story
-

The command diag debug application dhcps -1 enables full... Full Story
-

In the world of FortiOS, execute tac report is... Full Story
-

LLDP; What is it The Link Layer Discovery Protocol... Full Story
-

What it actually does When you run diagnose fdsm... Full Story
-

Monkey Bites are bite-sized, high-impact security insights designed for... Full Story
-

I have run macOS in macOS with Parallels but... Full Story
-

Don't be confused with my other FortiNAC posts where... Full Story
-

This is the third session in a multi-part article... Full Story
-

Today I was configuring key-based authentication on a FortiGate... Full Story
-

Netcat, often called the "Swiss Army knife" of networking,... Full Story
-

At its core, IEEE 802.1X is a network layer... Full Story
-

In case you did not see the previous FortiNAC... Full Story
-

This is our 5th session where we are going... Full Story
-

Now that we have Wireshark installed and somewhat configured,... Full Story
-

The Philosophy of Packet Analysis Troubleshooting isn't about looking... Full Story
-

Executive Summary Objective: Get you from zero to writing... Full Story
-

NAND cells, the flash translation layer, SLC caching, TRIM,... Full Story
-

Nmap Scripting Engine (NSE): From One-Liners to Your First... Full Story