
If you've spent any time configuring user authentication on... Full Story
By Manny Fernandez
September 29, 2026
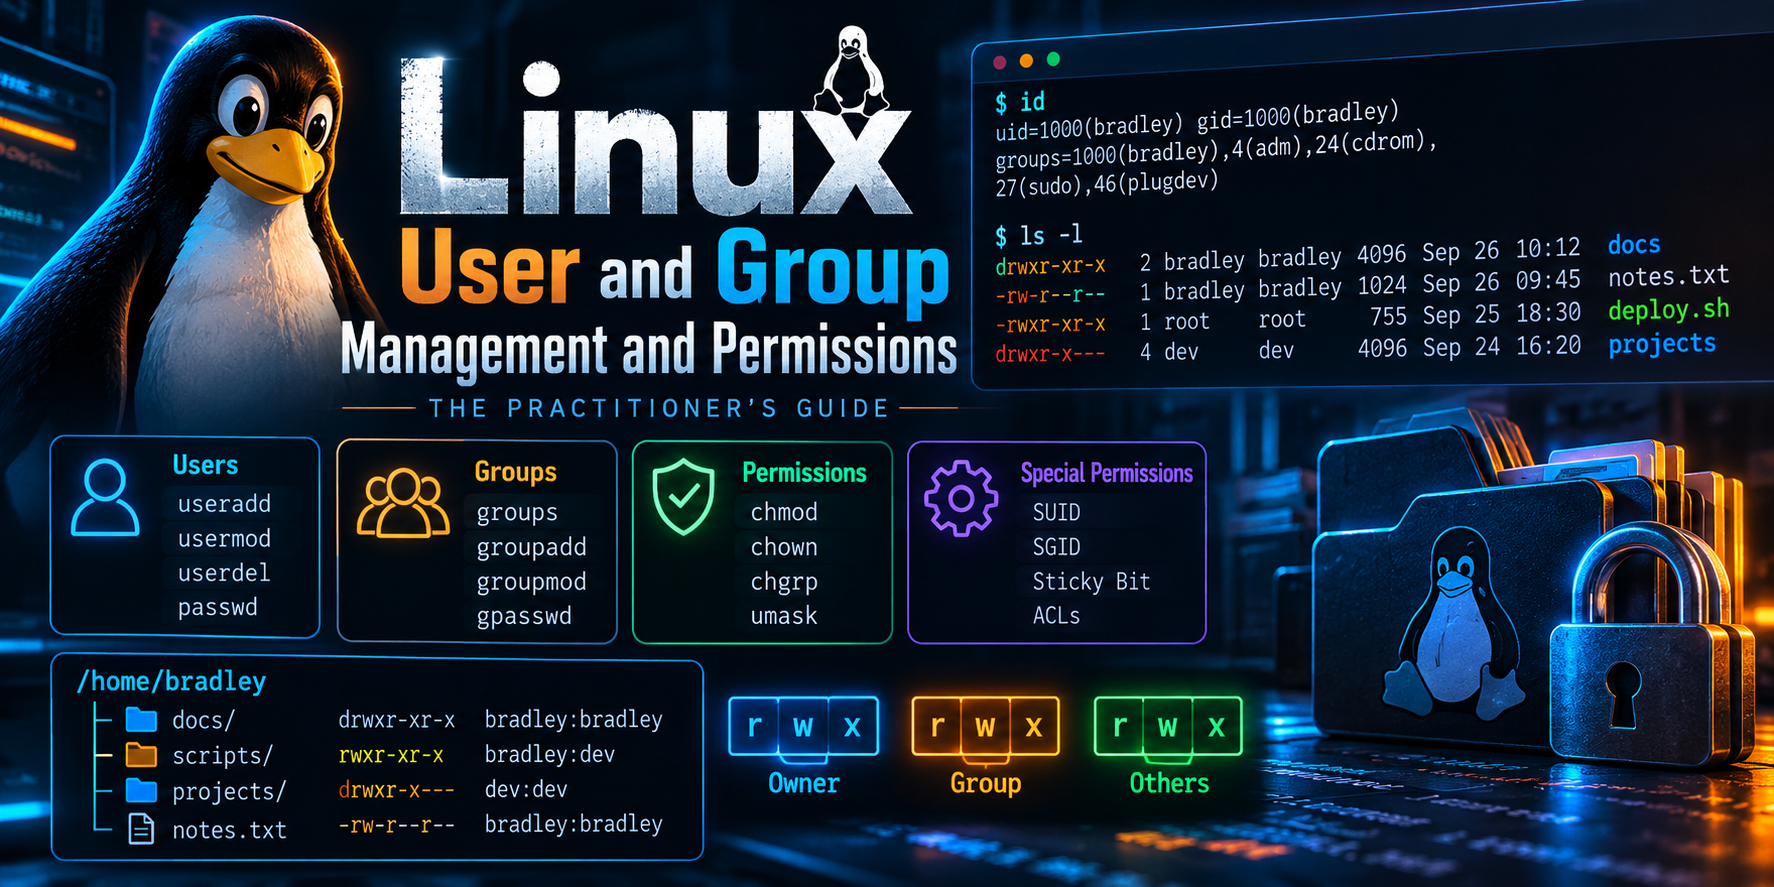
Linux User and Group Management and Permissions: The Practitioner’s Guide
Objective: Build, manage, and audit Linux identities and file access the right way, from /etc/passwd to default ACLs, with every command you need to verify the result.
Target audience: Network and security engineers, sysadmins, and blue-teamers who touch Linux boxes (jump hosts, syslog collectors, SIEM nodes, lab VMs) and want access control that holds up to an audit.
Every Linux access decision comes down to three questions: who are you (UID), what groups are you in (GIDs), and what do the file’s permission bits and ACLs say about those IDs. Get those three right and you have least privilege. Get them wrong and you have a shared service account with a world-writable home directory and NOPASSWD: ALL in sudoers. This guide walks through the full lifecycle: the identity files, creating and modifying users and groups, sudo delegation, standard permissions, special bits, ACLs, a real shared-directory build, and the audit commands that prove it all works.
1. Prerequisites and Architecture
Assumed knowledge
- Comfortable in a Linux shell (navigation,
cat,grep, editing a file) - Root or sudo access on a lab system
- Basic understanding of what a process and a file are
Lab requirements
| Component | Requirement | Notes |
|---|---|---|
| OS | Ubuntu 24.04 LTS or RHEL/Rocky/Alma 9 | Commands shown work on both unless noted |
| Privilege | sudo-capable admin account | Keep a second root session open while editing sudoers |
| Packages | acl, passwd/shadow-utils, sudo |
acl is installed by default on both families |
| Filesystem | ext4 or XFS | Both support POSIX ACLs out of the box |
The identity files
Linux identity lives in a handful of flat files. Every tool in this guide (useradd, usermod, gpasswd, chage) is just a safe editor for these.
| File | Contains | Permissions | Key fields |
|---|---|---|---|
/etc/passwd |
User accounts | 644 (world-readable) |
name:x:UID:GID:GECOS:home:shell |
/etc/shadow |
Password hashes and aging | 640 or 000 |
name:hash:lastchg:min:max:warn:inactive:expire |
/etc/group |
Groups and supplementary members | 644 |
name:x:GID:member1,member2 |
/etc/gshadow |
Group passwords and group admins | 640 or 000 |
name:hash:admins:members |
/etc/login.defs |
Defaults: UID ranges, password aging, UMASK | 644 |
UID_MIN, PASS_MAX_DAYS, UMASK |
/etc/default/useradd |
useradd defaults: shell, home base, skel | 644 |
SHELL, HOME, SKEL |
/etc/skel/ |
Template files copied into new home dirs | 755 |
.bashrc, .profile |
Read the files, never hand-edit them. Use vipw and vigr if you truly must edit directly; they lock the file and check syntax.
getent passwd <username>
getent group <groupname>
sudo getent shadow <username>
getent is the right way to query because it also resolves accounts from LDAP, SSSD, or FreeIPA, not just the local files.
UID and GID ranges
| Range | Purpose |
|---|---|
| 0 | root. Any account with UID 0 is root, regardless of its name |
| 1 to 999 | System and service accounts (sshd, www-data, nginx, wazuh) |
| 1000 and up | Regular human users (set by UID_MIN in /etc/login.defs) |
| 65534 | nobody / nfsnobody, the unprivileged overflow ID |
2. Step-by-Step Implementation Workflow
Step 1: Create users
Goal: Create a human user with a home directory, a real shell, and a forced password change at first login.
Action: On both distro families, useradd is the low-level tool. On Debian/Ubuntu, adduser is an interactive Perl wrapper that fills in sane defaults. Script with useradd, because its behavior is identical everywhere.
sudo useradd -m -s /bin/bash -c "Jane Analyst" <username>
sudo passwd <username>
sudo chage -d 0 <username>
| Flag | Meaning |
|---|---|
-m |
Create the home directory and copy /etc/skel into it (RHEL does this by default, Ubuntu does not) |
-s |
Login shell. Use /usr/sbin/nologin for service accounts |
-c |
GECOS comment (full name) |
-u <UID> |
Pin a specific UID, useful for keeping NFS ownership consistent across hosts |
-g <group> |
Primary group (otherwise a same-named private group is created) |
-G <g1,g2> |
Supplementary groups at creation time |
-e YYYY-MM-DD |
Account expiration date, ideal for contractors |
chage -d 0 sets the last password change to the epoch, which forces a new password at next login.
Service accounts get no shell, no password, and no home directory login:
sudo useradd -r -s /usr/sbin/nologin -d /var/lib/<service> -M <service-account>
-r allocates from the system UID range and skips password aging.
Verification:
id <username>
getent passwd <username>
sudo chage -l <username>
ls -la /home/<username>
Step 2: Modify, lock, and remove users
Goal: Change account properties safely and disable access without destroying evidence.
Action:
# Add to a supplementary group (ALWAYS use -a with -G)
sudo usermod -aG <groupname> <username>

# Change shell, rename login, move home
sudo usermod -s /bin/zsh <username>
sudo usermod -l <newname> <oldname>
sudo usermod -d /home/<newname> -m <newname>

# Lock and unlock
sudo usermod -L <username>
sudo usermod -U <username>

# Fully disable: lock password, expire account, remove shell
sudo usermod -L -e 1 -s /usr/sbin/nologin <username>
usermod -L only prefixes the hash with !. The user can still log in with an SSH key. Expiring the account (-e 1) blocks every authentication path that goes through PAM account checks, including key-based SSH.
Password aging policy per user:
sudo chage -M 90 -m 1 -W 14 -I 30 <username>
| Option | Meaning |
|---|---|
-M 90 |
Max 90 days between changes |
-m 1 |
Min 1 day (stops users cycling back to an old password) |
-W 14 |
Warn 14 days before expiry |
-I 30 |
Lock the account 30 days after the password expires |
Removing a user:
# Find everything they own BEFORE deleting
sudo find / -xdev -user <username> -ls 2>/dev/null

# Remove account, home dir, and mail spool
sudo userdel -r <username>
For offboarding, lock and expire first, then delete later once you have archived or reassigned their files. Files left behind by a deleted user show a raw number as owner, and the next user who gets that UID inherits them.
Verification:
sudo passwd -S <username>
sudo chage -l <username>
passwd -S shows L for locked, P for usable password, NP for no password.
Step 3: Create and manage groups
Goal: Use groups, not individual users, as the unit of access control.
Every user has exactly one primary group (the GID field in /etc/passwd, applied to new files they create) and zero or more supplementary groups (listed in /etc/group, used for access checks).
Action:
sudo groupadd <groupname>
sudo groupadd -g 5001 <groupname>       # pin the GID
sudo groupmod -n <newname> <oldname>    # rename
sudo groupdel <groupname>
gpasswd manages membership and lets you delegate group administration without handing out root:
sudo gpasswd -a <username> <groupname>   # add one member
sudo gpasswd -d <username> <groupname>   # remove one member
sudo gpasswd -M user1,user2 <groupname>  # set the full member list
sudo gpasswd -A <username> <groupname>   # make user a group admin
Verification:
getent group <groupname>
groups <username>
id -Gn <username>
Group membership is read at login. A logged-in user will not see a new group until they log out and back in, or start a new shell with newgrp <groupname> or su - <username>.
Step 4: Delegate privilege with sudo
Goal: Give admins exactly the root commands they need, logged and attributable.
The admin group differs by distro: sudo on Debian/Ubuntu, wheel on RHEL family.
sudo usermod -aG sudo <username>    # Ubuntu
sudo usermod -aG wheel <username>   # RHEL
Action: Never edit /etc/sudoers directly. Drop scoped rules into /etc/sudoers.d/ with visudo, which syntax-checks before saving. A broken sudoers file locks everyone out of sudo.
sudo visudo -f /etc/sudoers.d/netops
# Command aliases keep rules readable
Cmnd_Alias NET_DIAG = /usr/bin/tcpdump, /usr/sbin/ip, /usr/bin/ss
Cmnd_Alias SVC_SYSLOG = /usr/bin/systemctl restart rsyslog, \
                        /usr/bin/systemctl status rsyslog

# Group rule: members of netops get only these commands
%netops ALL=(root) NET_DIAG, SVC_SYSLOG

# Log every sudo session's I/O for audit
Defaults:%netops log_input, log_output
Rules to live by:
- Always use full paths.
tcpdumpwithout a path lets a user drop a malicioustcpdumpearlier in their PATH. - Avoid granting editors, pagers,
find,tar,vim,less, or any interpreter. They all have shell escapes (see GTFOBins). Usesudoeditfor file edits instead. - Avoid wildcards in arguments.
/usr/bin/systemctl restart *also permitsrestartof any unit, plus extra arguments. NOPASSWDbelongs on automation accounts with tightly scoped commands, never on humans withALL.
Verification:
sudo visudo -c
sudo -l -U <username>
visudo -c validates every file under /etc/sudoers.d/. sudo -l -U shows exactly what a user can run.
Step 5: Read and set standard permissions
Goal: Understand and control the nine permission bits on every file.
ls -l /etc/shadow
-rw-r----- 1 root shadow 1234 Sep 29 10:00 /etc/shadow
| Position | Meaning |
|---|---|
- |
Type: - file, d directory, l symlink, c/b device, s socket, p pipe |
rw- |
Owner (user) permissions |
r-- |
Group permissions |
--- |
Other (everyone else) permissions |
The bits mean different things on files and directories. This is the single most misunderstood part of Linux permissions.
| Bit | On a file | On a directory |
|---|---|---|
r (4) |
Read contents | List filenames (ls) |
w (2) |
Modify contents | Create, delete, and rename entries inside it |
x (1) |
Execute as a program | Enter it (cd) and access entries by name |
Two consequences worth memorizing: you can delete a file you cannot write to if you have w on its directory, and r without x on a directory lets you see names but not open anything.
The kernel checks in order and stops at the first match: if you are the owner, only owner bits apply; else if you are in the group, only group bits apply; else other bits apply. An owner with --- is denied even if “other” has rwx.
Action: chmod accepts octal or symbolic modes.
chmod 640 <file>             # rw-r-----
chmod 750 <directory>        # rwxr-x---
chmod u+x,g-w,o= <file>      # symbolic: add, remove, set
chmod -R g+rX <directory>    # capital X: execute only on dirs
                             # and files already executable
| Octal | Symbolic | Typical use |
|---|---|---|
600 |
rw------- |
Private keys, ~/.ssh/authorized_keys |
644 |
rw-r--r-- |
Config files, web content |
640 |
rw-r----- |
Configs containing secrets, readable by a service group |
700 |
rwx------ |
~/.ssh, private scripts |
750 |
rwxr-x--- |
Team directories, home directories |
755 |
rwxr-xr-x |
Binaries, public directories |
Change ownership with chown and chgrp:
sudo chown <user>:<group> <file>
sudo chown -R <user>: <directory>   # trailing colon: user's login group
sudo chgrp <group> <file>
Verification:
stat -c '%A %a %U:%G %n' <file>
namei -l /path/to/deep/file
namei -l shows the permissions on every directory in the path. When access fails and the file itself looks fine, it is almost always a parent directory missing x.
Step 6: Control default permissions with umask
Goal: Make new files secure by default instead of fixing them afterward.
New files start at 666 and directories at 777; the umask removes bits. The umask is subtracted bitwise, not arithmetically.
| umask | New file | New directory | Use |
|---|---|---|---|
022 |
644 |
755 |
Common default |
002 |
664 |
775 |
User private groups, collaborative work |
027 |
640 |
750 |
Hardened servers, CIS recommended |
077 |
600 |
700 |
Maximum privacy |
Action:
umask            # show current (octal)
umask -S         # show current (symbolic)
umask 027        # set for this shell
Set it persistently with UMASK 027 in /etc/login.defs (applies via pam_umask), per-user in ~/.bashrc, or per-service with UMask=0027 in a systemd unit.
Verification:
touch /tmp/umask-test && stat -c '%a' /tmp/umask-test
Step 7: Use the special bits (setuid, setgid, sticky)
Goal: Know what the fourth permission digit does and where it belongs.
| Bit | Octal | On a file | On a directory | Shown as |
|---|---|---|---|---|
| setuid | 4000 |
Runs as the file’s owner (e.g., passwd runs as root) |
Ignored on Linux | s in owner execute |
| setgid | 2000 |
Runs with the file’s group | New files inherit the directory’s group | s in group execute |
| sticky | 1000 |
Ignored | Only the file owner (or dir owner, or root) can delete or rename entries | t in other execute |
A capital S or T means the special bit is set but the underlying execute bit is not, which is usually a mistake.
ls -ld /tmp /usr/bin/passwd
drwxrwxrwt 18 root root 4096 Sep 29 10:00 /tmp
-rwsr-xr-x  1 root root 64152 Sep 29 10:00 /usr/bin/passwd
Action:
sudo chmod 2770 /srv/<project>     # setgid team directory
sudo chmod 1777 /srv/<dropbox>     # sticky shared drop area
sudo chmod u-s /path/to/binary     # strip setuid
Setuid binaries are a primary privilege-escalation target. Never set setuid on scripts (the kernel ignores it for interpreted files anyway), and inventory every setuid file you have. On modern systems, file capabilities (setcap cap_net_raw+ep /usr/bin/<tool>) are a far narrower alternative for tools that need one specific root power.
Verification:
stat -c '%A %a %n' /srv/<project>
getcap -r / 2>/dev/null
Step 8: Go beyond owner/group/other with ACLs
Goal: Grant access to a second group or a single user without restructuring ownership.
Standard permissions allow exactly one owner and one group. POSIX ACLs add named users and named groups.
Action:
# Grant a named group read-only
sudo setfacl -m g:<auditors>:rX /srv/<project>

# Grant a single user read/write
sudo setfacl -m u:<username>:rw /srv/<project>/<file>

# Default ACL: inherited by everything created inside
sudo setfacl -d -m g:<auditors>:rX /srv/<project>

# Apply recursively to existing content
sudo setfacl -R -m g:<auditors>:rX /srv/<project>

# Remove one entry, or strip all ACLs
sudo setfacl -x g:<auditors> /srv/<project>
sudo setfacl -b /srv/<project>
A + at the end of the ls -l mode string means an ACL is present:
drwxrws---+ 2 root devops 4096 Sep 29 10:00 /srv/project
The mask: Once ACLs exist, the group bits shown by ls -l become the mask, which caps every named user, named group, and the owning group. Running chmod g-w on a file with ACLs lowers the mask and silently removes write from every ACL entry. getfacl shows the result as #effective:.
Verification:
getfacl /srv/<project>
# file: srv/project
# owner: root
# group: devops
# flags: -s-
user::rwx
group::rwx
group:auditors:r-x
mask::rwx
other::---
default:user::rwx
default:group::rwx
default:group:auditors:r-x
default:mask::rwx
default:other::---
3. Worked Scenario: A Secure Shared Team Directory
Requirement: The devops team collaborates on /srv/project. Every file must stay group-owned by devops and group-writable no matter who creates it. The auditors group needs read-only access. Nobody else gets in, and team members cannot delete each other’s files.
# 1. Groups and members
sudo groupadd devops
sudo groupadd auditors
sudo usermod -aG devops <user1>
sudo usermod -aG devops <user2>
sudo usermod -aG auditors <auditor1>

# 2. Directory, ownership, setgid + sticky
sudo mkdir -p /srv/project
sudo chown root:devops /srv/project
sudo chmod 3770 /srv/project

# 3. Default ACLs force group rw on new content regardless of umask
sudo setfacl -m g:devops:rwx /srv/project
sudo setfacl -d -m g:devops:rwX /srv/project
sudo setfacl -m g:auditors:rX /srv/project
sudo setfacl -d -m g:auditors:rX /srv/project
What each piece does:
| Setting | Effect |
|---|---|
root:devops ownership |
Team gets group access; no individual owns the directory |
setgid (2000) |
New files and subdirs get group devops, not the creator’s primary group |
sticky (1000) |
Members can edit each other’s files but only delete their own |
770 |
Other gets nothing |
Default ACL g:devops:rwX |
New files are group-writable even if a user’s umask is 022 or 027 |
ACL g:auditors:rX |
Read-only access for audit without joining the team |
4. Verification and Validation
Test as the actual users, not as root. Root bypasses permission checks, so a test run as root proves nothing.
# As a devops member: create a file
sudo -u <user1> touch /srv/project/test1.txt
stat -c '%A %U:%G %n' /srv/project/test1.txt
Expected success output:
-rw-rw----+ user1:devops /srv/project/test1.txt
# Second devops member can write but not delete
sudo -u <user2> sh -c 'echo edit >> /srv/project/test1.txt' && echo WRITE_OK
sudo -u <user2> rm /srv/project/test1.txt
Expected:
WRITE_OK
rm: cannot remove '/srv/project/test1.txt': Operation not permitted
# Auditor can read, cannot write
sudo -u <auditor1> cat /srv/project/test1.txt
sudo -u <auditor1> touch /srv/project/audit.txt
Expected:
edit
touch: cannot touch '/srv/project/audit.txt': Permission denied
# Outsider gets nothing
sudo -u nobody ls /srv/project
Expected:
ls: cannot open directory '/srv/project': Permission denied
Audit commands for the whole system
# Accounts with UID 0 (should only be root)
awk -F: '$3 == 0 {print $1}' /etc/passwd

# Accounts with empty passwords
sudo awk -F: '$2 == "" {print $1}' /etc/shadow

# Human accounts with a login shell
awk -F: '$3 >= 1000 && $7 !~ /nologin|false/ {print $1, $7}' /etc/passwd

# Consistency check of passwd/shadow and group/gshadow
sudo pwck -r
sudo grpck -r

# Every setuid and setgid file
sudo find / -xdev -type f \( -perm -4000 -o -perm -2000 \) -ls 2>/dev/null

# World-writable files and dirs without sticky bit
sudo find / -xdev -type f -perm -0002 -ls 2>/dev/null
sudo find / -xdev -type d -perm -0002 ! -perm -1000 -ls 2>/dev/null

# Files with no valid owner or group (leftovers from deleted users)
sudo find / -xdev \( -nouser -o -nogroup \) -ls 2>/dev/null

# Recent logins and failed attempts
lastlog | grep -v "Never logged in"
sudo faillock --user <username>
5. Troubleshooting and Gotchas
Gotcha 1: usermod -G wiped all my groups
Symptom: After adding a user to one group, they lost sudo and every other group membership.
Cause: usermod -G <group> replaces the supplementary group list. Without -a, you just removed them from everything else, including sudo or wheel.
Diagnose and fix:
id <username>
sudo usermod -aG sudo,<group1>,<group2> <username>
Prefer gpasswd -a <username> <group>, which can only add. If you locked out your only admin, boot to single-user or recovery mode to repair.
Gotcha 2: User was added to a group but still gets “Permission denied”
Symptom: getent group shows the user as a member, ls -l shows the group has access, but access fails.
Cause: One of four things: the session predates the group change; a parent directory lacks x; an ACL mask is capping the group; or a mandatory access control layer (SELinux or AppArmor) is denying it.
Diagnose:
id                                 # groups of THIS session, not the account
namei -l /full/path/to/file        # missing x on a parent dir
getfacl /full/path/to/file         # look for #effective: limits from the mask
ls -Z /full/path/to/file           # SELinux context (RHEL)
sudo ausearch -m avc -ts recent    # SELinux denials
sudo journalctl -k | grep -i apparmor   # AppArmor denials (Ubuntu)
Resolution: Log out and back in (or newgrp), add x to the parent directory, restore the mask with setfacl -m m::rwx, or fix the SELinux context with restorecon -Rv or semanage fcontext.
Gotcha 3: Root cannot modify or delete a file
Symptom: rm: cannot remove 'file': Operation not permitted, even as root, with normal-looking permissions.
Cause: The file carries the immutable (i) or append-only (a) attribute, which sits below the permission layer. Attackers use chattr +i to protect persistence files, so treat an unexpected immutable flag as an indicator worth investigating.
Diagnose and fix:
lsattr /path/to/file
sudo chattr -i /path/to/file
Also check the mount: a filesystem mounted ro or noexec will block writes or execution regardless of permissions.
findmnt -T /path/to/file -o TARGET,OPTIONS
Quick Reference
| Task | Command |
|---|---|
| Create user with home and shell | useradd -m -s /bin/bash <user> |
| Add user to group safely | usermod -aG <group> <user> or gpasswd -a <user> <group> |
| Lock and expire account | usermod -L -e 1 <user> |
| Force password change | chage -d 0 <user> |
| Show user identity | id <user> |
| Scoped sudo rule | visudo -f /etc/sudoers.d/<file> |
| What can a user sudo | sudo -l -U <user> |
| Set permissions | chmod 750 <path> |
| Change owner and group | chown <user>:<group> <path> |
| Team directory | chmod 2770 <dir> |
| Grant named group access | setfacl -m g:<group>:rX <path> |
| Inherited ACL | setfacl -d -m g:<group>:rwX <dir> |
| Show ACLs | getfacl <path> |
| Trace path permissions | namei -l <path> |
| Find setuid files | find / -xdev -perm -4000 -type f |
Permissions are not a set-and-forget control. Build access around groups, delegate root with scoped sudo rules, default to a tight umask, and run the audit commands above on a schedule. The config that works is the one you verified as the user who actually needs it.
Recent posts
-

-

DNS is one of those technologies that quietly underpins... Full Story
-

BGP issues on FortiGate firewalls usually trace back to... Full Story
-

Every time your laptop talks to your router, a... Full Story
-

If you've spent any time configuring NAT on a... Full Story
-

If you have spent any time configuring firewall policies... Full Story
-

High availability on FortiGate is one of those features... Full Story
-

If you've configured SD-WAN on a FortiGate, you've almost... Full Story
-

FortiLink is the management protocol that turns a FortiSwitch... Full Story
-

FortiSwitches are pretty rock solid from Mean Time Between... Full Story
-

This is a quicky tip. Have you ever gone... Full Story
-

DNS is one of those quiet pieces of internet... Full Story
-

This article is an updated version of the previous... Full Story
-

You will add ns2 as a secondary (slave) BIND9... Full Story
-

In the process of deploying my lab, I needed... Full Story
-

RFC 8805, used to be known as Self-Correcting IP... Full Story
-

Years back, I wrote an article about certificate pinning. ... Full Story
-

FortiGates have the ability to send alerts to Microsoft... Full Story
-

In this post, I am going to walk through... Full Story
-

Troubleshooting VoIP on a FortiGate can feel like trying... Full Story
-

Prior to FortiOS 7.0, there were three commands to... Full Story
-

In this post, I am going to go over... Full Story
-

What we are going to do: We are going... Full Story
-

Choosing between FGCP (FortiGate Clustering Protocol) and FGSP (FortiGate... Full Story
-

Creating a VLAN on macOS (The "Pro" Move) A... Full Story
-

This blog post explores the logic behind how macOS... Full Story
-

Pretty Fly for a Wi-Fi Tell My Wi-Fi Love... Full Story
-

Part of my daily gig is creating BoMs (Bill-of-Materials)... Full Story
-

ICMP introduces several security risks, but careful filtering, rate... Full Story
-

The command diag debug application dhcps -1 enables full... Full Story
-

In the world of FortiOS, execute tac report is... Full Story
-

LLDP; What is it The Link Layer Discovery Protocol... Full Story
-

What it actually does When you run diagnose fdsm... Full Story
-

Monkey Bites are bite-sized, high-impact security insights designed for... Full Story
-

I have run macOS in macOS with Parallels but... Full Story
-

Don't be confused with my other FortiNAC posts where... Full Story
-

This is the third session in a multi-part article... Full Story
-

Today I was configuring key-based authentication on a FortiGate... Full Story
-

Netcat, often called the "Swiss Army knife" of networking,... Full Story
-

At its core, IEEE 802.1X is a network layer... Full Story
-

In case you did not see the previous FortiNAC... Full Story
-

This is our 5th session where we are going... Full Story
-

Now that we have Wireshark installed and somewhat configured,... Full Story
-

The Philosophy of Packet Analysis Troubleshooting isn't about looking... Full Story
-

Executive Summary Objective: Get you from zero to writing... Full Story
-

NAND cells, the flash translation layer, SLC caching, TRIM,... Full Story
-

Nmap Scripting Engine (NSE): From One-Liners to Your First... Full Story