
If you've spent any time configuring user authentication on... Full Story
By Manny Fernandez
October 2, 2026
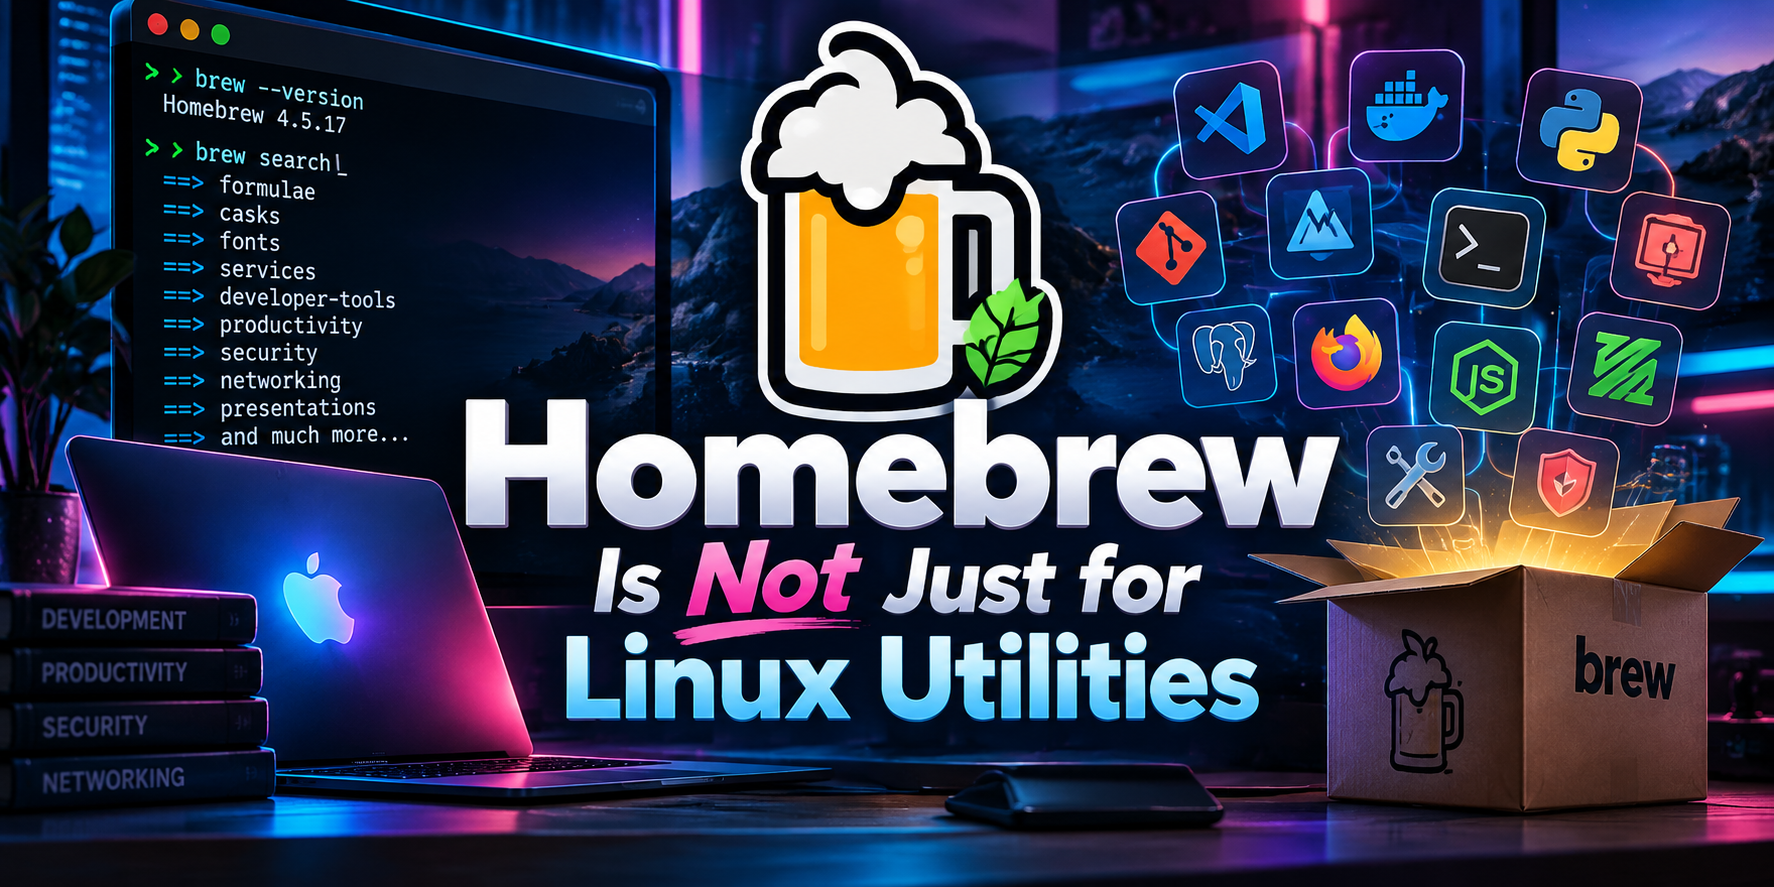
Homebrew Is Not Just for Linux Utilities
Turning brew into the control plane for your entire Mac: desktop apps, fonts, services, App Store installs, and a replayable Brewfile
Executive Summary
Most Mac users meet Homebrew as “apt for macOS”: the thing you run to get wget, nmap, mtr, or iperf3 onto a machine that ships without them. That framing undersells it badly. Modern Homebrew installs and patches GUI applications, manages fonts, runs background daemons under launchd, drives the Mac App Store, and captures your whole workstation build in a single text file you can commit to Git and replay on a new Mac in one command.
Objective: Walk through every non-CLI job Homebrew can take over on macOS and finish with a version-controlled Brewfile that rebuilds your workstation from scratch.
Target audience: Network, security, and systems engineers who already use brew install for command-line tools and are still dragging DMGs into /Applications by hand.
Outcome: One tool, one manifest, one upgrade command for nearly everything on the Mac.
Prerequisites and Architecture
Assumed Knowledge
You should be comfortable in Terminal (or iTerm2), know what sudo does, and have run brew install at least once. No Ruby knowledge is required.
Environment Requirements
- macOS 14 Sonoma or later. Homebrew 5.x officially supports macOS 26 Tahoe.
- Homebrew 5.x installed. Apple Silicon uses the
/opt/homebrewprefix; Intel uses/usr/local. - An administrator account (some casks run privileged installers).
- An Apple Account signed into the App Store app (only needed for the
massection).
Intel Mac heads-up
As of September 2026 Homebrew moves macOS Intel x86_64 to Tier 3: no more CI and no new bottles for Intel, and a year later Homebrew stops running on Intel entirely. If your daily driver is still Intel, plan the hardware refresh now and build your Brewfile on the new Apple Silicon machine.
Component Map
| Component | What It Is | Where It Lives |
|---|---|---|
| Formula | Recipe for a CLI tool or library, usually shipped as a prebuilt bottle | /opt/homebrew/Cellar |
| Cask | Recipe for a GUI app, font, driver, plugin, or vendor installer | /opt/homebrew/Caskroom plus /Applications |
| Tap | Third-party Git repository of formulae and casks | /opt/homebrew/Library/Taps |
| brew services | Wrapper that generates and loads launchd jobs for daemons | ~/Library/LaunchAgents or /Library/LaunchDaemons |
| mas | Mac App Store command-line client, installed as a formula | /opt/homebrew/bin/mas |
| Brewfile | Declarative manifest read by brew bundle |
Anywhere you like (ideally a Git repo) |
Step-by-Step Implementation Workflow
Step 1: Baseline Your Homebrew Install
Goal: Confirm version, prefix, and health before you start trusting brew with apps and services.
Action: Check the version, pull the key config values, run the built-in health check, and update the metadata.
brew --version
brew config | grep -E 'HOMEBREW_PREFIX|macOS|CPU'
brew doctor
brew update
Verification: brew doctor returns Your system is ready to brew. and HOMEBREW_PREFIX shows /opt/homebrew on Apple Silicon. Fix any doctor warnings now; they only get louder once casks and services are involved.
Step 2: Install Desktop Apps With Casks
Goal: Replace the download, open DMG, drag to Applications, eject routine with a repeatable, scriptable install.
Action: Search the cask namespace, inspect before installing, then install several apps in one shot.
brew search --cask iterm
brew info --cask iterm2
brew install --cask iterm2 visual-studio-code rectangle firefox
Some names exist as both a formula and a cask, so be explicit with --cask or --formula whenever there is any doubt. brew info --cask shows the vendor URL, version, artifacts it will place, and any caveats, which is exactly the pre-flight review you should do for anything that lands in /Applications.
Prefer apps in your home folder instead of the system-wide /Applications? Set the target per install or globally:
# One-off
brew install --cask --appdir=~/Applications rectangle

# Every cask, every time (add to ~/.zshrc)
export HOMEBREW_CASK_OPTS="--appdir=~/Applications"
Verification: brew list --cask lists the new apps and each one launches from Spotlight without a Gatekeeper prompt beyond the normal first-launch confirmation.
Step 3: Manage Fonts as Packages
Goal: Install terminal and coding fonts the same way you install tools, so a new machine gets them automatically.
Action: Font casks live in the main cask repository. The old homebrew/cask-fonts tap was retired in 2024, so untap it if it is still hanging around.
brew untap homebrew/cask-fonts 2>/dev/null
brew search --cask font-jetbrains
brew install --cask font-jetbrains-mono font-jetbrains-mono-nerd-font
Verification: The font files appear in your user font folder and the family shows up in iTerm2 and VS Code font pickers.
ls ~/Library/Fonts | grep -i jetbrainsStep 4: Patch GUI Apps, Including the Self-Updaters
Goal: Use brew as your patch-management loop for desktop software, not just CLI tools.
Action: By default brew upgrade skips casks that update themselves (flagged auto_updates) and casks versioned as latest. The greedy flags pull those in.
brew outdated --cask                      # what brew will upgrade by default
brew outdated --cask --greedy             # everything, including self-updaters
brew upgrade --cask --greedy-auto-updates # self-updaters only
brew upgrade --cask --greedy              # the full sweep
Why greedy matters
Apps like browsers and editors update themselves, but only when they are launched. That lab VM tool you open twice a year can sit months behind on patches. A scheduled brew upgrade --cask --greedy closes that gap.
Verification: brew outdated --cask --greedy returns no output.
Step 5: Run Background Services With brew services
Goal: Run daemons (web servers, databases, DNS resolvers, exporters) as proper launchd jobs without hand-writing a single plist.
Action: Install a formula that ships a service definition, then control it with brew services. Homebrew’s nginx listens on port 8080 out of the box, which makes it a clean test.
brew install nginx
brew services start nginx
brew services list
brew services info nginx
curl -I http://127.0.0.1:8080| Command | launchd Scope | Behavior |
|---|---|---|
brew services start <svc> |
User LaunchAgent | Starts now and at every login as your user |
sudo brew services start <svc> |
System LaunchDaemon | Starts at boot as root; use only when the daemon truly needs it |
brew services run <svc> |
User, not registered | Runs now, does not come back after logout or reboot |
brew services stop <svc> |
Either | Stops and unregisters the job |
Verification: brew services list shows started for nginx, and the curl returns an HTTP/1.1 200 OK header with Server: nginx. Stop it with brew services stop nginx when you are done testing.
Step 6: Drive the Mac App Store With mas
Goal: Bring App Store apps (Xcode, Apple’s productivity apps, paid utilities) under the same tooling.
Action: Install mas, confirm the App Store app is signed in, then work by numeric app ID.
brew install mas
mas list                  # App Store apps already on this Mac
mas search Xcode
mas info 497799835        # Xcode
mas install 497799835
mas outdated
mas upgrade
Sign-in happens in the App Store app itself, not from the CLI, on current macOS releases. mas is most reliable for apps already associated with your Apple Account; for an app you have never obtained, grab it once through the App Store GUI and mas handles it from then on.
Verification: mas list shows the app ID and version, and mas outdated is empty after an upgrade.
Step 7: Codify the Whole Machine in a Brewfile
Goal: Capture every tap, formula, cask, font, App Store app, and editor extension in one text file you can diff, review, and replay.
Action: Dump the current state, then curate it. --describe adds a comment above each entry so the file documents itself.
mkdir -p ~/dotfiles && cd ~/dotfiles
brew bundle dump --file=./Brewfile --describe --force
git init && git add Brewfile && git commit -m "Baseline Mac build"
A curated practitioner Brewfile looks like this. brew bundle now understands far more than formulae and casks, including VS Code extensions, Go packages, Cargo crates, uv tools, and npm packages.
# Vendor taps
tap "hashicorp/tap"

# CLI tooling
brew "nmap"
brew "mtr"
brew "iperf3"
brew "jq"
brew "mas"
brew "hashicorp/tap/terraform"
brew "nginx", restart_service: :changed

# Desktop apps
cask "iterm2"
cask "visual-studio-code"
cask "rectangle"
cask "firefox"

# Fonts
cask "font-jetbrains-mono-nerd-font"

# Mac App Store
mas "Xcode", id: 497799835

# Editor extensions
vscode "ms-python.python"
Replay and audit it with the bundle subcommands:
brew bundle check --file=./Brewfile --verbose  # what is missing?
brew bundle install --file=./Brewfile          # make it so
brew bundle list --file=./Brewfile --all       # what the file declares
brew bundle cleanup --file=./Brewfile          # dry run: extras on disk
Never run cleanup –force blindly
brew bundle cleanup only lists extras until you add --force. Since a May 2026 change, if your Brewfile contains any mas line, a forced cleanup treats every App Store app not in the file as removable, even apps you installed years ago through the App Store GUI. Read the dry-run list first, and add missing mas entries before forcing anything.
Verification: On a fresh Mac, installing Homebrew and running brew bundle install --file=~/dotfiles/Brewfile rebuilds your toolset, apps, fonts, and services unattended, and brew bundle check reports that dependencies are satisfied.
Step 8: Pull Vendor Software From Official Taps
Goal: Install software that vendors publish in their own Homebrew repositories.
Action: Tap the vendor repo, then install with the fully qualified name so there is no ambiguity about which repo the package comes from.
brew tap hashicorp/tap
brew install hashicorp/tap/terraform
brew tap-info hashicorp/tap
brew tap                  # list every tap you trust right now
A tap is a trust decision
Tapping a repository means its maintainers can ship code that runs on your machine during install. Stick to vendor-official taps, review brew tap output periodically, and brew untap anything you no longer use.
Verification: brew info hashicorp/tap/terraform shows the tap as the source, and terraform -version runs.
Step 9: Security Hygiene and Housekeeping
Goal: Keep the Homebrew-managed estate lean, private, and aligned with macOS security controls.
Action: Turn off analytics, reclaim disk, drop orphaned dependencies, and spot-check Gatekeeper status on cask-installed apps.
brew analytics off
brew info --sizes           # size of installed formulae and casks
brew autoremove             # remove orphaned dependencies
brew cleanup --prune=all    # purge old versions and cached downloads
spctl -a -vv /Applications/iTerm.app
Homebrew now enforces the same bar Apple does. Version 5.0 deprecated the --no-quarantine and --quarantine flags because the project does not want to make bypassing macOS security easy, and casks in the official repository that fail Gatekeeper checks are being disabled starting September 2026. The practical effect: anything you install from the official cask repo should now be signed and notarized.
Verification: spctl reports accepted with source=Notarized Developer ID for cask-installed apps, and brew analytics state reports analytics are disabled.
Verification and Validation
Run the full health sweep after building or rebuilding a machine:
brew doctor
brew bundle check --file=~/dotfiles/Brewfile --verbose
brew list --cask
brew services list
mas list
Expected success output (trimmed):
Your system is ready to brew.
The Brewfile's dependencies are satisfied.

Name  Status  User  File
nginx started <you> ~/Library/LaunchAgents/homebrew.mxcl.nginx.plist
Troubleshooting and Gotchas
1. “There is already an App at /Applications/…”
Symptom: A cask install aborts because you installed the app manually from a DMG in the past.
Resolution: Let Homebrew adopt the existing copy instead of deleting and reinstalling it. Adopted apps are tracked and upgraded like any other cask.
brew install --cask --adopt visual-studio-code
brew list --cask | grep visual-studio-code
2. Cask Is Disabled or the App Will Not Launch
Symptom: brew install --cask refuses with a disabled message, or macOS reports the app is damaged or cannot be verified.
Diagnosis: Check the cask status and the app’s signature.
brew info --cask <name>
spctl -a -vv /Applications/<App>.app
codesign -dv --verbose=2 /Applications/<App>.app
Resolution: If the cask was disabled for failing Gatekeeper, get a signed build directly from the vendor or pick a maintained alternative. Resist stripping the quarantine attribute with xattr; that is exactly the bypass Homebrew stopped facilitating, and on a work machine it is a policy violation waiting to happen.
3. brew services Shows error or Keeps Restarting
Symptom: brew services list shows error with an exit code, or the service flaps.
Diagnosis: Pull the job details from both brew and launchd, check the daemon’s own log, and look for a port collision.
brew services info nginx --json
launchctl print gui/$(id -u)/homebrew.mxcl.nginx | grep -E 'state|last exit'
tail -n 50 /opt/homebrew/var/log/nginx/error.log
lsof -nP -iTCP:8080 -sTCP:LISTEN
Resolution: Fix the config error or free the port, then brew services restart nginx. If a service was ever started with sudo, stop it with sudo brew services stop too; mixing user and root scopes for the same service is the most common cause of phantom jobs and permission errors on the log directory.
Quick Reference
| Task | Command |
|---|---|
| Install a GUI app | brew install --cask <app> |
| Take over a manually installed app | brew install --cask --adopt <app> |
| Install a font | brew install --cask font-<name> |
| Patch every app, self-updaters included | brew upgrade --cask --greedy |
| Start a daemon at login | brew services start <svc> |
| Install an App Store app | mas install <id> |
| Snapshot the machine | brew bundle dump --describe --force |
| Rebuild a machine | brew bundle install --file=<Brewfile> |
| Preview extras not in the Brewfile | brew bundle cleanup --file=<Brewfile> |
Stop thinking of Homebrew as the place you get Linux utilities. On a practitioner’s Mac it is the package manager, the patch loop, the service supervisor, and the build manifest. Put the Brewfile in Git and your next laptop refresh becomes a coffee break.
Recent posts
-

-

DNS is one of those technologies that quietly underpins... Full Story
-

BGP issues on FortiGate firewalls usually trace back to... Full Story
-

Every time your laptop talks to your router, a... Full Story
-

If you've spent any time configuring NAT on a... Full Story
-

If you have spent any time configuring firewall policies... Full Story
-

High availability on FortiGate is one of those features... Full Story
-

If you've configured SD-WAN on a FortiGate, you've almost... Full Story
-

FortiLink is the management protocol that turns a FortiSwitch... Full Story
-

FortiSwitches are pretty rock solid from Mean Time Between... Full Story
-

This is a quicky tip. Have you ever gone... Full Story
-

DNS is one of those quiet pieces of internet... Full Story
-

This article is an updated version of the previous... Full Story
-

You will add ns2 as a secondary (slave) BIND9... Full Story
-

In the process of deploying my lab, I needed... Full Story
-

RFC 8805, used to be known as Self-Correcting IP... Full Story
-

Years back, I wrote an article about certificate pinning. ... Full Story
-

FortiGates have the ability to send alerts to Microsoft... Full Story
-

In this post, I am going to walk through... Full Story
-

Troubleshooting VoIP on a FortiGate can feel like trying... Full Story
-

Prior to FortiOS 7.0, there were three commands to... Full Story
-

In this post, I am going to go over... Full Story
-

What we are going to do: We are going... Full Story
-

Choosing between FGCP (FortiGate Clustering Protocol) and FGSP (FortiGate... Full Story
-

Creating a VLAN on macOS (The "Pro" Move) A... Full Story
-

This blog post explores the logic behind how macOS... Full Story
-

Pretty Fly for a Wi-Fi Tell My Wi-Fi Love... Full Story
-

Part of my daily gig is creating BoMs (Bill-of-Materials)... Full Story
-

ICMP introduces several security risks, but careful filtering, rate... Full Story
-

The command diag debug application dhcps -1 enables full... Full Story
-

In the world of FortiOS, execute tac report is... Full Story
-

LLDP; What is it The Link Layer Discovery Protocol... Full Story
-

What it actually does When you run diagnose fdsm... Full Story
-

Monkey Bites are bite-sized, high-impact security insights designed for... Full Story
-

I have run macOS in macOS with Parallels but... Full Story
-

Don't be confused with my other FortiNAC posts where... Full Story
-

This is the third session in a multi-part article... Full Story
-

Today I was configuring key-based authentication on a FortiGate... Full Story
-

Netcat, often called the "Swiss Army knife" of networking,... Full Story
-

At its core, IEEE 802.1X is a network layer... Full Story
-

In case you did not see the previous FortiNAC... Full Story
-

This is our 5th session where we are going... Full Story
-

Now that we have Wireshark installed and somewhat configured,... Full Story
-

The Philosophy of Packet Analysis Troubleshooting isn't about looking... Full Story
-

InfoSecMonkey Threat Response October 24, 2026 | No fluff.... Full Story
-

InfoSecMonkey Threat Response October 24, 2026 | No fluff.... Full Story
-

Plus what you actually get with FortiCare Essential, Premium... Full Story