
If you've spent any time configuring user authentication on... Full Story
By Manny Fernandez
September 26, 2026
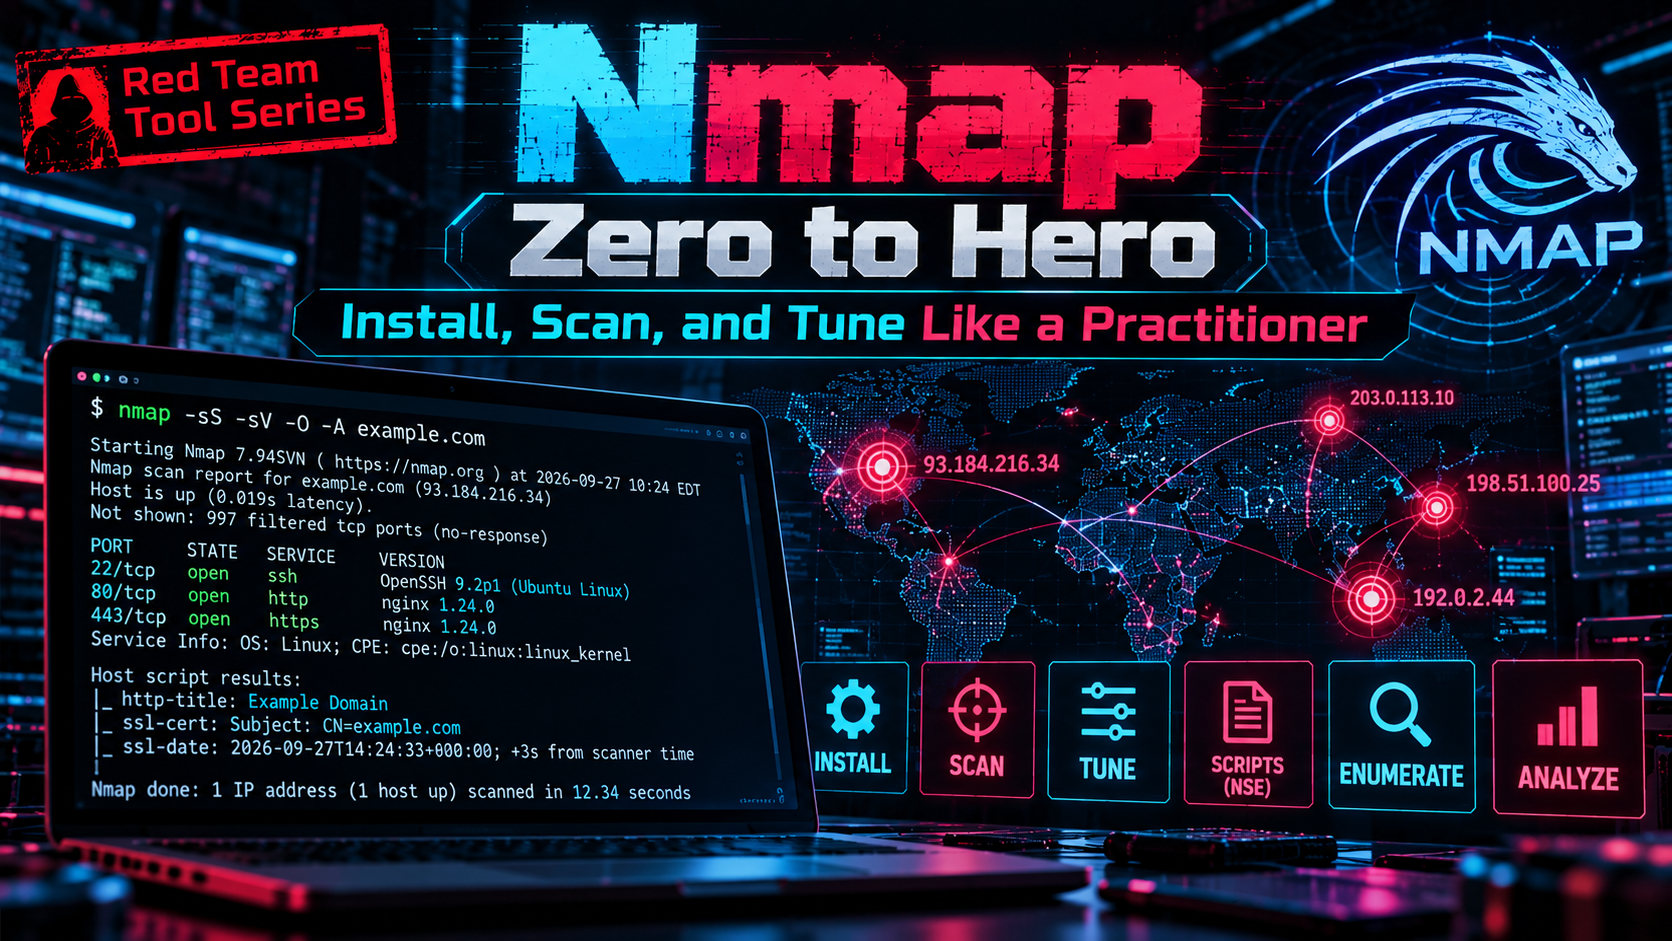
Red Team Tool Series: Nmap Zero to Hero: Install, Scan, and Tune Like a Practitioner
In this guide
- Executive Summary
- Prerequisites and Lab Architecture
- Installing Nmap on macOS
- Installing Nmap on Linux
- How Nmap Thinks: Scan Phases and Port States
- Step-by-Step Scanning Workflow
- Scan Type Reference
- Timing and Performance
- Tips and Tricks
- Quick Reference Cheat Sheet
- Verification and Validation
- Troubleshooting and Gotchas
- Wrap-Up
Objective: Get Nmap installed on macOS and Linux, understand what it is actually doing on the wire, and build a repeatable scanning workflow with the tips that save real time in the field.
Target audience: Network and security engineers, SOC analysts, and firewall admins who need accurate answers about what is listening on a network, not a wall of noise.
Executive Summary
Nmap (Network Mapper) is the reference tool for host discovery, port scanning, service fingerprinting, and OS detection. It has been around since 1997, and it is still the first thing most practitioners reach for when the question is “what is actually exposed here?”
This guide covers installation on macOS and Linux, the scan engine fundamentals you need to read results correctly, a six-step scanning workflow, and a set of tips pulled from day-to-day use: two-pass scanning, resuming interrupted scans, diffing results over time, and validating firewall policy from both sides of the wall.
Scope and legal: Only scan networks and hosts you own or have written authorization to test. Unauthorized scanning can violate law, contracts, and acceptable use policies, and it will light up any competent IPS. The Nmap project provides
scanme.nmap.org for occasional light testing; do not hammer it.Prerequisites and Lab Architecture
Assumed knowledge
- TCP/IP fundamentals: the three-way handshake, TCP flags, ICMP, and the difference between TCP and UDP.
- Comfort in a terminal (zsh on macOS, bash on Linux) and with
sudo. - Basic firewall concepts: allow, deny, and silent drop versus reject.
Lab components
| Component | Role | Address |
|---|---|---|
| macOS workstation (Apple Silicon or Intel) | Scanner, Homebrew install | 10.0.10.10 |
| Ubuntu 24.04 LTS VM | Scanner, apt and source install | 10.0.10.11 |
| FortiGate | Default gateway and policy enforcement point | 10.0.10.1 |
| Linux web server (web01) | Primary scan target: SSH, HTTP, HTTPS | 10.0.10.50 |
| Lab subnet | Host discovery range | 10.0.10.0/24 |
| Public-facing VIP | External perimeter test target | 198.18.10.20 |
Why root matters: Nmap’s best scans craft raw packets, and raw sockets require root (or Linux capabilities). Run it as a normal user and Nmap quietly falls back to a full TCP connect scan (
-sT), which is slower, shows up in application logs, and cannot do OS detection. When in doubt, use sudo.Installing Nmap on macOS
Option A: Homebrew (recommended)
Homebrew gives you the current upstream release and painless upgrades. It installs nmap, ncat, nping, and ndiff. Zenmap, the GUI, is not included.
# Install Homebrew first if needed: https://brew.sh
brew update
brew install nmap

# Confirm the binary and version
which nmap
nmap --version
On Apple Silicon the binary lands in /opt/homebrew/bin/nmap; on Intel Macs it lands in /usr/local/bin/nmap. Upgrade later with brew upgrade nmap.
Option B: Official installer package
The Nmap project publishes a macOS disk image (nmap-<VERSION>.dmg) at nmap.org/download. It includes Zenmap along with the command line tools. Open the image, run the .mpkg installer, and follow the prompts. If Gatekeeper blocks it, go to System Settings > Privacy and Security and choose Open Anyway.
Pick one: Do not run the Homebrew build and the package build side by side. Two copies on your PATH means you will eventually troubleshoot the wrong one.
which -a nmap shows every copy.Verify macOS interfaces
Nmap reaches macOS interfaces through BPF devices, so confirm it can see them:
sudo nmap --iflistYou should see en0 (plus any VPN utun interfaces) with their addresses, followed by the routing table Nmap will use. If a scan later leaves through the wrong interface, pin it with -e en0.
Installing Nmap on Linux
Option A: Distribution packages
This is the fastest path. The tradeoff is that distribution repositories often lag the upstream release, sometimes by several versions, which means older NSE scripts and fingerprint databases.
# Debian / Ubuntu / Kali
sudo apt update && sudo apt install -y nmap

# Fedora / RHEL / Rocky / Alma
sudo dnf install -y nmap

# Arch / Manjaro
sudo pacman -S nmap

# Verify
nmap --version
Option B: Build from source (current release)
When you need the newest service probes, OS fingerprints, and NSE scripts, build it yourself. Nmap bundles most of its libraries, so the dependency list is short.
sudo apt install -y build-essential git libssl-dev libpcap-dev

git clone https://github.com/nmap/nmap.git
cd nmap
./configure --without-zenmap
make -j"$(nproc)"
sudo make install

# /usr/local/bin should now win over /usr/bin
hash -r
which nmap
nmap --version
A successful ./configure run ends with an ASCII-art dragon. If it warns about OpenSSL, libssl-dev is missing and Nmap will build without SSL support, which breaks the ssl-* scripts and SSL service detection.
Optional: non-root raw scans with Linux capabilities
On a dedicated scanning box you can grant the binary raw-socket capabilities instead of typing sudo every time:
sudo setcap cap_net_raw,cap_net_admin,cap_net_bind_service+eip \
  "$(which nmap)"

# Tell Nmap it has the privileges it needs
nmap --privileged -sS 10.0.10.50
# or set it for the session: export NMAP_PRIVILEGED=""
Tradeoff: Any local user can now forge raw packets with that binary, and Nmap runs Lua (NSE) scripts. Only do this on a single-purpose, single-user scanner.
How Nmap Thinks: Scan Phases and Port States
Every Nmap run moves through the same pipeline. Knowing the order explains most “why did it do that?” moments.
- Target enumeration: expands your CIDRs, ranges, hostnames, and
-iLlists into a target set. - Host discovery: decides which targets are up. On a local subnet as root this is an ARP sweep; remotely it combines ICMP echo, TCP SYN to 443, TCP ACK to 80, and ICMP timestamp.
- Reverse DNS: resolves names for live hosts (skip it with
-n). - Port scanning: probes the top 1,000 TCP ports by default.
- Version, OS, and script phases:
-sV,-O, and-sCor--scriptrun only when you ask for them. - Output: writes to the screen and to any
-ofiles.
| State | What Nmap observed | What it usually means |
|---|---|---|
| open | SYN/ACK (TCP) or a UDP reply | A service is accepting connections |
| closed | RST (TCP) or ICMP port unreachable (UDP) | Host is reachable, nothing is listening |
| filtered | No response, or ICMP admin prohibited | A firewall is dropping the probe |
| unfiltered | RST in reply to an ACK scan | Reachable through the firewall, open state unknown |
| open|filtered | No reply to UDP, FIN, NULL, or Xmas probes | Cannot tell open from silently dropped |
| closed|filtered | Only seen in IP ID idle scans | Cannot tell closed from silently dropped |
Reading firewall behavior: A FortiGate deny policy drops traffic silently by default, so blocked ports behind it show as
filtered, not closed. With set send-deny-packet enable on the policy, the FortiGate returns a TCP RST or ICMP unreachable and Nmap reports closed instead. Keep that in mind when a result does not match what you expected from the rule base.Step-by-Step Scanning Workflow
Step 1: Discover live hosts
Goal: Find what is up before spending time port scanning dead addresses.
Action: Run a ping sweep with no port scan, then save the live IPs for later steps.
sudo nmap -sn 10.0.10.0/24

# Save just the live IPs
sudo nmap -sn 10.0.10.0/24 -oG - \
  | awk '/Up$/{print $2}' > live.txt
Verification: Each live host prints Host is up. On the local segment you also get the MAC address and vendor, so the FortiGate shows up as Fortinet. If a host you know is up is missing, it is probably dropping discovery probes; see Troubleshooting.
Step 2: Scan ports
Goal: Identify listening TCP services.
Action: Start with the default SYN scan, then widen the port range as needed.
# Default: SYN scan of the top 1,000 TCP ports
sudo nmap 10.0.10.50

# Specific ports, top-N, or all 65,535
sudo nmap -p 22,80,443,8443 10.0.10.50
sudo nmap --top-ports 100 10.0.10.50
sudo nmap -p- 10.0.10.50

# Everything in live.txt, saved in all formats
sudo nmap -iL live.txt -oA lab-tcp
Verification: Output lists PORT, STATE, and SERVICE. At this stage the SERVICE column is only a lookup of the port number in the nmap-services file, not a real fingerprint. Port 8443 labeled https-alt is a guess until Step 3.
Step 3: Fingerprint services
Goal: Learn what is really listening and which version it is running.
Action: Add version detection, and adjust intensity for speed or depth.
sudo nmap -sV -p 22,80,443 10.0.10.50

# Faster but lighter, or slower and exhaustive
sudo nmap -sV --version-light 10.0.10.50
sudo nmap -sV --version-all -p 8443 10.0.10.50
Verification: A VERSION column appears with product and version strings such as OpenSSH 9.6p1. If you see tcpwrapped, the port completed the handshake and then closed without talking, which usually means an access control layer sits in front of the service.
Step 4: Detect the operating system
Goal: Estimate the OS and device type.
Action: Enable OS detection, and allow guesses for harder targets.
sudo nmap -O 10.0.10.50
sudo nmap -O --osscan-guess 10.0.10.1
Verification: Look for OS details or Aggressive OS guesses with confidence percentages. OS detection is most reliable when Nmap finds at least one open and one closed TCP port; a host behind a drop-everything firewall gives it very little to work with.
Step 5: Run NSE scripts
Goal: Pull deeper facts (TLS configuration, HTTP titles, SMB details, known vulnerabilities) with the Nmap Scripting Engine.
Action: Start with the default set, then target specific scripts.
# Default script set (same as --script=default)
sudo nmap -sC -sV 10.0.10.50

# Targeted scripts
nmap --script ssl-enum-ciphers -p 443 10.0.10.50
nmap --script http-title,http-headers -p 80,443 10.0.10.50
nmap --script "default and safe" 10.0.10.0/24

# Read before you run
nmap --script-help ssl-enum-ciphers
Verification: Script output appears indented under each port with a | prefix, or under Host script results for host-level scripts. ssl-enum-ciphers grades each cipher from A to F, which is handy for audits.
Categories matter: Scripts are tagged
safe, default, discovery, version, auth, brute, vuln, intrusive, exploit, dos, and more. --script vuln can be intrusive and occasionally knocks over fragile OT or IoT gear. Know the category before you point it at production.Step 6: Save output you can reuse
Goal: Keep evidence and machine-readable results.
Action: Use -oA on every scan that matters.
sudo nmap -sV -sC 10.0.10.50 -oA web01-baseline
ls web01-baseline.*
Verification: -oA writes three files at once: .nmap (human-readable), .xml (for tooling and ndiff), and .gnmap (grepable, for quick grep and awk work). Rerunning a scan because you did not save it is the most avoidable mistake in this guide.
Scan Type Reference
| Flag | Scan | Needs root | Use it for |
|---|---|---|---|
-sS |
TCP SYN (half-open) | Yes | Default workhorse; fast and never completes the handshake |
-sT |
TCP connect | No | Unprivileged fallback; logged by the application |
-sU |
UDP | Yes | DNS, SNMP, NTP, DHCP, IKE, syslog |
-sA |
TCP ACK | Yes | Mapping firewall rules (filtered vs. unfiltered) |
-sN -sF -sX |
NULL, FIN, Xmas | Yes | Slipping past simple stateless filters (not Windows targets) |
-sn |
Host discovery only | No (better as root) | Ping sweeps and inventory |
-sL |
List scan | No | Print the target list without sending a probe |
-sV |
Version detection | No | Real service identification |
-O |
OS detection | Yes | Device and OS fingerprinting |
-A |
Aggressive | Yes | Shortcut for -O -sV -sC --traceroute |
Timing and Performance
| Template | Name | Behavior | When to use |
|---|---|---|---|
-T0 |
paranoid | 5 minutes between probes | IDS evasion; practically never |
-T1 |
sneaky | 15 seconds between probes | Very quiet, very slow |
-T2 |
polite | 0.4 seconds between probes | Fragile devices and busy links |
-T3 |
normal | Default dynamic timing | The default |
-T4 |
aggressive | Shorter timeouts, faster retries | Modern LANs and reliable links |
-T5 |
insane | Very short timeouts, may miss ports | Fast labs only |
For finer control, set the rate and retry behavior directly:
# Floor the send rate (packets per second)
sudo nmap -p- --min-rate 1000 10.0.10.50

# Cap retries and give up on slow hosts
sudo nmap -T4 --max-retries 2 --host-timeout 10m -iL live.txt

# Be gentle with OT and legacy gear
sudo nmap -T2 --max-rate 50 --scan-delay 100ms 10.0.20.0/24
Accuracy vs. speed: Aggressive
--min-rate values on lossy links (Wi-Fi, VPNs, congested WANs) cause dropped probes, and Nmap will mark real open ports as filtered. If a fast scan and a slow scan disagree, trust the slow one.Tips and Tricks
1. Two-pass scanning: wide and fast, then deep and narrow
Running -sV -sC against all 65,535 ports is painfully slow. Find the open ports first, then fingerprint only those. This works with both the BSD tools on macOS and the GNU tools on Linux.
T=10.0.10.50
PORTS=$(sudo nmap -p- --min-rate 2000 -T4 -oG - "$T" \
  | grep -oE '[0-9]+/open' | cut -d/ -f1 | paste -sd, -)
echo "Open: $PORTS"
sudo nmap -sV -sC -p "$PORTS" -oA "deep-$T" "$T"
2. Show only what matters, and why
sudo nmap --open --reason 10.0.10.0/24--open hides closed and filtered ports. --reason shows the packet that decided each state (syn-ack, reset, no-response, admin-prohibited), which is the fastest way to tell a firewall drop from an ICMP reject.
3. Talk to a running scan
Press keys while Nmap runs: Enter prints a progress line with an ETA, v and V raise or lower verbosity, d and D change the debug level, p and P toggle packet tracing, and ? lists them all. For unattended runs, add --stats-every 30s.
4. Resume an interrupted scan
If a big scan dies (VPN drop, closed laptop lid, Ctrl+C), resume from the saved output instead of starting over. Resume works at host granularity and needs -oN or -oG output, both of which -oA includes.
sudo nmap --resume lab-tcp.gnmap5. Validate your target list before sending anything
nmap -sL -n 10.0.10.0/28
nmap -sL -iL targets.txt --exclude 10.0.10.1
sudo nmap -sn 10.0.10.0/24 --excludefile do-not-scan.txt
-sL only prints what would be scanned, so it is a cheap sanity check before a change window. --exclude and --excludefile keep production gateways and fragile hosts off the list.
6. Track change over time with ndiff
sudo nmap -sV -oX baseline.xml 10.0.10.0/24
# ...one week later...
sudo nmap -sV -oX today.xml 10.0.10.0/24
ndiff baseline.xml today.xml
ndiff prints + and - lines for new and missing hosts, ports, and versions. Schedule it weekly with cron and you have a lightweight exposure monitor.
7. Turn XML into a report
xsltproc lab-tcp.xml -o lab-tcp.htmlNmap XML references its own stylesheet, so this produces a clean HTML report you can hand to a customer or attach to a ticket. macOS ships xsltproc; on Linux, install the xsltproc package.
8. Validate firewall policy from both sides
Nmap is the fastest way to prove a policy does what the change ticket says it does.
# Map which ports are filtered vs. reachable through the firewall
sudo nmap -sA -p 1-1024 198.18.10.20

# Watch every packet Nmap sends and receives
sudo nmap -sS -p 443 --packet-trace -n 198.18.10.20

# Test source-port based rules (some legacy ACLs trust 53)
sudo nmap -sS -g 53 -p 22,3389 198.18.10.20
While that runs, confirm the probes on the FortiGate with the sniffer. This filter matches SYN-only packets, and verbosity 4 shows the interface each packet crosses:
diagnose sniffer packet any 'host 198.18.10.20 and tcp[13] == 2' 4 20If a probe shows up on the ingress interface but never on the egress side, the FortiGate dropped it, and diagnose debug flow is your next stop. Also expect the FortiGate to notice: IPS signatures and DoS policy anomalies such as tcp_port_scan exist to catch exactly this traffic, so coordinate with whoever watches the logs, or you will become the incident.
9. NSE one-liners worth memorizing
nmap --script ssl-cert -p 443 10.0.10.50         # CN, SANs, expiry
nmap --script http-title -p 80,443,8080 10.0.10.0/24
nmap --script smb-os-discovery -p 445 10.0.10.0/24
nmap --script dns-brute example.com               # your domains only
sudo nmap -sU --script snmp-info -p 161 10.0.10.0/24
sudo nmap --script-updatedb                       # after adding scripts
10. UDP without waiting all day
UDP scanning is slow because silence is ambiguous and many hosts rate-limit ICMP port unreachable messages (Linux famously to about one per second). Scope it tightly:
sudo nmap -sU --top-ports 50 -sV --version-intensity 0 10.0.10.50
sudo nmap -sU -p 53,123,161,500,4500 10.0.10.0/24
Adding -sV actually helps UDP: version probes send real protocol payloads that coax replies from services that ignore empty datagrams, turning open|filtered into open.
11. IPv6 and interface control
sudo nmap -6 -sS -p 22,443 fd00:10::50
sudo nmap -e en0 -sn 10.0.10.0/24
Sweeping an IPv6 /64 is not practical, so feed Nmap known addresses or use the targets-ipv6-multicast-echo script to discover neighbors on the local link.
12. Tame DNS
Use -n to skip reverse DNS (faster and quieter), or --dns-servers 10.0.10.1 to query a specific resolver, which also makes internal names resolve correctly when you are on a VPN with split DNS.
Quick Reference Cheat Sheet
| Task | Command |
|---|---|
| Ping sweep | sudo nmap -sn 10.0.10.0/24 |
| Default SYN scan | sudo nmap 10.0.10.50 |
| All TCP ports, fast | sudo nmap -p- --min-rate 1000 10.0.10.50 |
| Services and default scripts | sudo nmap -sV -sC 10.0.10.50 |
| OS detection | sudo nmap -O 10.0.10.50 |
| Everything (aggressive) | sudo nmap -A -T4 10.0.10.50 |
| Top 50 UDP ports | sudo nmap -sU --top-ports 50 10.0.10.50 |
| Skip host discovery | sudo nmap -Pn 10.0.10.50 |
| Only open ports, with reasons | sudo nmap --open --reason 10.0.10.0/24 |
| TLS cipher audit | nmap --script ssl-enum-ciphers -p 443 <host> |
| Save all formats | nmap <options> -oA <name> |
| Resume a scan | sudo nmap --resume <name>.gnmap |
| Compare two scans | ndiff old.xml new.xml |
| Firewall rule mapping | sudo nmap -sA -p 1-1024 <target> |
Verification and Validation
Run a full-profile scan against the lab web server and compare it with the expected output.
sudo nmap -sV -sC -O -T4 10.0.10.50Expected success output (representative; your versions will differ):
Nmap scan report for 10.0.10.50
Host is up (0.00041s latency).
Not shown: 997 closed tcp ports (reset)
PORT    STATE SERVICE  VERSION
22/tcp  open  ssh      OpenSSH 9.6p1 Ubuntu 3ubuntu13 (protocol 2.0)
80/tcp  open  http     nginx 1.24.0 (Ubuntu)
|_http-title: Welcome to nginx!
443/tcp open  ssl/http nginx 1.24.0 (Ubuntu)
| ssl-cert: Subject: commonName=web01.lab.local
MAC Address: 00:0C:29:AA:BB:CC (VMware)
Device type: general purpose
Running: Linux 5.X|6.X
Nmap done: 1 IP address (1 host up) scanned in 14.62 seconds
Success criteria: the host is up, the three expected services are open with version strings, script output is present, and there is an OS estimate. If the Not shown line reports filtered rather than closed ports, a host firewall is in play. That is fine; just know it is there.
Troubleshooting and Gotchas
1. “You requested a scan type which requires root privileges”
Symptom: -sS, -sU, or -O fails, or scans are mysteriously slow and show up in web server logs.
Cause: Nmap is running unprivileged, so it refused the scan or fell back to -sT.
Fix: Use sudo. On macOS with Homebrew, if sudo nmap returns command not found, call the full path:
sudo "$(which nmap)" -sS 10.0.10.502. “Host seems down” but you know it is up
Symptom: Note: Host seems down. If it is really up, but blocking our ping probes, try -Pn
Cause: A host or network firewall drops the discovery probes. Windows Defender Firewall is the classic example.
Fix: Skip discovery with -Pn, or use discovery probes the firewall allows:
sudo nmap -Pn -p 443,3389 10.0.10.60
sudo nmap -sn -PS22,443,3389 -PA80 10.0.10.0/24
-Pn treats every target as up, so it is slow on large ranges. Tune discovery instead of blanket -Pn across a /16.
3. Everything is filtered, or results change between runs
Symptom: All ports show filtered, or ports flip between open and filtered on repeat scans.
Cause: A stateful firewall or IPS in the path, rate limiting, or an aggressive timing template on a lossy link. Scanning through a VPN or NAT device can also mean you are fingerprinting the gateway, not the target.
Fix: Slow down and look at the reasons and packets:
sudo nmap -T3 --max-retries 3 --reason -p 22,443 10.0.10.50
sudo nmap --packet-trace -n -p 443 10.0.10.50 | head -40
Check the FortiGate (or other firewall) logs for IPS or DoS policy blocks against the scanner’s IP, and scan from inside the segment when you need ground truth.
4. macOS: “cannot open BPF device”
Symptom: Errors such as /dev/bpf0: Permission denied, or discovery that finds nothing on Wi-Fi.
Cause: Nmap is not running as root, or traffic is leaving through the wrong interface. VPN clients commonly add utun interfaces and take over the route.
Fix: Run with sudo, check sudo nmap --iflist, and pin the interface with -e en0. If a VPN client is connected, confirm which interface actually routes to the target.
Wrap-Up
Nmap rewards the engineer who reads the output instead of skimming it. Build the habit: discover, scan, fingerprint, save everything with -oA, and diff over time. Use --reason whenever a result surprises you, verify from the firewall side when policy is the question, and only scan what you are authorized to scan.
Recent posts
-

-

DNS is one of those technologies that quietly underpins... Full Story
-

BGP issues on FortiGate firewalls usually trace back to... Full Story
-

Every time your laptop talks to your router, a... Full Story
-

If you've spent any time configuring NAT on a... Full Story
-

If you have spent any time configuring firewall policies... Full Story
-

High availability on FortiGate is one of those features... Full Story
-

If you've configured SD-WAN on a FortiGate, you've almost... Full Story
-

FortiLink is the management protocol that turns a FortiSwitch... Full Story
-

FortiSwitches are pretty rock solid from Mean Time Between... Full Story
-

This is a quicky tip. Have you ever gone... Full Story
-

DNS is one of those quiet pieces of internet... Full Story
-

This article is an updated version of the previous... Full Story
-

You will add ns2 as a secondary (slave) BIND9... Full Story
-

In the process of deploying my lab, I needed... Full Story
-

RFC 8805, used to be known as Self-Correcting IP... Full Story
-

Years back, I wrote an article about certificate pinning. ... Full Story
-

FortiGates have the ability to send alerts to Microsoft... Full Story
-

In this post, I am going to walk through... Full Story
-

Troubleshooting VoIP on a FortiGate can feel like trying... Full Story
-

Prior to FortiOS 7.0, there were three commands to... Full Story
-

In this post, I am going to go over... Full Story
-

What we are going to do: We are going... Full Story
-

Choosing between FGCP (FortiGate Clustering Protocol) and FGSP (FortiGate... Full Story
-

Creating a VLAN on macOS (The "Pro" Move) A... Full Story
-

This blog post explores the logic behind how macOS... Full Story
-

Pretty Fly for a Wi-Fi Tell My Wi-Fi Love... Full Story
-

Part of my daily gig is creating BoMs (Bill-of-Materials)... Full Story
-

ICMP introduces several security risks, but careful filtering, rate... Full Story
-

The command diag debug application dhcps -1 enables full... Full Story
-

In the world of FortiOS, execute tac report is... Full Story
-

LLDP; What is it The Link Layer Discovery Protocol... Full Story
-

What it actually does When you run diagnose fdsm... Full Story
-

Monkey Bites are bite-sized, high-impact security insights designed for... Full Story
-

I have run macOS in macOS with Parallels but... Full Story
-

Don't be confused with my other FortiNAC posts where... Full Story
-

This is the third session in a multi-part article... Full Story
-

Today I was configuring key-based authentication on a FortiGate... Full Story
-

Netcat, often called the "Swiss Army knife" of networking,... Full Story
-

At its core, IEEE 802.1X is a network layer... Full Story
-

In case you did not see the previous FortiNAC... Full Story
-

This is our 5th session where we are going... Full Story
-

Now that we have Wireshark installed and somewhat configured,... Full Story
-

The Philosophy of Packet Analysis Troubleshooting isn't about looking... Full Story
-

Nmap Scripting Engine (NSE): From One-Liners to Your First... Full Story
-

Stand up TRex on Ubuntu, wire it through a... Full Story
-

1. Executive Summary Objective: Get a working, persistent nftables... Full Story