
If you've spent any time configuring user authentication on... Full Story
By Manny Fernandez
September 26, 2026
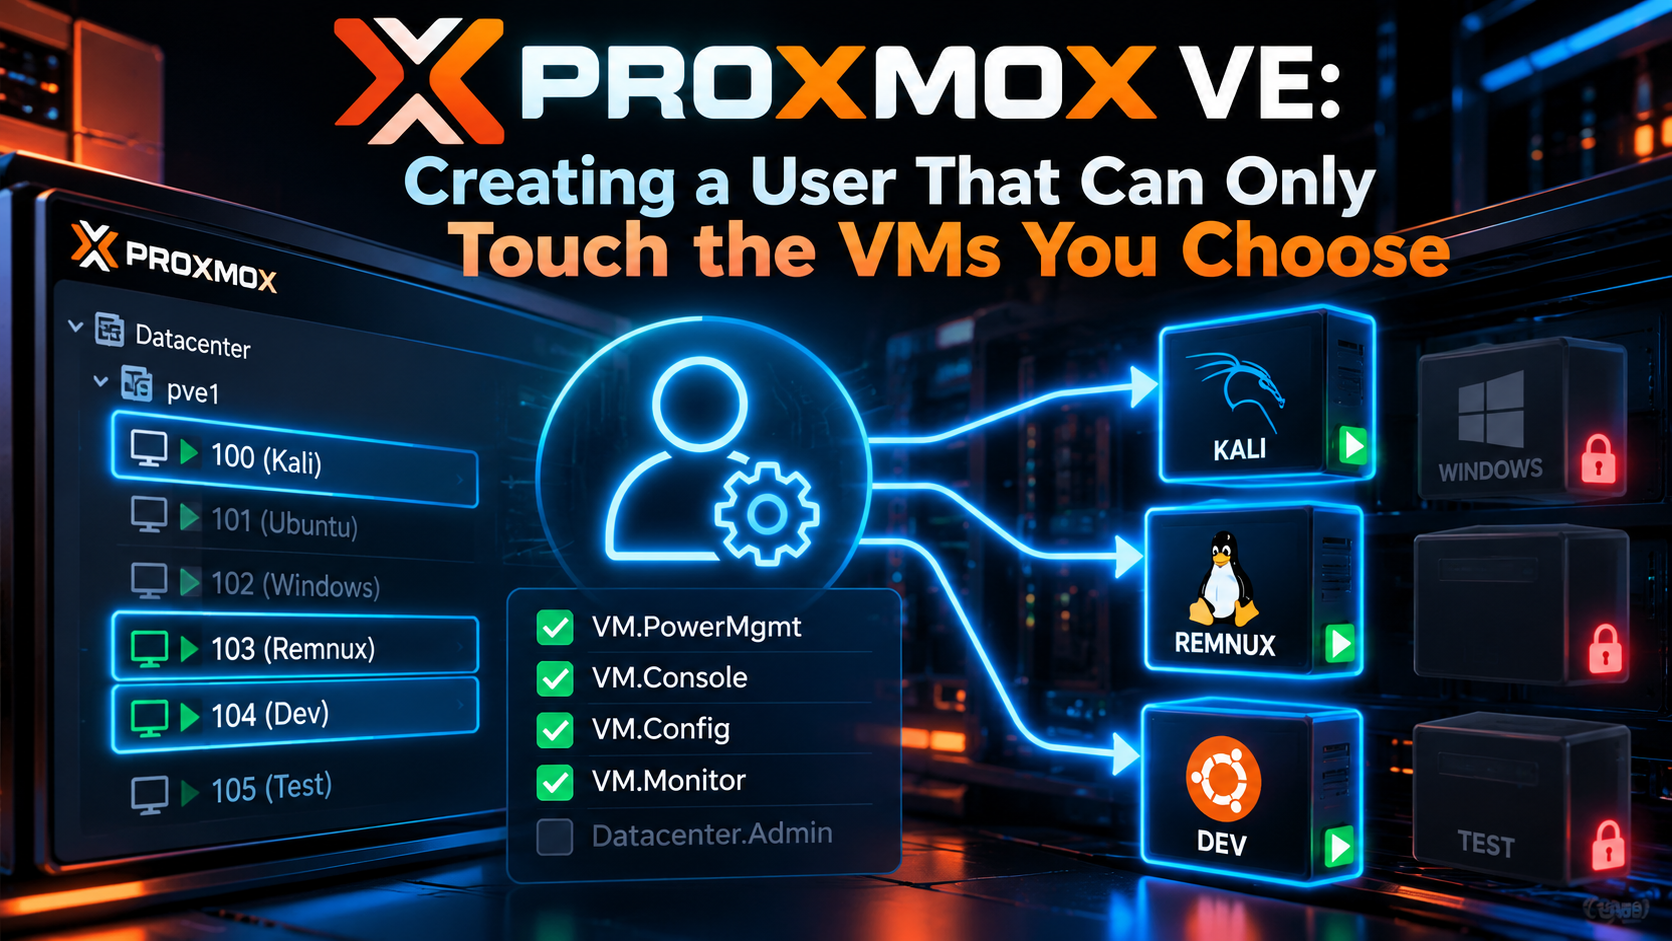
Proxmox VE: Creating a User That Can Only Touch the VMs You Choose
Executive Summary
Objective: Create a Proxmox VE user who logs in, sees only a specific set of virtual machines and containers, and can do only what you allow on them (power, console, snapshots), with zero visibility into the rest of the cluster.
Target audience: Homelab operators, MSPs, lab and training environment owners, and anyone handing out Proxmox access to a teammate, student, or customer without giving away the keys to the cluster.
The short version: Proxmox never grants rights directly to objects. It grants a role (a bundle of privileges) to a user or group on a path (a place in the object tree). Put the target VMs in a resource pool, give a group a custom role on that pool path, and drop the user in the group. That is the entire pattern. Everything below is how to do it cleanly, verify it, and avoid the traps.
Prerequisites and Architecture
Assumed knowledge
- Comfortable with the Proxmox web UI and a root shell on a node.
- Understand what a VMID is and how VMs and LXC containers are listed.
- Basic familiarity with role-based access control concepts.
Lab environment
- Proxmox VE 8.x or 9.x (commands below are identical on both unless noted).
- Node
pve01at10.0.10.11, web UI on port 8006. - Guests the user should reach: 101 (web-lab), 102 (db-lab), 103 (kali-lab).
- Guest the user must never see: 200 (fw-prod), plus everything else on the cluster.
Components
| Component | Lab value | What it does |
|---|---|---|
| Realm | pve | Where the password lives. pve is Proxmox’s own user database, stored cluster-wide. No Linux account needed. |
| User | alice@pve | The identity that logs in. Always written as name@realm. |
| Group | lab-operators | Holds the permission. Users come and go, the group stays. |
| Resource pool | lab-pool | A named bucket of VMs, containers, and storage. One ACL on the pool covers every member. |
| Role | LabOperator | The exact list of privileges granted. Custom, so you control it. |
| ACL path | /pool/lab-pool | Where in the object tree the role applies. |
How Proxmox evaluates permissions
Every permission in Proxmox is a triple: who (user, group, or API token), what (a role), and where (a path). The paths you care about for this build:
| Path | Scope |
|---|---|
/ |
The entire datacenter. Never grant anything here to a scoped user. |
/vms/<vmid> |
A single VM or container. |
/pool/<poolid> |
Every guest and storage that is a member of the pool. |
/storage/<storeid> |
A datastore (ISO library, backup target, disk storage). |
/nodes/<node> |
A physical host: shell, updates, networking. Keep scoped users out. |
/sdn/zones/<zone>/<bridge> |
Permission to attach a guest NIC to a bridge or VNet. |
/mapping/pci/<id>, /mapping/usb/<id> |
Cluster-wide hardware mappings for passthrough. |
Three rules decide the outcome:
- Propagation. An ACL with propagate enabled (the default) flows down to child paths. Disable it and the grant applies only to the exact path.
- Most specific path wins. A grant on
/vms/200overrides anything inherited from a parent path. - User beats group at the same path. A role assigned directly to the user replaces whatever their groups receive at that same path. The built-in
NoAccessrole is how you carve out explicit denies.
Step-by-Step Implementation Workflow
All CLI steps run as root on any cluster node. User, group, pool, role, and ACL data live in /etc/pve/user.cfg, which is replicated cluster-wide, so you only do this once.
Step 1: Create a custom role
Goal: Define exactly what the user can do on their VMs and nothing more.
Action: Start from the smallest useful set. The built-in PVEVMUser role works, but it includes backup and CD-ROM privileges you may not want, and its contents can shift between releases. A custom role is explicit and survives upgrades unchanged.
# Operator: see it, power it, open the console
pveum role add LabOperator --privs "VM.Audit,VM.Console,VM.PowerMgmt"

# Optional: allow snapshots and rollback
pveum role modify LabOperator --privs "VM.Snapshot,VM.Snapshot.Rollback" --append 1

# Confirm the result
pveum role list --output-format yaml | grep -A3 LabOperator
Common privileges worth knowing:
| Privilege | Allows |
|---|---|
| VM.Audit | See the guest and read its config. Required for the guest to appear in the tree at all. |
| VM.Console | noVNC, SPICE, and xterm.js console access. |
| VM.PowerMgmt | Start, stop, shutdown, reboot, suspend, resume. |
| VM.Snapshot / VM.Snapshot.Rollback | Create and delete snapshots / roll back to one. |
| VM.Backup | Run backups and restores. Also needs Datastore.AllocateSpace on the backup storage. |
| VM.Config.CDROM | Swap ISOs. Also needs Datastore.Audit or Datastore.AllocateSpace on the ISO storage. |
| VM.Config.* | Edit hardware (CPU, Memory, Disk, Network, Options, Cloudinit, HWType). Grant individually, never as a blanket. |
| VM.Allocate | Create and delete guests. Leave this out unless the user should build their own VMs. |
GUI verification: Datacenter > Permissions > Roles. LabOperator appears with the privileges you set and is not marked as built-in.
Step 2: Create the group
Goal: Attach permissions to a group, not a person, so onboarding and offboarding are a single membership change.
Action:
pveum group add lab-operators --comment "Power and console on lab-pool guests only"GUI verification: Datacenter > Permissions > Groups shows lab-operators with no members yet.
Step 3: Create the user
Goal: Create an identity in the pve realm and place it in the group.
Action: Set the password interactively with pveum passwd rather than on the command line, so it never lands in shell history.
pveum user add alice@pve \
  --firstname Alice --lastname Rivera \
  --email alice@example.com \
  --comment "Lab operator" \
  --groups lab-operators

pveum passwd alice@pve
Useful extras:
# Auto-expire the account (epoch seconds), handy for contractors and students
pveum user modify alice@pve --expire $(date -d "2026-12-31" +%s)

# Add to another group without dropping existing memberships
pveum user modify alice@pve --groups other-group --append 1

# Disable without deleting
pveum user modify alice@pve --enable 0
Why pve and not pam: A @pam user requires a matching Linux account on every node, which is one more thing that can grant a shell. A @pve user exists only inside Proxmox. For larger shops, an LDAP, Active Directory, or OpenID Connect realm with group sync is the next step up, and everything else in this guide stays the same.
GUI verification: Datacenter > Permissions > Users lists alice@pve, enabled, with lab-operators in the Groups column.
Step 4: Build the resource pool
Goal: Collect the allowed guests under one path so a single ACL covers them all.
Action:
pveum pool add lab-pool --comment "Guests delegated to lab-operators"

# Add guests (VMs and containers use the same flag)
pveum pool modify lab-pool --vms 101,102,103

# Later: remove a guest from the pool
pveum pool modify lab-pool --vms 103 --delete 1

# Inspect membership
pvesh get /pools/lab-pool
A guest can belong to only one pool at a time. If a VMID is already in another pool, the add fails. Use --allow-move 1 to move it deliberately.
GUI verification: Datacenter > Permissions > Pools shows lab-pool. Switch the resource tree view (top left dropdown) to Pool View and the three guests appear under it.
Step 5: Grant the role on the pool
Goal: Tie the group, the role, and the pool together. This is the line that actually grants access.
Action:
pveum acl modify /pool/lab-pool --groups lab-operators --roles LabOperator --propagate 1

pveum acl list
Expected acl list row: path /pool/lab-pool, type group, ugid lab-operators, roleid LabOperator, propagate 1.
GUI verification: Datacenter > Permissions shows the same entry. You can also open lab-pool > Permissions in Pool View.
Step 6 (optional): Give access to supporting resources
Goal: Only if the user needs to change ISOs, run backups, or re-plumb NICs. Skip this for power-and-console users.
Action:
# Let them browse and mount ISOs (also add VM.Config.CDROM to LabOperator)
pveum acl modify /storage/iso-store --groups lab-operators --roles PVEDatastoreUser

# Let them attach guest NICs to one specific bridge only
pveum acl modify /sdn/zones/localnetwork/vmbr20 --groups lab-operators --roles PVESDNUser

# Let them attach a mapped USB or PCI device to their guests
pveum acl modify /mapping/usb/lab-yubikey --groups lab-operators --roles PVEMappingUser
The SDN path is what stops a scoped user from dropping their lab VM onto your management or production bridge. Grant only the bridges or VNets they should see. The /mapping paths are the answer to “only some devices” when devices means physical hardware: create the mapping under Datacenter > Resource Mappings, then grant it the same way.
GUI verification: The new rows appear in Datacenter > Permissions next to the pool entry.
Step 7 (recommended): Enforce two-factor authentication
Goal: A delegated account with console access is a pivot point. Protect it.
Action: Have the user log in once and enroll a TOTP app or WebAuthn key under (username, top right) > TFA, or enroll it for them under Datacenter > Permissions > Two Factor > Add. Store the recovery keys somewhere other than the Proxmox host.
GUI verification: Datacenter > Permissions > Two Factor lists a TOTP or WebAuthn entry for alice@pve.
Alternative: Per-VM ACLs Without a Pool
For one or two guests, or a one-off exception, skip the pool and grant directly on the VM path:
pveum acl modify /vms/104 --users alice@pve --roles LabOperatorThis works, but it does not scale. Every new guest needs a new ACL line, and cleanup means hunting through the list. Pools keep the ACL table short and readable.
Carving out an explicit deny
If a user inherits broad rights from somewhere else and one guest must stay off-limits, pin NoAccess on it directly. Because it is the most specific path and a user-level grant, it wins:
pveum acl modify /vms/200 --users alice@pve --roles NoAccessScoped API tokens for automation
If Alice needs a token for scripts, create it with privilege separation on. A separated token starts with no rights and can never exceed the owning user, so you grant it a smaller role than the human gets:
pveum user token add alice@pve lab-ci --privsep 1 --comment "Read-only lab status"

pveum acl modify /pool/lab-pool --tokens 'alice@pve!lab-ci' --roles PVEAuditor
The token secret prints once. Copy it immediately, because it cannot be retrieved again.
Verification and Validation
1. Ask Proxmox what the user can do
This is the fastest check and needs no second browser:
# Effective rights on an allowed guest
pveum user permissions alice@pve --path /vms/101

# Effective rights on a guest they should not see
pveum user permissions alice@pve --path /vms/200

# Full picture across every path
pveum user permissions alice@pve
Success looks like: /vms/101 returns VM.Audit, VM.Console, VM.PowerMgmt (plus any optional privileges you added). /vms/200 returns an empty set. The full listing shows nothing on / or /nodes.
2. Log in as the user
Open a private browser window to https://10.0.10.11:8006, enter alice, and set the Realm dropdown to Proxmox VE authentication server. The resource tree should show only guests 101, 102, and 103. Confirm Start, Shutdown, and Console work, and that Hardware edits, Shell on the node, and Datacenter options are absent or return permission errors.
3. Prove it at the API layer
The GUI hides things. The API is what actually enforces. Pull a ticket as Alice and list resources:
PVE=https://10.0.10.11:8006/api2/json
read -s -p "alice password: " PW; echo

TICKET=$(curl -sk -d "username=alice@pve" --data-urlencode "password=$PW" \
  $PVE/access/ticket | jq -r '.data.ticket')

# Should return only VMIDs 101, 102, 103
curl -sk -b "PVEAuthCookie=$TICKET" "$PVE/cluster/resources?type=vm" \
  | jq -r '.data[] | "\(.vmid)  \(.name)  \(.status)"'

# Should return HTTP 403 for the protected guest
curl -sk -o /dev/null -w "%{http_code}\n" -b "PVEAuthCookie=$TICKET" \
  "$PVE/nodes/pve01/qemu/200/status/current"
Success looks like: three lines of output for 101 through 103, then 403. If the user has TFA enrolled, the ticket call returns a partial ticket that requires a second-factor step, so run this test before enrolling TFA or test with a separated API token instead.
Troubleshooting and Gotchas
Gotcha 1: The user logs in and sees nothing
Symptom: Empty resource tree, no errors.
Cause: Usually one of three things. The role lacks VM.Audit (without it, guests are invisible). The guests are not actually in the pool. Or the user was never added to the group because --groups on a later user modify replaced the list instead of appending.
pveum user list --output-format yaml | grep -A8 "alice@pve"
pvesh get /pools/lab-pool
pveum role list --output-format yaml | grep -A3 LabOperator
Resolution: Add VM.Audit to the role, re-add the VMIDs to the pool, or re-add the group with --append 1. Have the user log out and back in to refresh their ticket.
Gotcha 2: The user sees more than they should
Symptom: Extra guests, node summaries, or storage appear in the tree.
Cause: An inherited grant from a parent path. The classic mistake is a well-meaning PVEAuditor on / with propagate on, which exposes the whole datacenter read-only. Membership in a second, broader group does the same.
# Show every path where Alice has any privilege, and trace the source
pveum user permissions alice@pve
pveum acl list | grep -E "alice@pve|lab-operators"
Resolution: Remove the broad ACL with pveum acl delete / --groups <group> --roles PVEAuditor, or pin NoAccess on the specific paths that must stay hidden.
Gotcha 3: New VMs do not show up for the user
Symptom: You create VM 105 for Alice and she cannot see it.
Cause: Pool membership is not automatic. A new guest belongs to no pool unless you select one in the Create wizard (General tab, Resource Pool field) or add it afterwards.
pveum pool modify lab-pool --vms 105

# Or assign at creation time
qm create 105 --name web2-lab --pool lab-pool --memory 2048 --net0 virtio,bridge=vmbr20
Resolution: Make the pool field part of your build checklist or template automation.
Gotcha 4: A role that worked on 8.x behaves differently on 9.x
Symptom: After upgrading, a custom role errors on creation or a guest agent action now fails with a permission error.
Cause: Proxmox VE 9 reworked some privileges. The old VM.Monitor privilege was retired and guest agent access was split into finer-grained VM.GuestAgent.* privileges.
# List every privilege your version actually supports
pveum role list --output-format yaml | grep -A40 "roleid: Administrator"
Resolution: Compare your custom role against the privilege list for the running version and swap in the replacements. Run pve8to9 before any major upgrade, since it flags ACL and role issues ahead of time.
Quick Reference
# Full build, top to bottom
pveum role  add    LabOperator --privs "VM.Audit,VM.Console,VM.PowerMgmt"
pveum group add    lab-operators --comment "Scoped lab access"
pveum user  add    alice@pve --groups lab-operators
pveum passwd       alice@pve
pveum pool  add    lab-pool
pveum pool  modify lab-pool --vms 101,102,103
pveum acl   modify /pool/lab-pool --groups lab-operators --roles LabOperator

# Verify
pveum user permissions alice@pve --path /vms/101

# Tear down
pveum acl   delete /pool/lab-pool --groups lab-operators --roles LabOperator
pveum user  delete alice@pve
pveum group delete lab-operators
pveum pool  delete lab-pool
pveum role  delete LabOperator
Recent posts
-

-

DNS is one of those technologies that quietly underpins... Full Story
-

BGP issues on FortiGate firewalls usually trace back to... Full Story
-

Every time your laptop talks to your router, a... Full Story
-

If you've spent any time configuring NAT on a... Full Story
-

If you have spent any time configuring firewall policies... Full Story
-

High availability on FortiGate is one of those features... Full Story
-

If you've configured SD-WAN on a FortiGate, you've almost... Full Story
-

FortiLink is the management protocol that turns a FortiSwitch... Full Story
-

FortiSwitches are pretty rock solid from Mean Time Between... Full Story
-

This is a quicky tip. Have you ever gone... Full Story
-

DNS is one of those quiet pieces of internet... Full Story
-

This article is an updated version of the previous... Full Story
-

You will add ns2 as a secondary (slave) BIND9... Full Story
-

In the process of deploying my lab, I needed... Full Story
-

RFC 8805, used to be known as Self-Correcting IP... Full Story
-

Years back, I wrote an article about certificate pinning. ... Full Story
-

FortiGates have the ability to send alerts to Microsoft... Full Story
-

In this post, I am going to walk through... Full Story
-

Troubleshooting VoIP on a FortiGate can feel like trying... Full Story
-

Prior to FortiOS 7.0, there were three commands to... Full Story
-

In this post, I am going to go over... Full Story
-

What we are going to do: We are going... Full Story
-

Choosing between FGCP (FortiGate Clustering Protocol) and FGSP (FortiGate... Full Story
-

Creating a VLAN on macOS (The "Pro" Move) A... Full Story
-

This blog post explores the logic behind how macOS... Full Story
-

Pretty Fly for a Wi-Fi Tell My Wi-Fi Love... Full Story
-

Part of my daily gig is creating BoMs (Bill-of-Materials)... Full Story
-

ICMP introduces several security risks, but careful filtering, rate... Full Story
-

The command diag debug application dhcps -1 enables full... Full Story
-

In the world of FortiOS, execute tac report is... Full Story
-

LLDP; What is it The Link Layer Discovery Protocol... Full Story
-

What it actually does When you run diagnose fdsm... Full Story
-

Monkey Bites are bite-sized, high-impact security insights designed for... Full Story
-

I have run macOS in macOS with Parallels but... Full Story
-

Don't be confused with my other FortiNAC posts where... Full Story
-

This is the third session in a multi-part article... Full Story
-

Today I was configuring key-based authentication on a FortiGate... Full Story
-

Netcat, often called the "Swiss Army knife" of networking,... Full Story
-

At its core, IEEE 802.1X is a network layer... Full Story
-

In case you did not see the previous FortiNAC... Full Story
-

This is our 5th session where we are going... Full Story
-

Now that we have Wireshark installed and somewhat configured,... Full Story
-

The Philosophy of Packet Analysis Troubleshooting isn't about looking... Full Story
-

Nmap Scripting Engine (NSE): From One-Liners to Your First... Full Story
-

Stand up TRex on Ubuntu, wire it through a... Full Story
-

1. Executive Summary Objective: Get a working, persistent nftables... Full Story