
If you've spent any time configuring user authentication on... Full Story
By Manny Fernandez
September 27, 2026
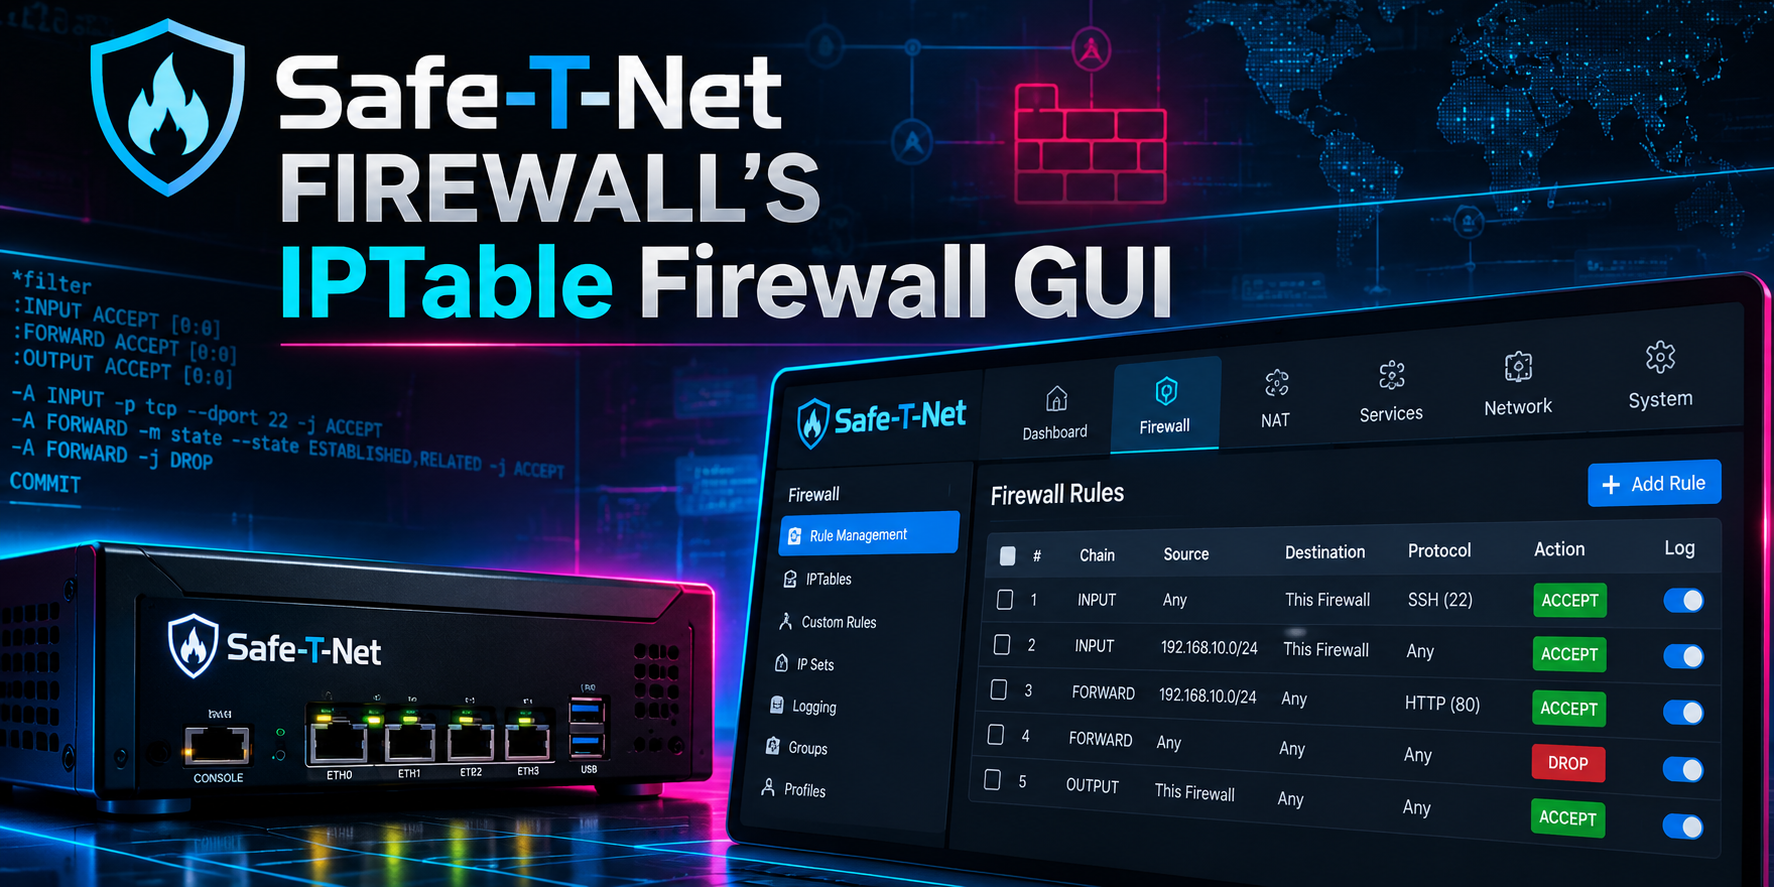
ITsecur Firewall for Webmin: A Point-and-Click IPTables GUI
2026 refresh of the original IPTable Firewall GUI post | By Manny Fernandez
In this guide
Executive Summary
In 2000 I started a company named ITsecur. We built a Linux based firewall appliance, sold it under the trademarked name Safe-T-Net, and ran it as a managed security service at a time when very few people were doing managed security at all. The hardware was headless Nexcom boxes out of China in two form factors (rack mount and desktop). The software was an open source stack, and the part customers actually touched was a Webmin module we wrote to manage IPTables.
The design goal was simple: take the best ideas from Check Point, Cisco, and the other firewalls of the day (FortiGate included) and put them in front of IPTables. Named address objects, service objects, interface-aware rules, rule ordering, NAT and no-NAT, role based admin, scheduled backups. After I sold the company, I released the module to the public. It still lives on the Webmin site as a third-party module, and you can run it today.
Objective: Stand up a Rocky Linux 9 (or AlmaLinux 9) lab firewall, replace firewalld with IPTables, install Webmin, load the ITsecur Firewall module, and build a working policy (objects, rules, NAT, admin access, backups) from the GUI.
Target audience: Linux admins, homelabbers, and students who want a visual way to learn stateful packet filtering, plus anyone curious what a 2000s era managed firewall looked like under the hood.
Heads up: This module predates modern RHEL by a long way. On RHEL 9 derivatives the iptables command is the iptables-nft compatibility layer on top of nftables. Treat this as a lab and learning tool. For production, use nftables directly, firewalld, or a real NGFW.
Prerequisites and Architecture
Assumed knowledge
- Comfortable at a Linux shell with
sudo,systemctl, and a text editor. - Basic firewall concepts: stateful inspection, default deny, source NAT, rule order.
- Console access to the VM (hypervisor console or IPMI). You will be changing the host firewall and you want a way back in that does not depend on SSH.
Lab requirements
- One VM running Rocky Linux 9 or AlmaLinux 9 (minimal install), 2 vCPU, 2 GB RAM, 20 GB disk.
- Two NICs if you want the box to route and NAT for a LAN (WAN on
ens192, LAN onens224in this guide). One NIC is fine if you only want to protect the host itself. - Outbound internet access for
dnfand the module download. - An admin workstation on the LAN side with a modern browser.
Lab addressing
| Host | Interface | Address | Role |
|---|---|---|---|
| fw01 | ens192 (WAN) | 198.18.10.2/24, gateway 198.18.10.1 | Outside / transit |
| fw01 | ens224 (LAN) | 10.0.1.1/24 | Inside gateway |
| admin-ws | eth0 | 10.0.1.50/24 | Management workstation |
| lan-client | eth0 | 10.0.1.100/24 | Test client behind NAT |
Components
| Component | Version | Role in this lab |
|---|---|---|
| Rocky Linux / AlmaLinux | 9.x | Host OS |
| iptables-services | Distro package | Loads and saves rules from /etc/sysconfig/iptables |
| Webmin | Current | Web admin framework on TCP 10000 |
| ITsecur Firewall module | itsecur-firewall.wbm.gz | Object based IPTables policy GUI |
The original Safe-T-Net stack
For context, here is what shipped on the appliance and what I would reach for in the same role today.
| Original component | Function | Modern equivalent |
|---|---|---|
| IPTables | Stateful firewall | nftables |
| In-line Snort | IDS/IPS | Snort 3 or Suricata |
| StrongSWAN | IPsec VPN (mostly site-to-site) | strongSwan with swanctl |
| OpenVPN | Remote access and site-to-site VPN | OpenVPN or WireGuard |
| DansGuardian | Web content filtering | E2Guardian (DansGuardian fork) |
| Squid | Proxy services | Squid |
| SpamAssassin | Anti-spam | SpamAssassin or Rspamd |
| Zebra | Dynamic routing | FRRouting (Zebra to Quagga to FRR) |
| Webmin | Management GUI | Webmin or Cockpit |

Step-by-Step Implementation Workflow
Step 1: Remove firewalld from the picture
Goal: Make sure firewalld is stopped, disabled, and cannot be started by a dependency, so it never fights with IPTables over the ruleset.
Action: Stop, disable, and mask the service, then confirm its state.
sudo systemctl stop firewalld
sudo systemctl disable firewalld
sudo systemctl mask firewalld
systemctl status firewalld --no-pager
Verification: Status should report Loaded: masked and Active: inactive (dead). The original post stopped at disable; masking is the step that keeps it from coming back.
Step 2: Install IPTables services with a safe seed ruleset
Goal: Get IPTables persisting across reboots with a default deny posture that still lets you reach SSH and Webmin from the admin subnet.
Action: Install the package, replace the stock ruleset before enabling it, then turn on IP forwarding if the box will route for a LAN.
sudo dnf install -y iptables-servicesThe stock /etc/sysconfig/iptables only allows SSH, so enabling it as shipped will block Webmin. Replace it with the following, swapping in your admin subnet:
*filter
:INPUT DROP [0:0]
:FORWARD DROP [0:0]
:OUTPUT ACCEPT [0:0]
-A INPUT -i lo -j ACCEPT
-A INPUT -m conntrack --ctstate ESTABLISHED,RELATED -j ACCEPT
-A INPUT -p icmp -j ACCEPT
-A INPUT -s 10.0.1.0/24 -p tcp -m tcp --dport 22 -j ACCEPT
-A INPUT -s 10.0.1.0/24 -p tcp -m tcp --dport 10000 -j ACCEPT
-A FORWARD -m conntrack --ctstate ESTABLISHED,RELATED -j ACCEPT
COMMIT
sudo vi /etc/sysconfig/iptables
sudo systemctl enable --now iptables
# Only if fw01 routes for the LAN
echo 'net.ipv4.ip_forward = 1' | sudo tee /etc/sysctl.d/90-ip-forward.conf
sudo sysctl --systemVerification: sudo iptables -S shows -P INPUT DROP and your two admin rules. sysctl net.ipv4.ip_forward returns 1 on a routing build.
Do this from the console: If you are connected over SSH from anywhere other than 10.0.1.0/24, the moment iptables starts you are cut off. Run this step from the VM console.
Step 3: Install Webmin
Goal: Install Webmin from the official repository so it updates with dnf.
Action: Use Webmin’s repository setup script, then install the package.
curl -o webmin-setup-repo.sh \
  https://raw.githubusercontent.com/webmin/webmin/master/webmin-setup-repo.sh
sudo sh webmin-setup-repo.sh
sudo dnf install -y webmin
systemctl status webmin --no-pager
The original post built the repo file by hand, and the version on the site had lost its line breaks. If you prefer the manual route, this is what /etc/yum.repos.d/webmin.repo should look like, followed by importing the signing key and installing:
[Webmin]
name=Webmin Distribution Neutral
#baseurl=https://download.webmin.com/download/yum
mirrorlist=https://download.webmin.com/download/yum/mirrorlist
enabled=1
sudo rpm --import https://download.webmin.com/jcameron-key.asc
sudo dnf install -y webminGUI Verification: From admin-ws, browse to https://10.0.1.1:10000 (note the :10000). Accept the self-signed certificate warning and log in as root or a sudo-capable user.
Step 4: Install the ITsecur Firewall module
Goal: Load the third-party module into Webmin.
Action: In Webmin go to Webmin > Webmin Configuration > Webmin Modules. Choose From HTTP or FTP URL, paste the module URL below, and click Install Module.
https://download.webmin.com/download/modules/itsecur-firewall.wbm.gzPrefer the shell? Pull the file down and hand it to the installer script that ships with Webmin:
cd /tmp
curl -fLO https://download.webmin.com/download/modules/itsecur-firewall.wbm.gz
sudo /usr/libexec/webmin/install-module.pl /tmp/itsecur-firewall.wbm.gz /etc/webmin
GUI Verification: Click Refresh Modules, then type ITsecur in the Webmin search box. The module opens to the main screen shown below.

Step 5: Set the global module options
Goal: Decide how the firewall treats itself and set housekeeping defaults before writing policy.
Action: Click the gear icon at the top left of the module.

The most important setting is whether the firewall itself is part of any. Leave it off and a rule like “permit SSH to any” covers hosts behind the firewall but not the firewall. Turn it on and that same rule also opens SSH on fw01. The remaining options:
| Option | What it does |
|---|---|
| Autobackup directory | Where on the firewall disk the automatic config backups are stored |
| Ask for confirmation | Prompts “are you sure” before saving rule changes (on by default) |
| Logs to show | How many log lines are displayed per page, similar to the pager on Cisco |
| Seconds between refresh | Refresh rate of the live log view |
| From address | Sender address used on emailed backups and alerts |
Verification: Set the autobackup directory to something like /root/fw-backups, save, and confirm the directory exists with sudo ls -ld /root/fw-backups.
Step 6: Build Hosts and Networks and Service objects
Goal: Create named objects once and reuse them in rules, the same way you would on a FortiGate.

Action: Open Hosts and Networks. Create a group, give it a name, and add one or more addresses or networks. The negate option matches anything except what you list, which is handy for “everything but the management subnet” style rules.

| Object name | Members |
|---|---|
| LAN_NET | 10.0.1.0/24 |
| ADMIN_WS | 10.0.1.50 |
| NOT_ADMIN | negate ADMIN_WS |
Then open Services. Pick from the predefined list or define your own protocol and port combinations.

Verification: Both object lists show your new entries. Nothing is pushed to the kernel yet, because objects only matter once a rule references them.
Step 7: Write firewall rules
Goal: Allow the LAN out to the internet for web and DNS, logged, and nothing else.
Action: Open Firewall Rules and add a rule. You will notice the interface matching concept that FortiGate users know well. Pick existing objects or create new ones on the fly, choose services, decide whether to log, and set the position of the rule in the list.

| Field | Value |
|---|---|
| Source interface / object | ens224 / LAN_NET |
| Destination interface / object | ens192 / any |
| Services | HTTP, HTTPS, DNS |
| Action | Allow |
| Log | Yes |
Apply the configuration, then look at what the module actually wrote to the kernel:
sudo iptables -S | grep 10.0.1.0/24Verification: You should see ACCEPT entries for 10.0.1.0/24 on TCP 80, TCP 443, and TCP/UDP 53. Chain names are generated by the module, so match on the subnet and ports, not the chain.
Step 8: Configure NAT and no-NAT
Goal: Hide the LAN behind the WAN address while leaving internal-to-internal traffic untranslated.
Action: Open NAT. Add a source NAT entry for LAN_NET out ens192. If you have more internal networks or a site-to-site tunnel, add no NAT entries for those pairs above it.

sudo iptables -t nat -S POSTROUTINGVerification: A MASQUERADE or SNAT line for -s 10.0.1.0/24 -o ens192, with any no-NAT ACCEPT/RETURN entries sitting above it.
Step 9: Admin access, backup, remote logging, and restore
Goal: Lock down who can change the policy and make sure you can get it back.
Action: Work through the four admin screens:
- Users: role based access control. Create an admin and grant only the parts of the config they need. Set trusted hosts so the account only works from ADMIN_WS, much like trusted hosts on a FortiGate admin.
- Backup configuration: schedule a backup, send it by FTP or email, or keep it locally. You can pick which parts of the config to include and password protect the file.
- Remote logging: point the firewall at another Linux box running Webmin. It records rule changes and who made them, among other things.
- Restore: restore all of the firewall config or just selected sections.


Verification: Run a manual backup now and confirm the file lands in /root/fw-backups (or arrives by email). Log out and back in as the restricted admin to confirm the scope.
Step 10: Enable basic DoS mitigation
Goal: Turn on the module’s built-in flood protections.
Action: Open the DoS screen and enable the protections that fit your lab (SYN flood, ICMP flood, and similar). Apply the configuration.

sudo iptables -S | grep -Ei 'limit|syn'Verification: Rate limit (-m limit) entries appear for the protections you enabled.
Verification and Validation
Run these from fw01 once the policy is applied.
systemctl is-active firewalld iptables webmin
systemctl is-enabled iptables webmin
sudo ss -tlnp | grep 10000
sudo iptables -L -n -v --line-numbers
sudo iptables -t nat -L POSTROUTING -n -v
sysctl net.ipv4.ip_forward
Expected success output, trimmed:
inactive
active
active
enabled
enabled
LISTEN 0  4096  0.0.0.0:10000  0.0.0.0:*  users:(("miniserv.pl",...))
Chain INPUT (policy DROP ...)
Chain FORWARD (policy DROP ...)
 ... ACCEPT  tcp  --  *  *  10.0.1.0/24  0.0.0.0/0  tcp dpt:443
Chain POSTROUTING (policy ACCEPT ...)
 ... MASQUERADE  all  --  *  ens192  10.0.1.0/24  0.0.0.0/0
net.ipv4.ip_forward = 1
Then test the traffic paths end to end:
# From lan-client (10.0.1.100): allowed by policy
curl -sI https://www.example.com | head -1
dig +short example.com

# From lan-client: SSH out is not in policy, should time out
nc -vz -w 3 198.18.10.1 22

# Watch the counters move on fw01 while you test
sudo watch -n1 'iptables -L -n -v | grep 10.0.1.0/24'
Success: HTTP/1.1 or HTTP/2 200 from curl, an answer from dig, a timeout from nc, and packet counters climbing on the ACCEPT rules.
Troubleshooting and Gotchas
Locked out of Webmin or SSH after enabling IPTables
Symptom: The browser spins on port 10000 or SSH times out right after Step 2.
Diagnose: From the VM console:
sudo iptables -L INPUT -n -v --line-numbersResolution: Insert the admin rules at the top and save them so they survive a restart:
sudo iptables -I INPUT 1 -s 10.0.1.0/24 -p tcp --dport 10000 -j ACCEPT
sudo iptables -I INPUT 1 -s 10.0.1.0/24 -p tcp --dport 22 -j ACCEPT
sudo service iptables save
Rules vanish after a reboot
Symptom: Policy works until the box restarts, then the ruleset is empty or firewalld rules are back.
Diagnose: Check which firewall owns boot:
systemctl is-enabled firewalld iptablesResolution: You want masked and enabled. Mask firewalld, enable iptables, and save the running ruleset to /etc/sysconfig/iptables with sudo service iptables save. Once the module is managing policy, make changes in the GUI rather than by hand so the two do not drift.
Module installs but pages error or apply fails
Symptom: Blank or Perl error pages inside the module, or Apply reports a failure.
Diagnose: Watch the Webmin error log while you reproduce it, and confirm which iptables binary and backend the module is calling:
sudo tail -f /var/webmin/miniserv.error
iptables -V
command -v iptables
Resolution: iptables -V on RHEL 9 reports (nf_tables). That is expected and works for the classic match syntax this module generates. Make sure the command path in the module configuration matches command -v iptables. If a specific screen still fails on a current Perl, that is the age of the code showing; Webmin’s built-in Linux Firewall module covers the same ground without the object model.
LAN clients have no internet
Diagnose: Check forwarding and NAT first:
sysctl net.ipv4.ip_forward
sudo iptables -L FORWARD -n -v --line-numbers
sudo iptables -t nat -L POSTROUTING -n -v
Resolution: Forwarding must be 1, the FORWARD chain needs both the ESTABLISHED,RELATED return rule and your LAN allow rule, and POSTROUTING needs the MASQUERADE entry for ens192.
Get the Module
The module is listed in Webmin’s third-party module directory, and the direct download is itsecur-firewall.wbm.gz.
It was a fun ride building this with a small team twenty-plus years ago, and it is still a great way to see how object based firewall policy maps onto raw IPTables. I hope this helps out.
No fluff. Just the config that works.
Recent posts
-

-

DNS is one of those technologies that quietly underpins... Full Story
-

BGP issues on FortiGate firewalls usually trace back to... Full Story
-

Every time your laptop talks to your router, a... Full Story
-

If you've spent any time configuring NAT on a... Full Story
-

If you have spent any time configuring firewall policies... Full Story
-

High availability on FortiGate is one of those features... Full Story
-

If you've configured SD-WAN on a FortiGate, you've almost... Full Story
-

FortiLink is the management protocol that turns a FortiSwitch... Full Story
-

FortiSwitches are pretty rock solid from Mean Time Between... Full Story
-

This is a quicky tip. Have you ever gone... Full Story
-

DNS is one of those quiet pieces of internet... Full Story
-

This article is an updated version of the previous... Full Story
-

You will add ns2 as a secondary (slave) BIND9... Full Story
-

In the process of deploying my lab, I needed... Full Story
-

RFC 8805, used to be known as Self-Correcting IP... Full Story
-

Years back, I wrote an article about certificate pinning. ... Full Story
-

FortiGates have the ability to send alerts to Microsoft... Full Story
-

In this post, I am going to walk through... Full Story
-

Troubleshooting VoIP on a FortiGate can feel like trying... Full Story
-

Prior to FortiOS 7.0, there were three commands to... Full Story
-

In this post, I am going to go over... Full Story
-

What we are going to do: We are going... Full Story
-

Choosing between FGCP (FortiGate Clustering Protocol) and FGSP (FortiGate... Full Story
-

Creating a VLAN on macOS (The "Pro" Move) A... Full Story
-

This blog post explores the logic behind how macOS... Full Story
-

Pretty Fly for a Wi-Fi Tell My Wi-Fi Love... Full Story
-

Part of my daily gig is creating BoMs (Bill-of-Materials)... Full Story
-

ICMP introduces several security risks, but careful filtering, rate... Full Story
-

The command diag debug application dhcps -1 enables full... Full Story
-

In the world of FortiOS, execute tac report is... Full Story
-

LLDP; What is it The Link Layer Discovery Protocol... Full Story
-

What it actually does When you run diagnose fdsm... Full Story
-

Monkey Bites are bite-sized, high-impact security insights designed for... Full Story
-

I have run macOS in macOS with Parallels but... Full Story
-

Don't be confused with my other FortiNAC posts where... Full Story
-

This is the third session in a multi-part article... Full Story
-

Today I was configuring key-based authentication on a FortiGate... Full Story
-

Netcat, often called the "Swiss Army knife" of networking,... Full Story
-

At its core, IEEE 802.1X is a network layer... Full Story
-

In case you did not see the previous FortiNAC... Full Story
-

This is our 5th session where we are going... Full Story
-

Now that we have Wireshark installed and somewhat configured,... Full Story
-

The Philosophy of Packet Analysis Troubleshooting isn't about looking... Full Story
-

Nmap Scripting Engine (NSE): From One-Liners to Your First... Full Story
-

Stand up TRex on Ubuntu, wire it through a... Full Story
-

1. Executive Summary Objective: Get a working, persistent nftables... Full Story