If you've spent any time configuring user authentication on... Full Story
By Manny Fernandez
April 25, 2019
Basic Deployment of FortiNAC – Part 1
FortiNAC, formally Bradford Networks was acquired by Fortinet in June of 2018. Although Bradford was a great solution, joining the Fortinet team accelerated its growth from a market share as well as feature perspective. This will be a series post and will cover different aspects of the deployment. Deployment (this post), Fortiswitch integration, Compliance checking, Fortigate integration with stitching and automation. My environment is an existing 802.1x deployment using Cisco ACS, a new infrastructure of FortiSwitches managed by Fortigates that will replace the Cisco switches as well as the 802.1x deployment.
What you are going to need:
- The FortiNAC ISO
- License files from Fortinet
- You will need the VM license (if you are running it on VM
- The device licenses
- Support contract
-
Three different password (I use a random password generator) These passwords cannot contain “( ) ` $ & + | \ { } ; : ” ‘ < > , . / =” (ignore the beginning and ending “, they are used to separate the characters that are not allowed.)
-
An Isolation VLAN IP address which will be assigned the second NIC on the VM.
-
FQDN for the VM and a corresponding DNS entry on the internal DNS
-
IP address, SNMP (preferably v3) string/credentials, SSH creds for your existing switches
- You will need the UUID and MAC address of the VM which will be collected later in the steps.
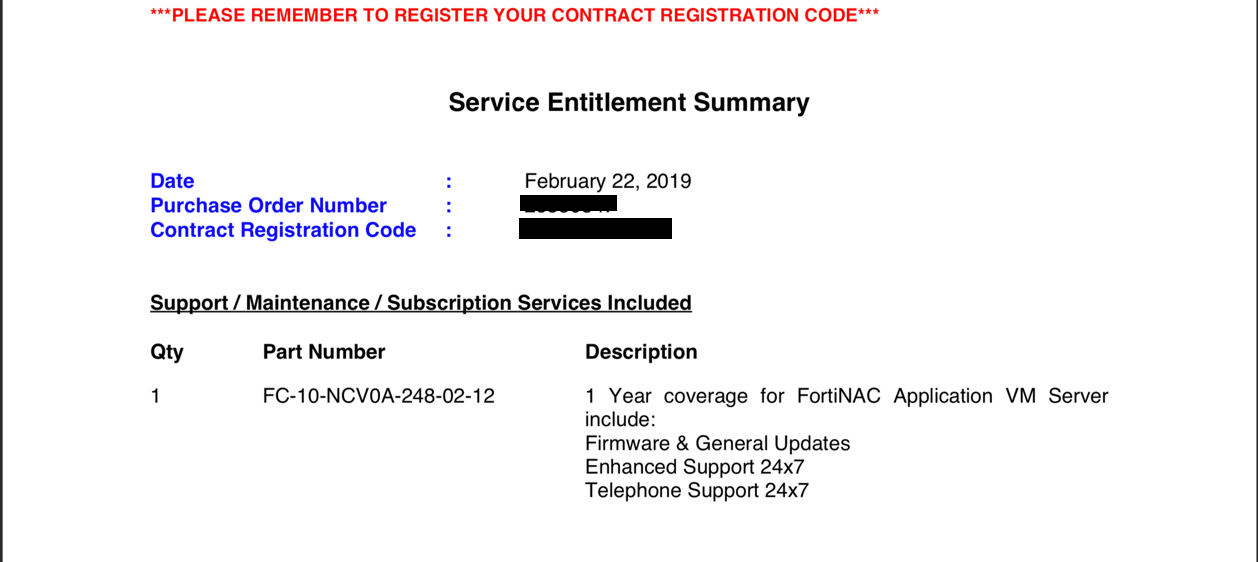
You should have received an email from your reseller/distribution/Fortinet with a series of PDF files that require you to register the serial numbers contained.
If you do not already have a support portal account, go to ‘https://support.fortinet.com‘ and register.
NOTE: You will NOT be able to register the support and device licenses until you have registered the base license. This is because it ties the support and device license to your server license.
OVA Deployment
Deploy the .ova file per the normal VMWare deployment method. You will require two interface if it does not automatically add them.
Default Credentials:
username: admin password: admin
Once the VM is up and deployed, connect to the console and assign an IP address to the VM. Assign it an IP address using the following criteria.
sudo configIP
sudo configIP 192.168.5.244 255.255.255.0 192.168.5.1
Connecting to the GUI
You should now be able to connect to the GUI to finish the configuration by pointing your browser to:
http://%ip-address%:8080/configWizard
For this section, the credentials will be
username: config password: config
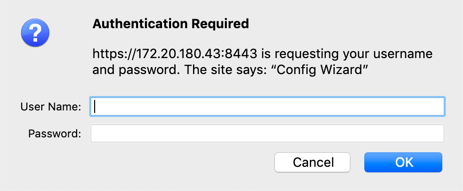
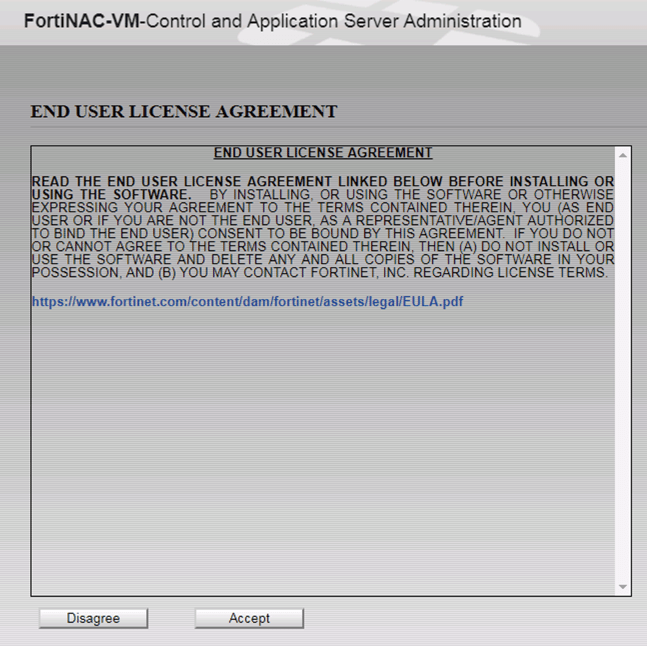
The first thing you will see is the license validation.

You will need to click on the ‘Obtain a license key’ which will give you the required information to register this appliance on the support website.
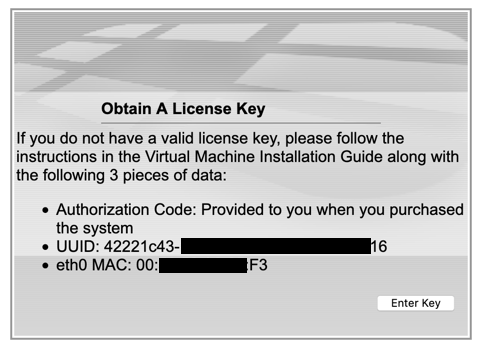
You should copy and paste this information and probably hold on to it for safe keeping. Once you are here, you will need to log into the portal and register.
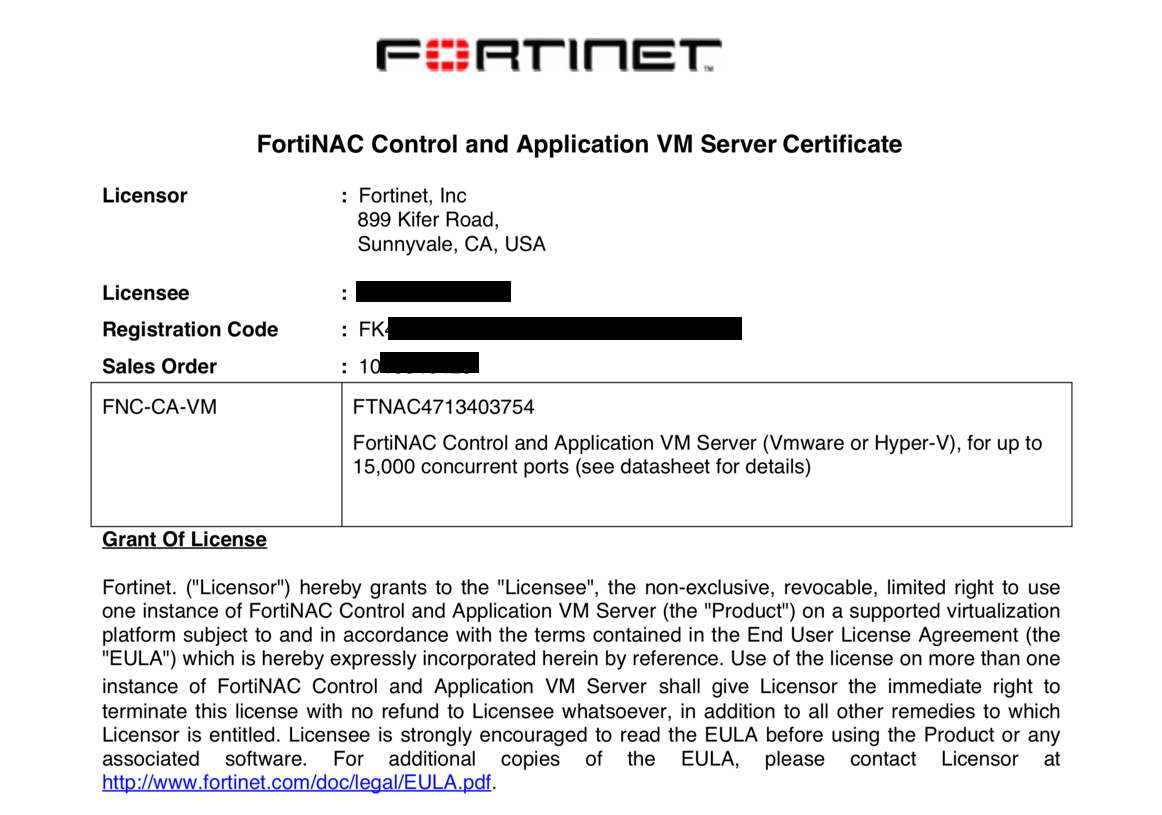
Ensure that the Registration Code is for the VM (in my case) and not the device license or the support contract.
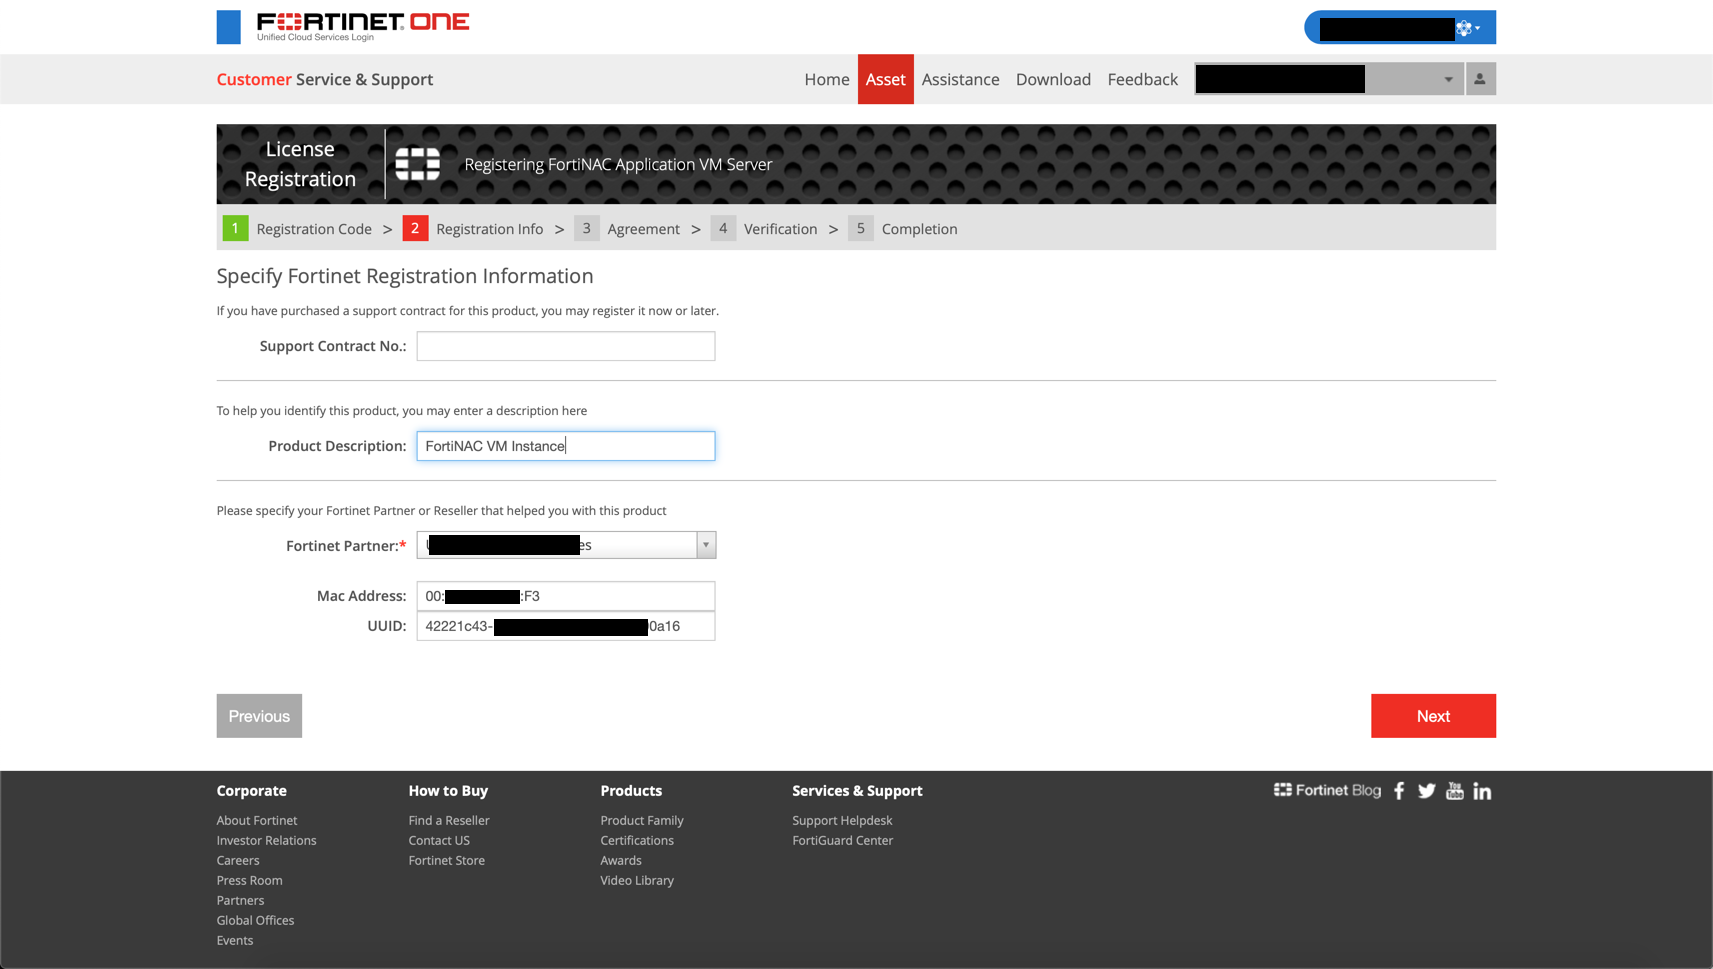
You will need to enter the information you copied in the previous steps (UUID and MAC Address).
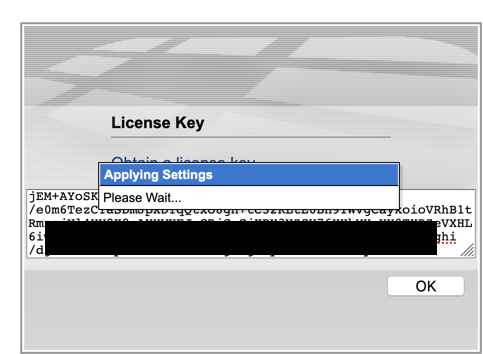
Once the registration is complete, you can enter the license in the field provided and hit OK. It will take a little time so don’t freak out.

Once the key is applied, you will see the screen above. You can click ‘OK’
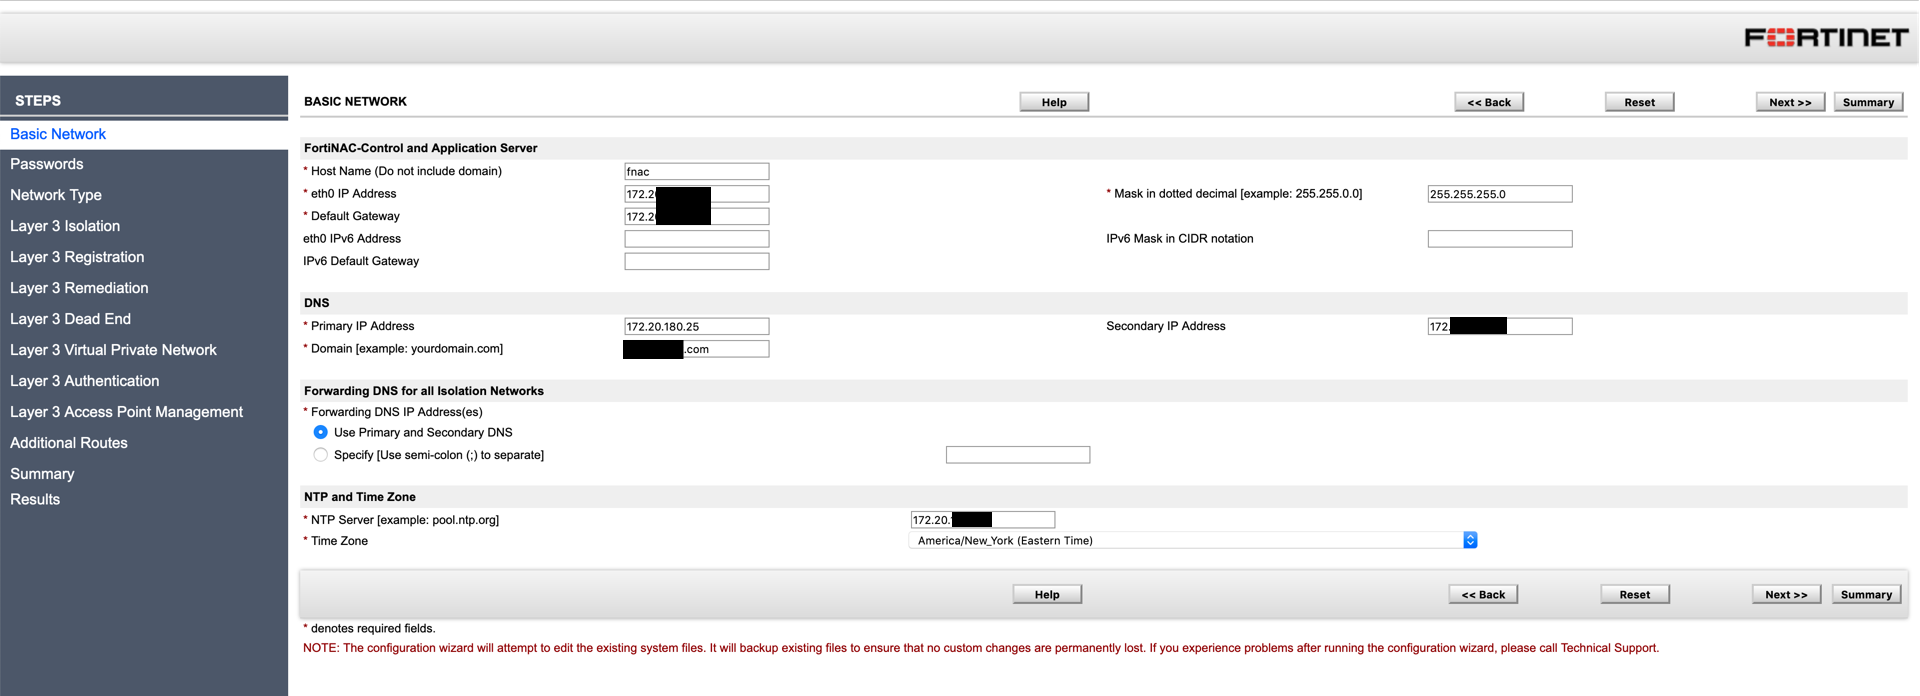
Next we are going to configure the ‘Basic Networking’ which includes:
(I have included some example info, modify with your information)
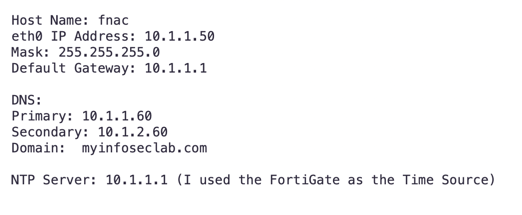
Once you fill in the pertinent information, you can hit the ‘Next’ button on either the top or bottom of the screen.
Next, you will need to set up the various passwords:
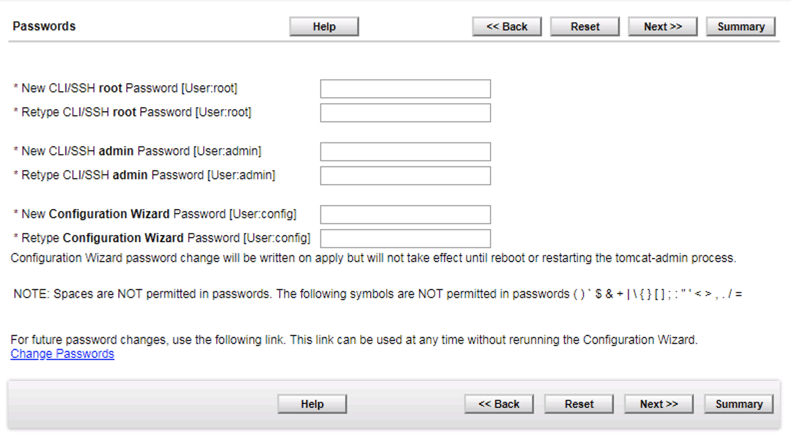
Here you will need to enter the passwords we discussed in the beginning without using the restricted characters.
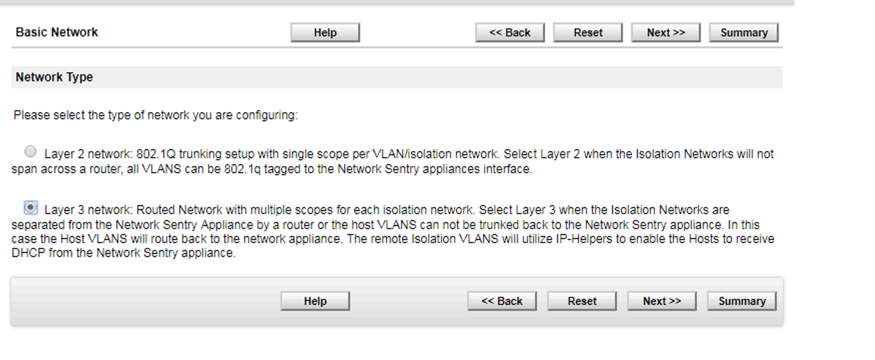
You will want to choose Layer 3 in most cases. Once you fill in the pertinent information, you can hit the ‘Summary’ button on either the top or bottom of the screen.
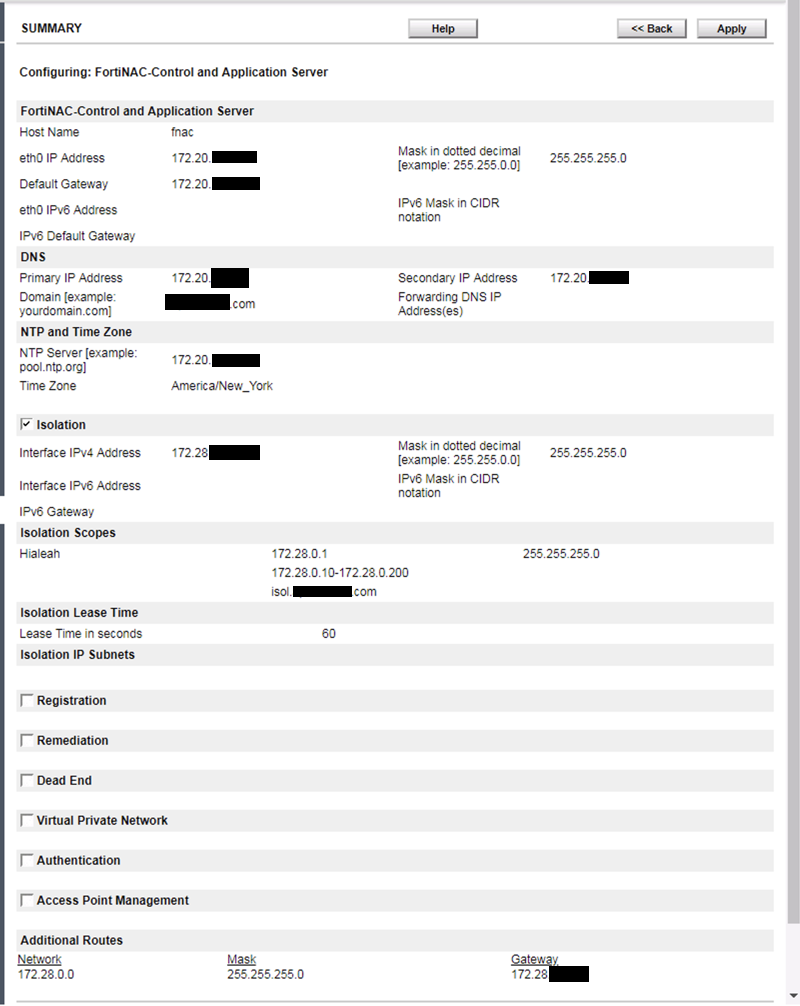
Validate your information and hit ‘Apply’. The VM will reboot.
NOTE: If you changed the IP, you browser will not refresh. Update the URL.
After the reboot, you will need to log into the VM with the ‘8443’ port.
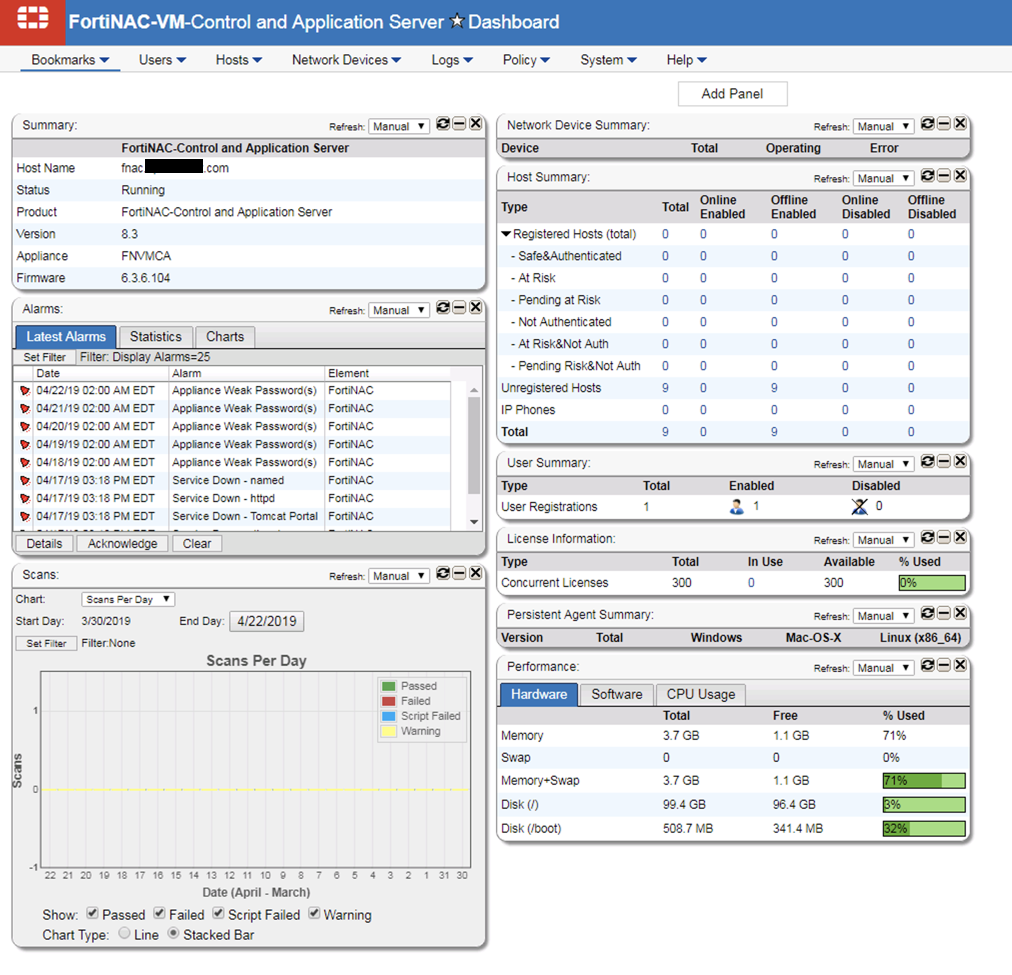
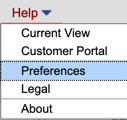
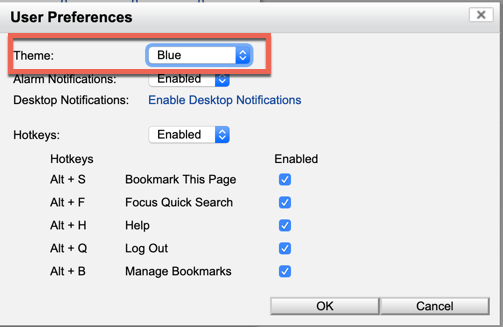
Although the screenshot above is blue, by default it is set to gray. I cannot look at it because it makes me depressed. To change it, go to ‘Help’ and then ‘Preferences’
Now you can choose the color and choose ‘OK’
Now you are ready to add some devices (switches)
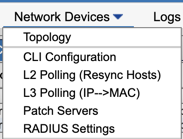
You can now click ‘Network Devices’ from the button bar on the top then ‘Topology’
At the top-level on the Left, you can rename the container. Now you can create new containers. I chose to use locations.
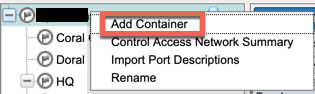
Right click the top-level and choose ‘Add Container’ Name it and save.
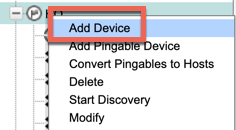
Right click on the newly created container, and choose ‘Add Device’
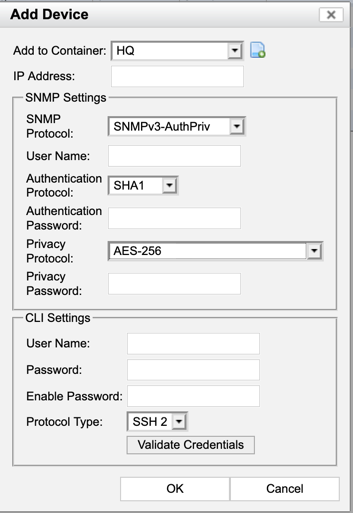
Once you enter the appropriate information, hit ‘Validate Credentials’ and wait for the message saying it is OK. Then press the ‘OK’ button.
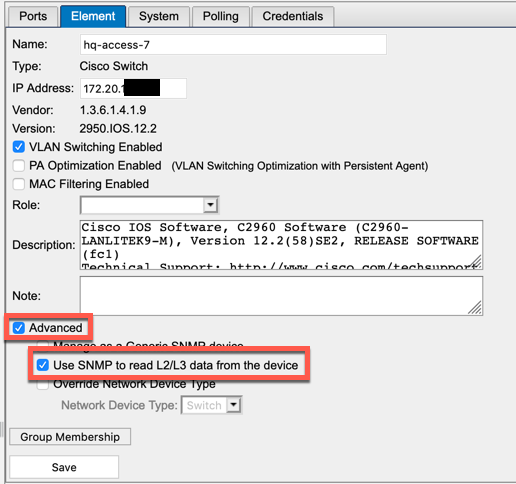
Once the device has been discovered, click on the ‘Element’ button on the top, then ‘Advanced’, then choose ‘Use the SNMP to read L2/L3 data from the devices’ and ‘Save’
Next post in the series will be ‘Fortiswitch Integration’
Recent posts
-

-

DNS is one of those technologies that quietly underpins... Full Story
-

BGP issues on FortiGate firewalls usually trace back to... Full Story
-

Every time your laptop talks to your router, a... Full Story
-

If you've spent any time configuring NAT on a... Full Story
-

If you have spent any time configuring firewall policies... Full Story
-

High availability on FortiGate is one of those features... Full Story
-

If you've configured SD-WAN on a FortiGate, you've almost... Full Story
-

FortiLink is the management protocol that turns a FortiSwitch... Full Story
-

FortiSwitches are pretty rock solid from Mean Time Between... Full Story
-

This is a quicky tip. Have you ever gone... Full Story
-

DNS is one of those quiet pieces of internet... Full Story
-

This article is an updated version of the previous... Full Story
-

You will add ns2 as a secondary (slave) BIND9... Full Story
-

In the process of deploying my lab, I needed... Full Story
-

RFC 8805, used to be known as Self-Correcting IP... Full Story
-

Years back, I wrote an article about certificate pinning. ... Full Story
-

FortiGates have the ability to send alerts to Microsoft... Full Story
-

In this post, I am going to walk through... Full Story
-

Troubleshooting VoIP on a FortiGate can feel like trying... Full Story
-

Prior to FortiOS 7.0, there were three commands to... Full Story
-

In this post, I am going to go over... Full Story
-

What we are going to do: We are going... Full Story
-

Choosing between FGCP (FortiGate Clustering Protocol) and FGSP (FortiGate... Full Story
-

Creating a VLAN on macOS (The "Pro" Move) A... Full Story
-

This blog post explores the logic behind how macOS... Full Story
-

Pretty Fly for a Wi-Fi Tell My Wi-Fi Love... Full Story
-

Part of my daily gig is creating BoMs (Bill-of-Materials)... Full Story
-

ICMP introduces several security risks, but careful filtering, rate... Full Story
-

The command diag debug application dhcps -1 enables full... Full Story
-

In the world of FortiOS, execute tac report is... Full Story
-

LLDP; What is it The Link Layer Discovery Protocol... Full Story
-

What it actually does When you run diagnose fdsm... Full Story
-

Monkey Bites are bite-sized, high-impact security insights designed for... Full Story
-

I have run macOS in macOS with Parallels but... Full Story
-

Don't be confused with my other FortiNAC posts where... Full Story
-

This is the third session in a multi-part article... Full Story
-

Today I was configuring key-based authentication on a FortiGate... Full Story
-

Netcat, often called the "Swiss Army knife" of networking,... Full Story
-

At its core, IEEE 802.1X is a network layer... Full Story
-

In case you did not see the previous FortiNAC... Full Story
-

This is our 5th session where we are going... Full Story
-

Now that we have Wireshark installed and somewhat configured,... Full Story
-

The Philosophy of Packet Analysis Troubleshooting isn't about looking... Full Story
-

OSPF (Open Shortest Path First) is a link-state IGP... Full Story
-

1. High-Level Overview The FortiGate Wireless Intrusion Detection System... Full Story
-

What MIMO Actually Does Multiple Input, Multiple Output (MIMO)... Full Story