
If you've spent any time configuring user authentication on... Full Story
By Manny Fernandez
August 25, 2026
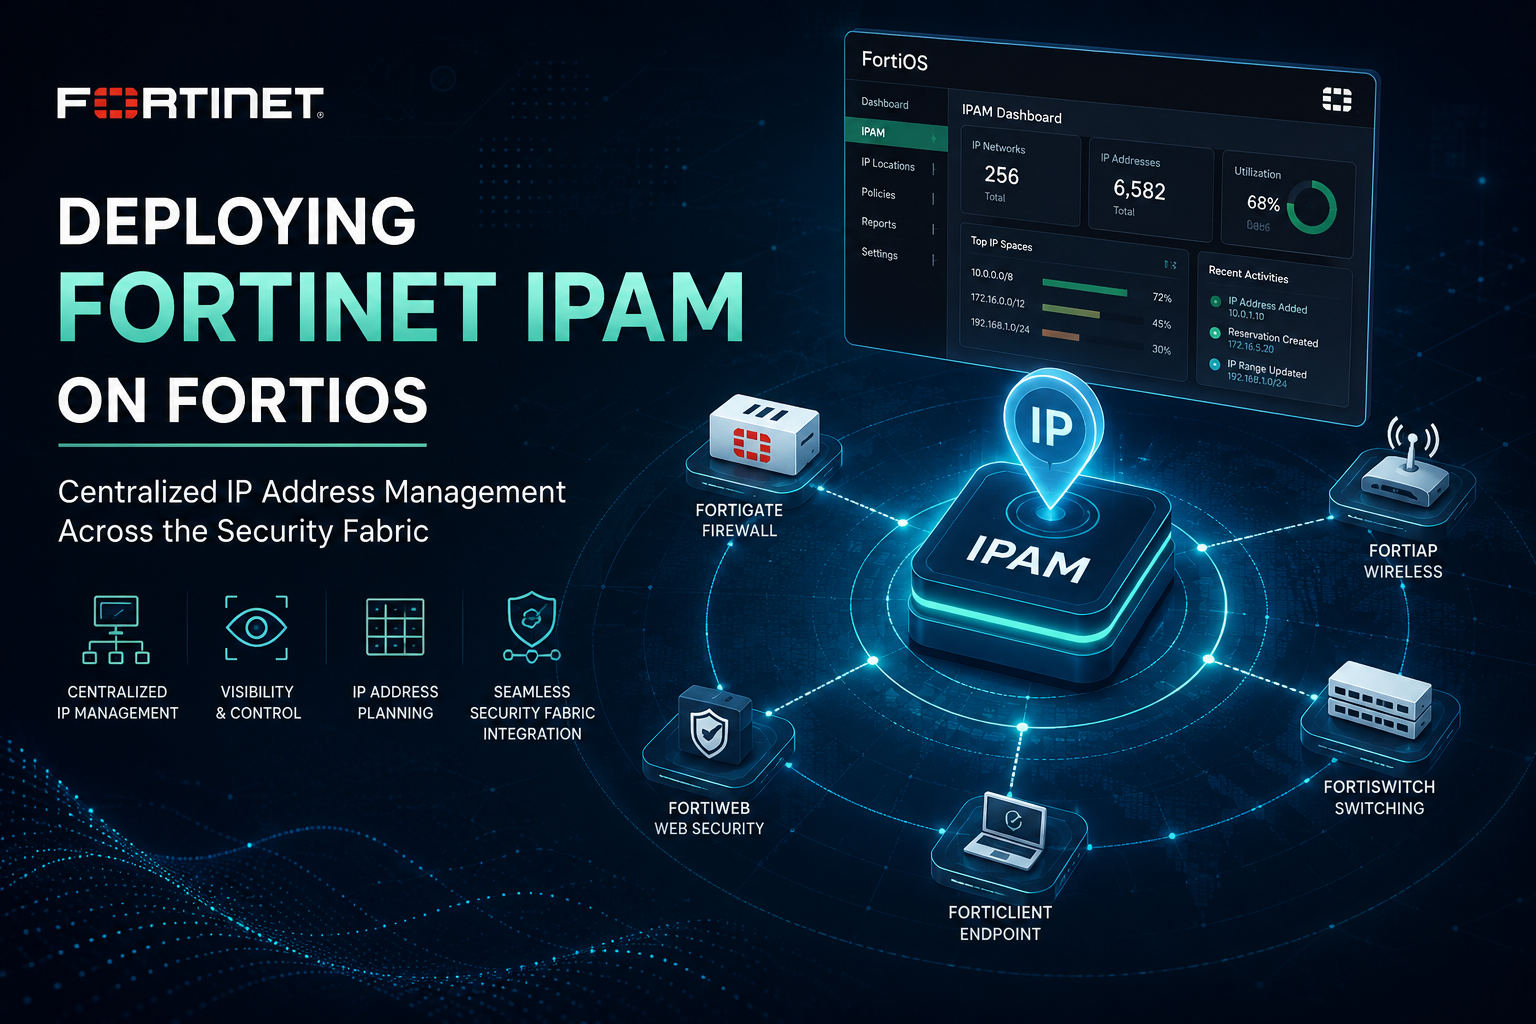
Deploying Fortinet IPAM on FortiOS: Centralized IP Address Management Across the Security Fabric
1. Executive Summary
Objective
This guide turns the FortiGate into the authoritative source of truth for private IPv4 subnet allocation across a Security Fabric. You will define address pools, write allocation rules that key off device serial, interface name, and interface role, enroll interfaces as IPAM-managed, and hand the resulting subnets straight to the built-in DHCP server. The result is that a new branch FortiGate, a new SSID, or a new FortiExtender LAN extension gets a non-overlapping subnet the moment it comes online, with no spreadsheet and no engineer picking a number by hand.
Why it matters
Overlapping RFC 1918 space is the single most common reason a site-to-site VPN, an SD-WAN overlay, or a post-acquisition merge turns into a NAT project. IPAM on FortiOS removes the human allocation step entirely, and it does it without adding a licensed appliance to the design. It is free, it is already in the firmware, and almost nobody turns it on.
Target audience
Network engineers, security engineers, and systems administrators who own a multi-site FortiGate estate. Also relevant to SD-Branch and LAN Edge architects who are standing up FortiAP and FortiExtender at scale and want addressing to be deterministic rather than negotiated.
2. Prerequisites & Architecture
Assumed knowledge
- FortiOS CLI structure (
config/edit/set/next/end) and tab completion. - Security Fabric roles: which device is the Fabric root, and how downstream members join.
- FortiOS interface roles (lan, wan, dmz, undefined) and how role affects GUI behavior.
- Classful notation, since IPAM pools are restricted to class A and class B masks.
- Basic DHCP server configuration on a FortiGate interface.
Environment and lab requirements
- FortiOS 7.6.x is the baseline used throughout. IPAM exists from 7.0, but pools, rules, exclusions, and the modern diagnostics only line up from 7.2 and 7.4 onward. A version matrix is in Section 6.
- No additional license. Local IPAM is a FortiOS feature. The separate FortiIPAM service is a different product and is only relevant if you set the server type to cloud.
- One FortiGate minimum. A standalone FortiGate can be its own IPAM server. To exercise the fabric behavior you want a root plus at least one downstream member.
- Lab platform: physical FortiGates, or FortiGate-VM on Proxmox, ESXi, KVM, or EVE-NG. Two vCPU and 2 GB RAM per VM is sufficient.
- Out-of-band access. Console or a dedicated management interface. You will be re-addressing LAN interfaces, and you do not want your only session riding on one of them.
Component table
| Component | Role in this build | Identity / address |
|---|---|---|
| FGT-ROOT | Fabric root and IPAM server. Owns pools, rules, and the allocation database. | mgmt 10.10.10.1/24 SN FG200G<root_serial> |
| FGT-BR1 | Downstream fabric member. Consumes allocations, cannot edit IPAM settings. | SN FG91G<br1_serial> |
| FGT-BR2 | Second downstream member, used to prove non-overlap across sites. | SN FG91G<br2_serial> |
| FAP-431G | FortiAP managed by FGT-BR1. Its SSID interfaces are vap-switch type and can be auto-addressed. | SSID interface guest-ssid |
| FEXT-201F | FortiExtender providing a LAN extension interface (lan-extension type). | Auto-managed if enabled |
Pool corp-lan |
Every interface carrying the lan role, estate wide. | 10.64.0.0 255.255.0.0 |
Pool guest-wifi |
Guest SSID subnets, kept in a distinct block for policy and route filtering. | 10.80.0.0 255.255.0.0 |
Pool branch-edge |
DMZ and appliance segments at branch sites only. | 172.20.0.0 255.255.0.0 |
Architecture note
IPAM allocates subnets to interfaces, not addresses to hosts. It is the layer above DHCP: IPAM decides that FGT-BR2 port5 owns 10.64.7.0/24, and the FortiGate DHCP server then leases 10.64.7.10 through 10.64.7.254 to endpoints on that segment. Keep the two mental models separate and the whole feature stops being confusing.
3. Step-by-Step Implementation Workflow
Phase 1: Pre-flight and baseline capture
The goal: confirm the firmware level, confirm which device is the fabric root, capture the existing IPAM state, and take a restore point. IPAM can re-address live interfaces, so this phase is not optional.
The action: run the following on FGT-ROOT from a console or management-interface session.
FGT-ROOT # get system status
FGT-ROOT # show system csf
FGT-ROOT # diagnose sys csf neighbor list

# What IPAM already looks like (a factory-reset unit is NOT empty here)
FGT-ROOT # show system ipam
FGT-ROOT # show full-configuration system ipam

# Restore point before you touch anything
FGT-ROOT # execute backup config tftp pre-ipam-<yyyymmdd>.conf <tftp_server_ip>
GUI verification: go to Network > IPAM. If the menu item is missing, IPAM has never been enabled and the page is hidden until you turn it on, or you are looking at a downstream member whose root already owns the feature. Fabric membership is confirmed under Security Fabric > Fabric Connectors.
Know your default state
After a factory reset, enabling IPAM status auto-generates two subnets plus two rules. One rule is named role-lan, bound to 192.168.0.0/255.255.0.0, role LAN, DHCP enabled. The other is the Implicit Rule, which covers all subnets with role ANY and DHCP disabled, and which you cannot edit or delete. Plan your pools knowing that a 192.168.0.0/16 rule may already be sitting there matching everything you were about to catch yourself.
Phase 2: Define the address pools and exclusions
The goal: carve the estate’s private space into named pools before any rule references them. Exclusions protect ranges you have already assigned by hand, such as a static server VLAN or a legacy site that is not migrating.
The action: create three pools on FGT-ROOT. Pool subnets accept class A or class B masks only, so 255.255.0.0 is the smallest mask you can use for a pool.
config system ipam
    config pools
        edit "corp-lan"
            set description "Estate wide LAN role allocations"
            set subnet 10.64.0.0 255.255.0.0
            config exclude
                edit 1
                    set exclude-subnet 10.64.250.0 255.255.255.0
                next
                edit 2
                    set exclude-subnet 10.64.251.0 255.255.255.0
                next
            end
        next
        edit "guest-wifi"
            set description "Guest SSID subnets, no east-west reachability"
            set subnet 10.80.0.0 255.255.0.0
        next
        edit "branch-edge"
            set description "Branch DMZ and appliance segments"
            set subnet 172.20.0.0 255.255.0.0
        next
    end
end
GUI verification: Network > IPAM > IPAM Subnets. Add the subnet and netmask in Subnets, add the reserved ranges under Excluded subnets, click OK. The page renders a utilization chart splitting the space into IPAM-managed and unallocated, allocated by IPAM, manually configured, DHCP clients, and reserved. That chart is the fastest capacity answer you will get, and it is worth screenshotting for change records.
Phase 3: Enable IPAM and set the automation scope
The goal: turn the service on and, more importantly, decide how aggressive it is allowed to be. The three manage options are the blast radius control. Each one silently enrolls a whole category of interfaces.
The action: for a production cutover, enable status with all three manage options disabled first, enroll interfaces explicitly, then switch the manage options on once the pools and rules are proven.
config system ipam
    set status enable
    set server-type fabric-root

    # Blast radius: start conservative, widen later
    set manage-lan-addresses disable
    set manage-ssid-addresses disable
    set manage-lan-extension-addresses disable

    # Behavior controls
    set automatic-conflict-resolution enable
    set require-subnet-size-match disable
end
| Setting | GUI label | What it actually does |
|---|---|---|
status |
Status | Master switch. Enabling it on a freshly reset unit also seeds the default subnets and the role-lan rule. |
server-type |
n/a (CLI only) | Chooses whether this FortiGate serves allocations locally as fabric root, or defers to the cloud service. Use fabric-root for the design in this guide. |
manage-lan-addresses |
Interfaces with LAN role | Every interface whose role is lan becomes IPAM-managed with no per-interface config. This is the option that re-addresses your production LAN. |
manage-ssid-addresses |
FortiAP SSIDs | Auto-enrolls vap-switch type interfaces. Excellent for scale wireless, since every new SSID gets clean space. |
manage-lan-extension-addresses |
FortiExtender LAN extensions | Auto-enrolls lan-extension type interfaces created by FortiExtender. |
automatic-conflict-resolution |
Auto-resolve conflicts | When an IPAM allocation collides with an existing address, IPAM reallocates instead of leaving the interface flagged for a human. |
require-subnet-size-match |
Require subnet size match | Forces the allocation to match the requested network size exactly rather than accepting a different-sized block. Leave it off until you have watched a few allocations land. |
Phase 4: Write the allocation rules
The goal: map a request to a pool. A rule matches on any combination of device serial, interface name, and interface role, then hands back a subnet from the named pool and optionally builds the DHCP server for you.
The action: create three rules, moving from most specific to most general. Use * as the wildcard for device or interface.
config system ipam
    config rules
        # Most specific: DMZ segments on branch 1 only, no DHCP (static appliances)
        edit "rule-br1-dmz"
            set description "BR1 DMZ appliances, statically addressed"
            set device "<br1_serial_number>"
            set interface "*"
            set role dmz
            set pool "branch-edge"
            set dhcp disable
        next

        # Named interface across every device in the fabric
        edit "rule-guest-ssid"
            set description "Guest wireless SSID interfaces"
            set device "*"
            set interface "guest-ssid"
            set role any
            set pool "guest-wifi"
            set dhcp enable
        next

        # Catch-all for LAN role, estate wide
        edit "rule-corp-lan"
            set description "Any LAN role interface, any device"
            set device "*"
            set interface "*"
            set role lan
            set pool "corp-lan"
            set dhcp enable
        next
    end
end
GUI verification: Network > IPAM > IPAM Rules. Your three rules appear alongside the read-only Implicit Rule. Confirm the Implicit Rule sits last in evaluation and that its pool membership does not shadow a rule you care about. Because the implicit entry covers all subnets with role ANY, a badly scoped custom rule is easy to hide behind it.
Phase 5: Enroll interfaces and set the network size
The goal: tell a specific interface to stop holding a hand-typed address and take whatever IPAM gives it. This is the moment addressing changes, so schedule it.
The action: on FGT-BR1, enroll port5 with a 256-address block. The value in managed-subnetwork-size is a host count, not a prefix length. 256 gives you a /24.
config system interface
    edit "port5"
        set alias "BR1-USER-VLAN"
        set role lan
        set ip-managed-by-fortiipam enable
        set managed-subnetwork-size 256
        set allowaccess ping
    next
end

# Valid sizes (host counts):
# 4  8  16  32  64  128  256  512  1024  2048
# 4096  8192  16384  32768  65536

# Third option: follow the global manage-* switches instead of deciding per interface
config system interface
    edit "port6"
        set role lan
        set ip-managed-by-fortiipam inherit-global
    next
end
GUI verification: Network > Interfaces, edit the port, set Role to match the role your rule expects, then set Addressing Mode to IPAM and pick a Network size. Save. Reopen the interface and the assigned subnet is displayed. The estate-wide view lives at Network > IPAM > IPAM Interfaces, which lists every managed interface, its device, and its current allocation.
Role is the join key
The interface role and the rule role have to line up. An interface left at role undefined will not match a rule scoped to lan, and it will fall through to the Implicit Rule or get nothing at all. Set the role first, then the addressing mode.
Phase 6: Let IPAM build the DHCP server
The goal: avoid the second manual step. When a rule carries set dhcp enable, FortiOS provisions a DHCP server on the interface using the freshly allocated subnet, so a new branch VLAN is serving leases without anyone typing a range.
The action: confirm the generated server, then layer on the options your estate standard requires (DNS, NTP, domain, lease time). Those options are yours to set; IPAM only supplies the range.
FGT-BR1 # show system dhcp server

config system dhcp server
    edit 3
        set dns-service default
        set default-gateway 10.64.7.1
        set netmask 255.255.255.0
        set interface "port5"
        config ip-range
            edit 1
                set start-ip 10.64.7.2
                set end-ip 10.64.7.254
            next
        end
    next
end

# Layer your standards on top without disturbing the IPAM-derived range
config system dhcp server
    edit 3
        set lease-time 28800
        set domain "<your_domain>"
        set ntp-service specify
        set ntp-server1 <ntp_server_ip>
    next
end
GUI verification: Network > Interfaces, edit the port, and the DHCP Server block is already populated and enabled. Live leases show under Dashboard > Network > DHCP.
Phase 7: Bring the downstream fabric members in
The goal: prove that FGT-BR1 and FGT-BR2 draw from the same allocation database and therefore cannot collide. This is the entire point of the feature.
The action: nothing is configured on the downstream units beyond joining the fabric and enrolling interfaces. Once the root owns IPAM, downstream members cannot change IPAM settings, and their IPAM cards are read-only by design.
# On FGT-BR2: enroll and let the root decide the subnet
config system interface
    edit "port5"
        set alias "BR2-USER-VLAN"
        set role lan
        set ip-managed-by-fortiipam enable
        set managed-subnetwork-size 256
    next
end

# On FGT-ROOT: watch both branches land in different space
FGT-ROOT # diagnose sys ipam list entries
GUI verification: on the root, Network > IPAM > IPAM Interfaces now lists interfaces belonging to all three FortiGates with distinct subnets. On a downstream member, the same page renders but the settings are not editable.
4. Verification & Validation
Run all of these from the IPAM server (the fabric root). Three commands answer almost every question you will have: what is allocated, what is left, and how big a block can I still hand out.
4.1 The allocation table
FGT-ROOT # diagnose sys ipam list entries

IPAM Entries: (sn, vdom, interface, subnet/mask, flag)
FG200G<root_serial>   root   port10       10.64.0.1/24    0
FG91G<br1_serial>     root   port5        10.64.1.1/24    0
FG91G<br2_serial>     root   port5        10.64.2.1/24    0
FG91G<br1_serial>     root   guest-ssid   10.80.0.1/24    0
FG91G<br1_serial>     root   port7        172.20.0.1/28   0
What success looks like: one row per managed interface, every subnet unique, the pool prefix matching the rule you expect (10.64.x for LAN role, 10.80.x for the guest SSID, 172.20.x for BR1 DMZ). The trailing field is a state flag; rows that are not zero are the ones to cross-check against the IPAM Interfaces page, since flagged entries are where conflicts and manual overrides surface.
4.2 Remaining capacity
FGT-ROOT # diagnose sys ipam list subnets

IPAM free subnets: (subnet/mask)
10.64.3.0/24
10.64.4.0/22
10.64.8.0/21
10.64.16.0/20
10.64.32.0/19
10.64.64.0/18
10.64.128.0/17

FGT-ROOT # diagnose sys ipam largest-available-subnet
Largest available subnet is a /17.
What success looks like: the free list is contiguous and aggregates cleanly, and the largest available block is comfortably bigger than your next planned allocation. If the free list has fragmented into a scatter of small blocks, someone has been allocating and releasing odd sizes and it is time to review your standard network size.
4.3 Interface-level confirmation and a real data path test
# Did the interface actually take the address?
FGT-BR1 # get system interface physical | grep -A 3 port5
FGT-BR1 # show system interface port5

# Is the route in the table?
FGT-BR1 # get router info routing-table connected

# Is DHCP leasing from the allocated block?
FGT-BR1 # execute dhcp lease-list port5

# Prove reachability from an endpoint on the new segment
FGT-BR1 # execute ping-options source 10.64.1.1
FGT-BR1 # execute ping <upstream_gateway_ip>
What success looks like: show system interface port5 reports the IPAM-assigned address with ip-managed-by-fortiipam enable, a matching connected route is present, a client on the segment holds a lease inside the allocated /24, and it can reach its default gateway.
5. Troubleshooting & Gotchas
Gotcha 1: You enabled the manage options and lost your session
Symptom: the moment manage-lan-addresses enable is committed, HTTPS and SSH sessions on LAN interfaces drop and do not come back at the old address. This is not a bug. Every interface with the lan role was just enrolled and re-addressed out of the pool.
Diagnose from console:
# What did the box give itself?
FGT-ROOT # diagnose sys ipam list entries
FGT-ROOT # get system interface physical

# Confirm which global switches are on
FGT-ROOT # show full-configuration system ipam | grep manage
Resolution: reconnect on the new address, or opt the management segment out. Two clean patterns: give the management interface a role other than lan so the manage switch never catches it, or pin it with an explicit per-interface override.
config system interface
    edit "<management_interface>"
        set ip-managed-by-fortiipam disable
        set ip 10.10.10.1 255.255.255.0
        set allowaccess ping https ssh
    next
end
Gotcha 2: The interface is enrolled but never receives a subnet
Symptom: addressing mode shows IPAM, but the interface has no address, or it silently receives space from the wrong pool. There are four usual causes and they are all rule matching problems.
- Role mismatch. Interface role is undefined or dmz while the rule expects lan.
- Serial typo. A rule scoped to a specific device serial matches nothing. Wildcard it temporarily to prove the theory.
- Pool exhaustion or fragmentation. The pool cannot satisfy the requested network size, especially with size matching enforced.
- Exclusion overlap. The only free space left in the pool sits inside an excluded subnet.
# 1. Can the pool even satisfy the request?
FGT-ROOT # diagnose sys ipam largest-available-subnet
FGT-ROOT # diagnose sys ipam list subnets

# 2. Does the rule say what you think it says?
FGT-ROOT # show full-configuration system ipam

# 3. Does the interface role match the rule role?
FGT-BR1 # show system interface port5 | grep role

# 4. Temporarily relax size matching and retest
config system ipam
    set require-subnet-size-match disable
end
Resolution: fix the role first, since it is the most common cause. If capacity is the issue, either shrink the requested network size, add a second pool subnet, or trim an over-broad exclusion. Toggling the interface between disable and enable on ip-managed-by-fortiipam forces a fresh allocation request.
Gotcha 3: Conflict markers on interfaces that overlap manually configured space
Symptom: the IPAM Interfaces page shows a conflict marker against an interface, or an allocation quietly moves to a different subnet than the one you saw yesterday. IPAM detects collisions between what it allocated and what already exists in the network, including addresses typed in by hand on non-managed interfaces.
Diagnose:
# Look for rows carrying a non-zero flag
FGT-ROOT # diagnose sys ipam list entries

# Is auto-resolve on or off?
FGT-ROOT # show full-configuration system ipam | grep conflict

# Find the manual address that collides
FGT-ROOT # get system interface physical
FGT-ROOT # get router info routing-table connected
Resolution: with automatic-conflict-resolution enable, IPAM reallocates on its own and the marker clears. That is convenient and it is also why a subnet can change under you, which breaks anything static that points at it. With auto-resolve disabled, go to Network > IPAM > IPAM Interfaces, find the flagged interface, and either edit it or reallocate it by hand. The durable fix is to add the manually addressed range to the pool’s exclusion list so IPAM never offers it again.
Gotcha 4: A decommissioned FortiGate is still holding subnets
Symptom: a site was retired or an RMA swapped a chassis, but diagnose sys ipam list entries still shows allocations against the old serial number and the free list never recovers that space. Allocations are keyed to the serial, so a replacement unit is a new device with new allocations while the ghost entries linger.
# Confirm the stale serial is still consuming space
FGT-ROOT # diagnose sys ipam list entries

# Release everything held by that device
FGT-ROOT # diagnose sys ipam delete device <old_serial_number>
Successfully removed device <old_serial_number> from ipam

# Confirm the space returned to the free pool
FGT-ROOT # diagnose sys ipam list subnets
FGT-ROOT # diagnose sys ipam largest-available-subnet
Older firmware, different verbs
On FortiOS 7.0 the diagnostics use the original command names: diagnose sys ipam dump-ipams-entries, diagnose sys ipam dump-ipams-free-subnets, and diagnose sys ipam delete-device-from-ipams. If a runbook fails on a 7.0 box, this is usually why.
6. Version Matrix: Know Before You Design
| FortiOS | What you get |
|---|---|
| 7.0 | Local IPAM on the FortiGate. Single pool subnet, fabric root acts as server, downstream settings locked. Diagnostics use the dump-ipams command names. |
| 7.2 | Multiple pools and allocation rules, matching on device, interface, and role, with optional DHCP provisioning. Dedicated IPAM GUI page. |
| 7.4 | Manage options for LAN role, SSID, and LAN extension interfaces. Automatic conflict resolution. Pool exclusions and subnet size matching. |
| 7.6 | The mature baseline used in this guide. Four GUI tabs (Settings, Rules, Interfaces, Subnets), utilization chart, conflict markers, modern diagnostics. |
| 8.0 | Rules gain item-type (interface or address) with item-name, a vdom selector, and a dhcp-template. A DHCP Templates tab joins the GUI. |
The 8.0 upgrade note worth writing down
In 8.0 the rule object drops the standalone interface field in favor of the item-type plus item-name pair, which also lets a rule target firewall address objects rather than only interfaces. Any automation or Terraform module that writes set interface into config system ipam / config rules needs updating before you jump to 8.0.
7. Operational Guidance
- Standardize one network size. Pick 256 and stick to it unless a segment genuinely needs otherwise. Mixed sizes fragment the pool and make the free list ugly.
- Exclude before you enable. Every hand-assigned range that will outlive the migration belongs in an exclusion list on day one, not after the first conflict.
- Do not point static config at IPAM subnets. Firewall address objects, VPN phase 2 selectors, and route filters that hardcode an IPAM-allocated subnet will break the day conflict resolution moves it. Reference interfaces or use dynamic objects instead.
- Treat the root as a dependency. The fabric root owns the allocation database. Back it up on the same schedule as the rest of your config, and know how you would rebuild the table if you lost it.
- Capture the free list in change records. Two commands,
diagnose sys ipam list entriesanddiagnose sys ipam list subnets, are the before-and-after evidence for any addressing change.
Recent posts
-

-

DNS is one of those technologies that quietly underpins... Full Story
-

BGP issues on FortiGate firewalls usually trace back to... Full Story
-

Every time your laptop talks to your router, a... Full Story
-

If you've spent any time configuring NAT on a... Full Story
-

If you have spent any time configuring firewall policies... Full Story
-

High availability on FortiGate is one of those features... Full Story
-

If you've configured SD-WAN on a FortiGate, you've almost... Full Story
-

FortiLink is the management protocol that turns a FortiSwitch... Full Story
-

FortiSwitches are pretty rock solid from Mean Time Between... Full Story
-

This is a quicky tip. Have you ever gone... Full Story
-

DNS is one of those quiet pieces of internet... Full Story
-

This article is an updated version of the previous... Full Story
-

You will add ns2 as a secondary (slave) BIND9... Full Story
-

In the process of deploying my lab, I needed... Full Story
-

RFC 8805, used to be known as Self-Correcting IP... Full Story
-

Years back, I wrote an article about certificate pinning. ... Full Story
-

FortiGates have the ability to send alerts to Microsoft... Full Story
-

In this post, I am going to walk through... Full Story
-

Troubleshooting VoIP on a FortiGate can feel like trying... Full Story
-

Prior to FortiOS 7.0, there were three commands to... Full Story
-

In this post, I am going to go over... Full Story
-

What we are going to do: We are going... Full Story
-

Choosing between FGCP (FortiGate Clustering Protocol) and FGSP (FortiGate... Full Story
-

Creating a VLAN on macOS (The "Pro" Move) A... Full Story
-

This blog post explores the logic behind how macOS... Full Story
-

Pretty Fly for a Wi-Fi Tell My Wi-Fi Love... Full Story
-

Part of my daily gig is creating BoMs (Bill-of-Materials)... Full Story
-

ICMP introduces several security risks, but careful filtering, rate... Full Story
-

The command diag debug application dhcps -1 enables full... Full Story
-

In the world of FortiOS, execute tac report is... Full Story
-

LLDP; What is it The Link Layer Discovery Protocol... Full Story
-

What it actually does When you run diagnose fdsm... Full Story
-

Monkey Bites are bite-sized, high-impact security insights designed for... Full Story
-

I have run macOS in macOS with Parallels but... Full Story
-

Don't be confused with my other FortiNAC posts where... Full Story
-

This is the third session in a multi-part article... Full Story
-

Today I was configuring key-based authentication on a FortiGate... Full Story
-

Netcat, often called the "Swiss Army knife" of networking,... Full Story
-

At its core, IEEE 802.1X is a network layer... Full Story
-

In case you did not see the previous FortiNAC... Full Story
-

This is our 5th session where we are going... Full Story
-

Now that we have Wireshark installed and somewhat configured,... Full Story
-

The Philosophy of Packet Analysis Troubleshooting isn't about looking... Full Story
-

InfoSecMonkey Threat Response October 24, 2026 | No fluff.... Full Story
-

InfoSecMonkey Threat Response October 24, 2026 | No fluff.... Full Story
-

Plus what you actually get with FortiCare Essential, Premium... Full Story