
If you've spent any time configuring user authentication on... Full Story
By Manny Fernandez
August 25, 2026
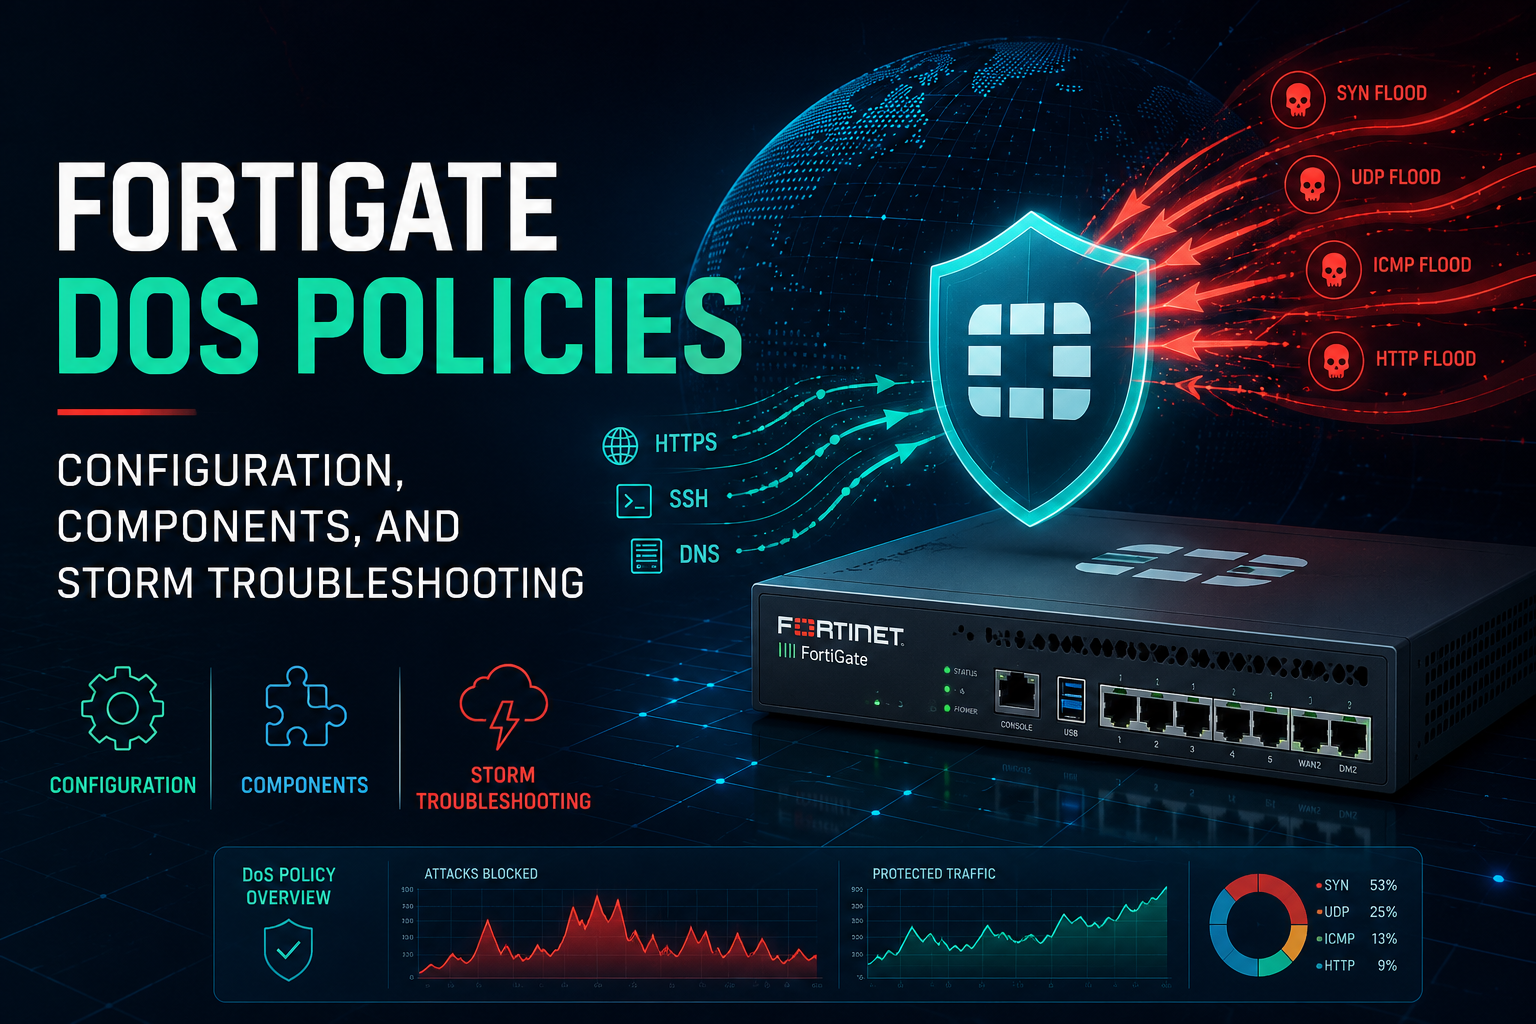
FortiGate DoS Policies: Configuration, Components, and Storm Troubleshooting
In This Guide
1. Executive Summary
Objective: This guide explains what a FortiGate DoS policy actually is, how it differs from a local-in policy and a regular firewall policy, how to build and tune one from an empty configuration, and how to use the same anomaly sensors and diagnostic commands to triage a live traffic storm hitting or passing through the box. By the end you will have a working IPv4 DoS policy, a baseline tuning methodology that avoids false-positive drops, and a step-by-step runbook for the moment a NOC ticket says the firewall is falling over.
Target Audience: Network engineers, security engineers, and NOC/SOC responders who operate FortiGate at the edge or in front of critical internal servers, and who need both the build steps and the live-incident diagnostics in one place.
2. Prerequisites & Architecture
Assumed Knowledge
- Comfortable in the FortiOS CLI (config/edit/set/next/end syntax) and the GUI policy table
- Understands basic flood mechanics: TCP SYN floods, UDP floods, ICMP floods/sweeps, and port scans
- Familiar with FortiGate firewall policy concepts (source, destination, service, action) so DoS policy syntax feels familiar rather than foreign
- Aware that FortiGate models ship with different network processors (NP6, NP6XLite, NP7, or none on entry-level/VM models) since this changes how much of the mitigation happens in hardware versus CPU
Environment / Lab Requirements
- FortiGate running FortiOS 7.6.x (the CLI syntax in this guide is current for 7.4.x through 8.0.0; version-specific deltas are called out where they exist)
- A lab topology in EVE-NG, GNS3, or a physical bench: one FortiGate, one attacker Linux host with nping or hping3 installed, and one protected server host
- Administrative HTTPS/SSH access to the FortiGate
- If validating hardware offload behavior, a model with an NP6, NP6XLite, or NP7 processor (get hardware npu np6 port-list will return empty on models or VMs without one, which is fine for the logical/software walkthrough)
Component Table
| Component | Role | Example Address |
|---|---|---|
| FortiGate WAN interface (port1) | Untrusted ingress; the DoS policy is bound here | 198.18.1.1/30 |
| Upstream/ISP router | Simulates the internet-facing next hop | 198.18.1.2/30 |
| Attacker host (lab) | Generates flood/scan traffic with nping/hping3 | 198.18.50.10 |
| FortiGate LAN interface (port2) | Trusted egress toward the protected server | 10.0.10.1/24 |
| Protected server | The host the DoS policy exists to defend | 10.0.10.100 |
| firewall DoS-policy object | The anomaly-based rate policy itself | policy ID 1 |
| ips global anomaly-mode | Global continuous vs. periodical blocking behavior | continuous (default) |
| NP6 / NP6XLite / NP7 | Optional hardware offload for SYN-cookie mitigation | model-dependent |
3. Step-by-Step Implementation Workflow
Phase 1: Understand Where DoS Policy Sits in the Packet Flow
The Goal: Know exactly what a DoS policy does and does not protect, before writing a single line of config, so you don’t wire it up expecting it to do a local-in policy’s job.
The Action: A DoS policy is an interface-bound, anomaly/threshold engine. It looks at packet rates and concurrent-session counts per source or destination IP, not packet content, and it is evaluated on ingress before session setup and before the regular firewall/security policy lookup. That ordering is the entire point: a flood gets rate-limited or dropped before it can consume session-table entries, trigger UTM inspection, or reach the policy engine at all.
Three mechanisms get confused constantly, and it matters which one you reach for:
| Mechanism | Protects | Basis | Evaluated |
|---|---|---|---|
| DoS policy | Traffic transiting or destined through an interface | Packet rate / concurrent sessions per anomaly | Before session setup, before firewall policy |
| Local-in policy | The FortiGate’s own management/VPN services | Source/destination/service allow-list | For traffic destined to the FortiGate itself |
| Firewall/security policy | Traffic permitted between zones | Session + content (AV, IPS, web filter, etc.) | After a session is established |
A flood aimed at your FortiGate’s own admin HTTPS or IKE listener is a local-in policy problem, not a DoS policy problem. A flood aimed at a server sitting behind the FortiGate is exactly what a DoS policy is for. Keep that distinction in mind through the rest of this guide, and revisit Troubleshooting Gotcha #4 if you find yourself tuning the wrong mechanism during a live event.
GUI Verification: No GUI step here, this phase is conceptual.
Phase 2: Enable DoS Policy Feature Visibility
The Goal: Make the IPv4 DoS Policy table visible in the GUI. It exists in the CLI regardless, but most administrators build the initial policy in the GUI to see the full anomaly list at once.
The Action: Enable the feature toggle, then confirm the menu appears under Policy & Objects.
GUI Verification: Navigate to System > Feature Visibility, enable DoS Policy, then click Apply. Confirm Policy & Objects > IPv4 DoS Policy (and IPv6 DoS Policy, if needed) now appears in the left navigation.
Phase 3: Define the Address and Service Objects
The Goal: Scope the policy precisely. A DoS policy bound to all/all/ALL on a busy WAN interface will baseline against every flow crossing it, which makes tuning harder than it needs to be. Scoping to the subnet you’re actually defending keeps the anomaly counters meaningful.
The Action: Create a firewall address object for the protected LAN segment.
config firewall address
    edit "LAN-PROTECTED-10.0.10.0-24"
        set subnet 10.0.10.0 255.255.255.0
    next
end
GUI Verification: Policy & Objects > Addresses > Create New, confirm the subnet matches 10.0.10.0/24.
Phase 4: Create the Baseline IPv4 DoS Policy Skeleton
The Goal: Stand up the policy container bound to the correct ingress interface before touching any individual anomaly.
The Action: The interface you bind to is the interface where the flood traffic first arrives, which for an internet-facing attack is the WAN interface, port1, not the LAN side facing the protected server.
config firewall DoS-policy
    edit 1
        set name "WAN-Ingress-DoS"
        set interface "port1"
        set srcaddr "all"
        set dstaddr "LAN-PROTECTED-10.0.10.0-24"
        set service "ALL"
        set status enable
    next
end
GUI Verification: Policy & Objects > IPv4 DoS Policy > Create New. Confirm Incoming Interface is port1, Destination Address is the scoped object, and the policy shows Enabled.
Phase 5: Tune Each Anomaly Category
The Goal: Enable and threshold the fifteen predefined IPv4 anomalies without either leaving the policy toothless (everything in pass) or dropping legitimate traffic on day one (everything in block at factory-default thresholds).
The Action: FortiOS does not let you add new anomaly types, only enable, log, threshold, and act on the ones it ships. The list is fixed across TCP, UDP, ICMP, and SCTP:
| Category | Anomaly | Detects |
|---|---|---|
| TCP | tcp_syn_flood | New-connection SYN rate to one destination |
| TCP | tcp_port_scan | SYN rate from one source across many destination ports |
| TCP | tcp_src_session | Concurrent TCP sessions from one source IP |
| TCP | tcp_dst_session | Concurrent TCP sessions to one destination IP |
| UDP | udp_flood | UDP packet rate to one destination |
| UDP | udp_scan | UDP packet rate from one source across many destination ports |
| UDP | udp_src_session | Concurrent UDP sessions from one source IP |
| UDP | udp_dst_session | Concurrent UDP sessions to one destination IP |
| ICMP | icmp_flood | ICMP packet rate to one destination |
| ICMP | icmp_sweep | ICMP packet rate from one source across many destinations |
| ICMP | icmp_src_session | Concurrent ICMP sessions from one source IP |
| SCTP | sctp_flood | SCTP packet rate to one destination |
| SCTP | sctp_scan | SCTP packet rate from one source across many destination ports |
| SCTP | sctp_src_session | Concurrent SCTP sessions from one source IP |
| SCTP | sctp_dst_session | Concurrent SCTP sessions to one destination IP |
The methodology that avoids a 2 AM false-positive page: bring every anomaly up in log enable / action pass first, let it run against real production traffic for 24 to 48 hours, review Log & Report > Anomaly for the pps and session-count values your legitimate traffic actually reaches, and only then raise the thresholds above that baseline and flip the ones you care about most (flood and scan types) to block. Leave the *_src_session anomalies more conservative if you have a NAT gateway, corporate proxy, or CGNAT pool sending you many real users from one source IP, since those legitimately produce high concurrent-session counts.
config firewall DoS-policy
    edit 1
        config anomaly
            edit "tcp_syn_flood"
                set status enable
                set log enable
                set action block
                set quarantine attacker
                set quarantine-expiry 1h
                set quarantine-log enable
                set threshold 2000
            next
            edit "tcp_port_scan"
                set status enable
                set log enable
                set action block
                set threshold 1000
            next
            edit "tcp_src_session"
                set status enable
                set log enable
                set action pass
                set threshold 5000
            next
            edit "tcp_dst_session"
                set status enable
                set log enable
                set action pass
                set threshold 5000
            next
            edit "udp_flood"
                set status enable
                set log enable
                set action block
                set threshold 2000
            next
            edit "udp_scan"
                set status enable
                set log enable
                set action block
                set threshold 2000
            next
            edit "udp_src_session"
                set status enable
                set log enable
                set action pass
                set threshold 5000
            next
            edit "udp_dst_session"
                set status enable
                set log enable
                set action pass
                set threshold 5000
            next
            edit "icmp_flood"
                set status enable
                set log enable
                set action block
                set quarantine attacker
                set quarantine-expiry 1h
                set quarantine-log enable
                set threshold 250
            next
            edit "icmp_sweep"
                set status enable
                set log enable
                set action block
                set threshold 100
            next
            edit "icmp_src_session"
                set status enable
                set log enable
                set action pass
                set threshold 300
            next
        end
    next
end
GUI Verification: Open the DoS policy and review the Anomalies table. Each row should show Status enabled, the Logging column checked, and the Action/Threshold you set. The GUI renders this as a single scrollable table, which is a fast way to sanity-check fifteen anomalies at once instead of paging through CLI output.
Phase 6: Set the Global Anomaly Detection Mode
The Goal: Decide how a block action behaves once an anomaly is actively triggering, globally for the whole box.
The Action: continuous mode (the default) keeps blocking packets for as long as the rate stays above threshold. periodical mode instead allows the configured threshold’s worth of packets through every second and blocks only the excess. For a 10 pps threshold under a sustained 20 pps flood, continuous mode passes the first 10 packets then blocks everything after; periodical mode passes 10 packets every single second for the duration of the flood. Continuous is the right default for almost every deployment; periodical exists mainly for services where a trickle of the flooding protocol must keep flowing even during an attack.
config ips global
    set anomaly-mode continuous
end
GUI Verification: This is a CLI-only global setting; there is no GUI toggle for it.
Phase 7: Confirm Hardware Offload for SYN Flood Mitigation
The Goal: On NP6, NP6XLite, and NP7-equipped models, tcp_syn_flood protection can run in the network processor using a SYN-cookie mechanism, replying to the client only after the threshold is exceeded, without burning CPU cycles on the control plane.
The Action: Confirm the platform has an NPU and that fastpath is active on the ports carrying the policy.
diagnose npu np6 port-list
diagnose npu np6 npu-feature
Look for the interface serving your DoS policy in the port list, and confirm Fastpath shows Enabled in the feature output. On models without an NP6/NP7 (entry-level desktop models and most VM form factors), this phase is not applicable and tcp_syn_flood protection runs entirely on CPU, which is a good reason to keep that threshold conservative on those platforms.
GUI Verification: Not exposed in the GUI; this is CLI-only diagnostic output.
Phase 8: Configure Quarantine for High-Confidence Attackers
The Goal: For the anomalies where a triggering source is almost never a false positive, remove that source from the network entirely for a cooldown window instead of only dropping its individual packets.
The Action: quarantine attacker was already set on tcp_syn_flood and icmp_flood in Phase 5. The source IP that trips either of those gets banned for the quarantine-expiry duration, independent of whether further packets from it would have matched the threshold. Reserve this for flood-type anomalies you’re confident about; do not set it on the *_session anomalies where a shared NAT or proxy IP could get an entire office banned.
config firewall DoS-policy
    edit 1
        config anomaly
            edit "tcp_syn_flood"
                set quarantine attacker
                set quarantine-expiry 1h
                set quarantine-log enable
            next
        end
    next
end
GUI Verification: The Quarantine Monitor widget (location varies by FortiOS version, typically under the Dashboard or Security Fabric monitors) lists currently quarantined source addresses and their remaining expiry.
4. Verification & Validation
4a. Lab Validation
Confirm the sensor table loaded exactly as configured:
diagnose ips anomaly config
Expect output listing each anomaly by ID with its status, log, nac, action, and threshold values matching what you set in Phase 5. This is the single fastest way to confirm a set command actually took effect versus silently failing on a typo.
Confirm nothing is currently triggering under normal conditions:
diagnose ips anomaly list
Success at this stage looks like a clean list, and the sensor table in diagnose ips anomaly config mirroring your Phase 5 configuration exactly.
Generate controlled test traffic from the lab attacker host toward the protected server, at a rate above your configured threshold:
sudo nping --icmp --rate 50 -c 3000 10.0.10.100
While that runs, check the live meter again from the FortiGate:
diagnose ips anomaly list
Success looks like a nids meter entry appearing with id=icmp_flood, the attacker’s source IP, and a pps value climbing toward or past your threshold. On the attacker host, you should see ping replies stop arriving or time out once the threshold is crossed and the action is block. If quarantine attacker was set, confirm the source landed in the quarantine list:
diagnose user quarantine list
Success is the attacker’s IP present with a counting-down expiry.
4b. Live Storm Triage Runbook
This is the sequence to run when a NOC ticket or a dashboard alert suggests an active flood, whether it is hitting the FortiGate itself or passing through it toward a protected host.
1. Confirm the box is actually under load
and that it’s not just a slow upstream link or a legitimate traffic spike:
get system performance status
diagnose sys top
Sustained high CPU on kernel or ipsengine/ipsmonitor processes alongside a session count spike is consistent with an anomaly-driven event.
2. Check the session table shape
diagnose sys session stat
A setup-rate that has jumped far above baseline, with total session count climbing steadily, points toward a flood rather than a single heavy but legitimate flow.
3. Ask the anomaly engine what it currently sees, in real time
diagnose ips anomaly list
This is the fastest way to identify which specific anomaly ID, and which source or destination IP, is actively over threshold right now. Note the dos_id and pps/freq values; they tell you both which sensor is reacting and how far past threshold the traffic currently sits.
4. Confirm what action that sensor is actually configured to take
It is common to find a sensor sitting in pass/monitor-only mode from an earlier baselining exercise that never got flipped to block:
diagnose ips anomaly config
If the triggering anomaly shows action 0 (pass), that is very likely why traffic is still getting through and CPU/session pressure is building. Flip it to block on the live policy as an immediate mitigation, then revisit the threshold once the event is over.
5. Pinpoint the specific flow if the anomaly ID alone isn’t enough
For example, a *_dst_session anomaly on a genuinely busy production server can look identical to legitimate load. Pull the top talkers directly from FortiView or the session table:
diagnose sys session filter dst 10.0.10.100
diagnose sys session list
or, in the GUI, FortiView > All Sessions, sorted by Bytes or Packets, filtered to the destination under pressure.
6. Confirm whether hardware offload is actually engaged
if the anomaly is TCP SYN-based and CPU is climbing anyway:
diagnose npu np6 synproxy-stats
Rising counters here confirm the NPU is absorbing the SYN flood in hardware. If the counters stay flat while CPU keeps climbing, fastpath may be disabled for that port, or the platform has no NPU and the mitigation is CPU-bound by design.
7. Confirm the quarantine list to see whether auto-remediation already engaged
diagnose user quarantine list
If the offending source is not present and you have high confidence it’s the attacker, edit the relevant anomaly to add quarantine attacker on the fly as an immediate response, understanding this is a live-fire change during an incident and should be reverted or reviewed once the event is over.
8. After the event
return to the Phase 5 baselining methodology for any sensor you had to hand-tune under pressure. A threshold set reactively during an active flood is a starting point, not a final answer, since it was chosen under distorted traffic conditions.
5. Troubleshooting & Gotchas
Gotcha #1: The policy exists and sensors show enabled, but diagnose ips anomaly list never shows anything during a real attack.
This is almost always an interface or address-scoping mismatch. The DoS policy must be bound to the interface where the flood first arrives at the FortiGate, not the interface facing the protected host. Check set interface in the policy against the actual ingress path with diagnose sys session list or diagnose debug flow during the event. Also check dstaddr scoping: if the object only covers a single /32 and the attacker is sweeping the wider subnet, only the fraction of traffic hitting that exact host will be counted.
Resolution: Correct the interface binding to the true ingress interface, and confirm dstaddr covers the full range you intend to protect (diagnose ips anomaly config should then show non-zero traffic once corrected).
Gotcha #2: Legitimate users start getting dropped after tightening thresholds.
This is the classic false-positive pattern with *_src_session anomalies. A NAT gateway, corporate web proxy, or CGNAT pool puts many real users behind a small number of public IPs, and those IPs legitimately carry thousands of concurrent sessions. A threshold copied from a generic guide (including this one) without baselining against your own traffic will eventually flag that proxy as an attacker.
Resolution: Pull the actual baseline from Log & Report > Anomaly for the affected source over a normal business day, set the threshold comfortably above that peak, and keep *_src_session/*_dst_session anomalies in pass/log-only longer than the flood-type anomalies before ever flipping them to block.
Gotcha #3: tcp_syn_flood is configured with block, but CPU still spikes hard during a SYN flood test.
Either the platform has no NP6/NP7 processor (many VM form factors and entry-level desktop models), or fastpath offload has been left disabled on the relevant port from an earlier troubleshooting session.
Resolution: Run diagnose npu np6 npu-feature and confirm Fastpath is Enabled for the port; re-enable with diagnose npu np6 fastpath enable <id> if it was left off. On models with no NPU at all, this is expected behavior. Keep the threshold more conservative on those platforms since the CPU is doing all the work.
Gotcha #4: A flood against the FortiGate’s own admin/VPN service isn’t stopped by the DoS policy.
The DoS policy scoped to the protected LAN server has nothing to do with traffic destined to the FortiGate’s own WAN IP for SSH, HTTPS admin, or IKE. That traffic is governed by local-in policy, which is a completely separate allow-list mechanism evaluated for traffic terminating on the box itself.
Resolution: Pair the DoS policy with a tight local-in policy restricting management and VPN services to known source ranges. Treat traffic passing through the FortiGate and traffic destined to the FortiGate as two different problems that happen to share a chassis.
Recent posts
-

-

DNS is one of those technologies that quietly underpins... Full Story
-

BGP issues on FortiGate firewalls usually trace back to... Full Story
-

Every time your laptop talks to your router, a... Full Story
-

If you've spent any time configuring NAT on a... Full Story
-

If you have spent any time configuring firewall policies... Full Story
-

High availability on FortiGate is one of those features... Full Story
-

If you've configured SD-WAN on a FortiGate, you've almost... Full Story
-

FortiLink is the management protocol that turns a FortiSwitch... Full Story
-

FortiSwitches are pretty rock solid from Mean Time Between... Full Story
-

This is a quicky tip. Have you ever gone... Full Story
-

DNS is one of those quiet pieces of internet... Full Story
-

This article is an updated version of the previous... Full Story
-

You will add ns2 as a secondary (slave) BIND9... Full Story
-

In the process of deploying my lab, I needed... Full Story
-

RFC 8805, used to be known as Self-Correcting IP... Full Story
-

Years back, I wrote an article about certificate pinning. ... Full Story
-

FortiGates have the ability to send alerts to Microsoft... Full Story
-

In this post, I am going to walk through... Full Story
-

Troubleshooting VoIP on a FortiGate can feel like trying... Full Story
-

Prior to FortiOS 7.0, there were three commands to... Full Story
-

In this post, I am going to go over... Full Story
-

What we are going to do: We are going... Full Story
-

Choosing between FGCP (FortiGate Clustering Protocol) and FGSP (FortiGate... Full Story
-

Creating a VLAN on macOS (The "Pro" Move) A... Full Story
-

This blog post explores the logic behind how macOS... Full Story
-

Pretty Fly for a Wi-Fi Tell My Wi-Fi Love... Full Story
-

Part of my daily gig is creating BoMs (Bill-of-Materials)... Full Story
-

ICMP introduces several security risks, but careful filtering, rate... Full Story
-

The command diag debug application dhcps -1 enables full... Full Story
-

In the world of FortiOS, execute tac report is... Full Story
-

LLDP; What is it The Link Layer Discovery Protocol... Full Story
-

What it actually does When you run diagnose fdsm... Full Story
-

Monkey Bites are bite-sized, high-impact security insights designed for... Full Story
-

I have run macOS in macOS with Parallels but... Full Story
-

Don't be confused with my other FortiNAC posts where... Full Story
-

This is the third session in a multi-part article... Full Story
-

Today I was configuring key-based authentication on a FortiGate... Full Story
-

Netcat, often called the "Swiss Army knife" of networking,... Full Story
-

At its core, IEEE 802.1X is a network layer... Full Story
-

In case you did not see the previous FortiNAC... Full Story
-

This is our 5th session where we are going... Full Story
-

Now that we have Wireshark installed and somewhat configured,... Full Story
-

The Philosophy of Packet Analysis Troubleshooting isn't about looking... Full Story
-

InfoSecMonkey Threat Response October 24, 2026 | No fluff.... Full Story
-

InfoSecMonkey Threat Response October 24, 2026 | No fluff.... Full Story
-

Plus what you actually get with FortiCare Essential, Premium... Full Story