
If you've spent any time configuring user authentication on... Full Story
By Manny Fernandez
July 22, 2026
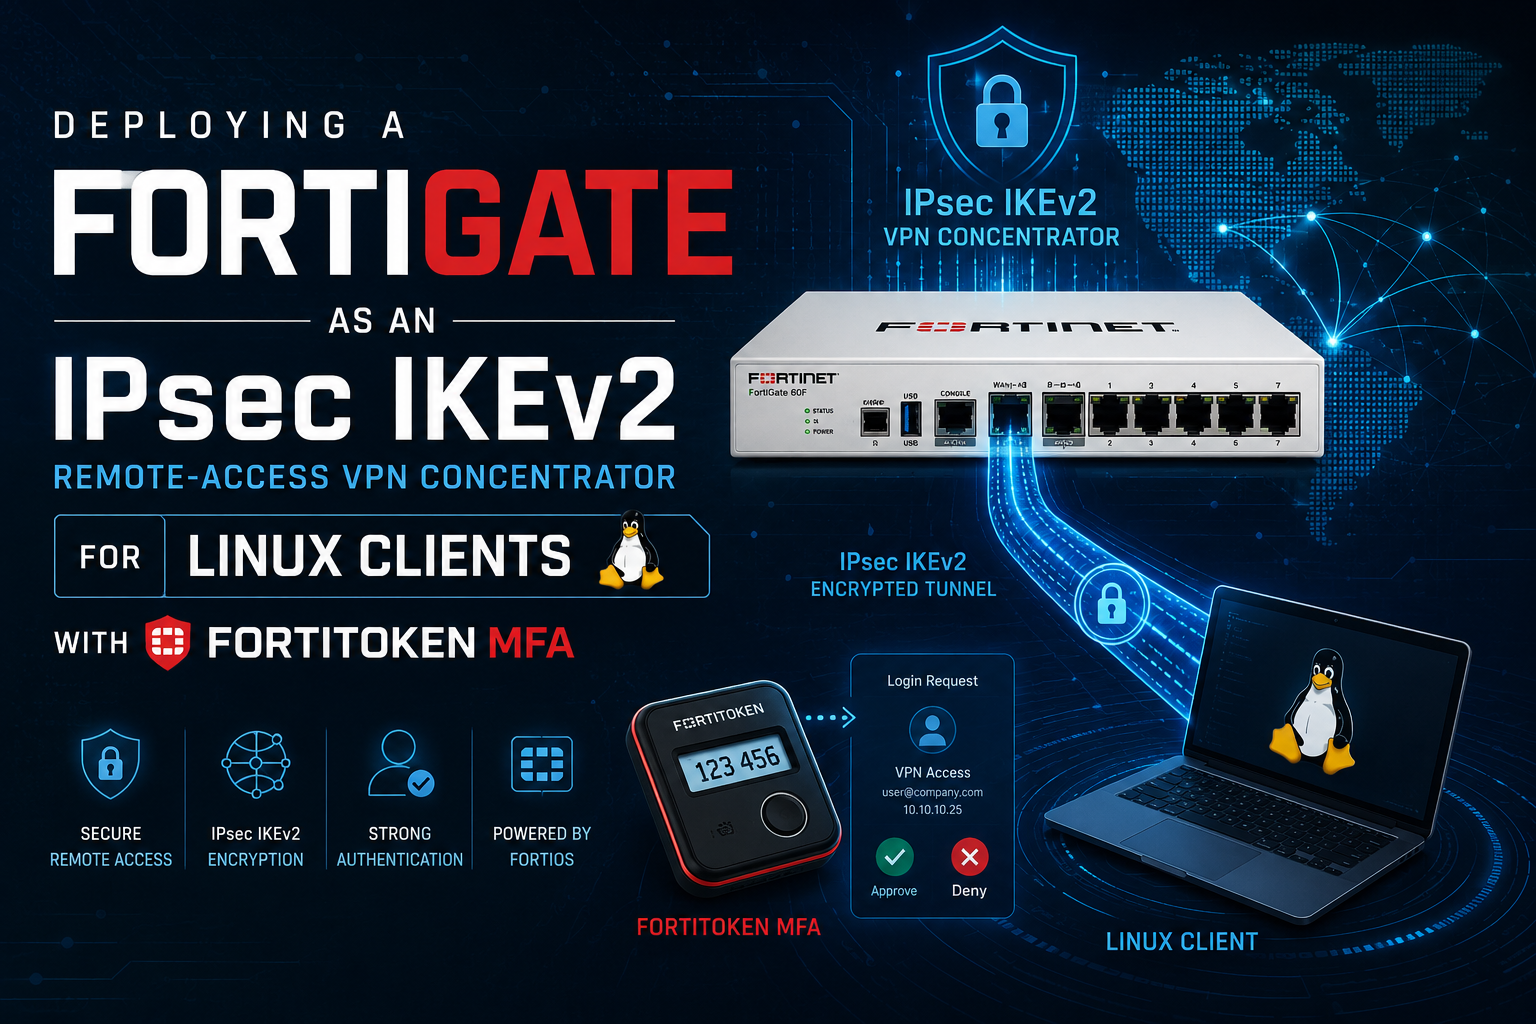
Deploying a FortiGate as an IPsec IKEv2 Remote-Access VPN Concentrator for Linux Clients with FortiToken MFA
1. Title & Executive Summary
Objective: This guide stands up a single FortiGate as an IPsec IKEv2 dialup VPN concentrator that terminates remote-access tunnels from Linux workstations, then hardens every login with FortiToken multi-factor authentication (MFA). It matters because SSL VPN tunnel mode has been retired from FortiOS, and IPsec IKEv2 is now the supported remote-access path on current firmware and G-series hardware.
Target Audience: Network Engineers, Security Engineers, and System Administrators who manage FortiGate firewalls and support Linux endpoints (Ubuntu, Debian, Fedora, RHEL derivatives) for remote workforce or lab access.
Why IPsec, not SSL VPN: SSL VPN tunnel mode is removed from FortiOS 7.6.3 onward, removed earlier on low-memory and entry-level models, and it never existed on G-series hardware. IPsec IKEv2 is the replacement. It can even be configured to run over TCP or UDP port 443 for parity with the old SSL-VPN-on-443 traversal behavior. Everything below is IPsec only.
2. Prerequisites & Architecture
Assumed Knowledge
- Comfort in the FortiGate CLI and GUI, including
configandshowtree navigation. - IPsec fundamentals: IKEv2, Phase 1 and Phase 2, EAP, and mode-config (mode-cfg) address assignment.
- Linux package management (
apt/dnf) and editing config files with sudo. - DNS, routing, and how NAT/PAT affects inbound VPN termination.
Environment & Lab Requirements
- FortiGate: Physical appliance or FortiGate-VM, FortiOS 7.4.x or 7.6.x. IPsec IKEv2 dialup is supported on all current models including G-series.
- Public reachability: A routable public IP (or 1:1 NAT / VIP) on the WAN interface. Open inbound UDP 500 (IKE) and UDP 4500 (NAT-T). If you use the port-443 option, open TCP 443 or UDP 443 instead.
- Linux client: Ubuntu 22.04/24.04, Debian 12, or a Fedora/RHEL derivative with root/sudo access.
- Client software: Either FortiClient VPN (Free) provisioned by IPsec XML import, or native strongSwan. The FortiClient Linux build does not expose an IPsec configuration tab, so strongSwan is the more maintainable choice on Linux. If you use the TCP-443 option, FortiClient 7.4.1 or later is required.
- FortiToken: Every FortiGate ships with two free FortiToken Mobile trial licenses. Beyond two users, plan on purchased FortiToken Mobile seats, FortiToken hardware (for example the 210/220), or FortiToken Cloud (FTC).
- Mail or SMS relay: An SMTP server (or SMS gateway) on the FortiGate to deliver FortiToken activation codes.
- FortiGuard reachability: Outbound access to FortiGuard so the FortiGate can activate FortiToken Mobile seats.
Component Table
| Component | Role | Example Value |
|---|---|---|
| FortiGate WAN | VPN concentrator / public termination point | 203.0.113.10 (wan1) |
| FortiGate LAN | Protected internal network | 10.20.0.0/24 (lan) |
| IPsec client pool | mode-config range handed to clients | 10.10.10.0/24 |
| Phase 1 dialup gateway | IKEv2 dynamic tunnel interface | Dialup-IKEv2 |
| Local user | Authenticated VPN identity | vpnuser1 |
| User group | EAP auth group referenced by the tunnel | VPN-Users |
| FortiToken Mobile | Soft OTP token bound to the user | FTKMOBxxxxxxxxxx |
| Linux endpoint | Remote workstation running the client | Ubuntu 24.04 LTS |
High-level flow
Linux client  --IKEv2/EAP-->  FortiGate WAN (dialup gateway)
   |                                    |
   | password + FortiToken OTP          | validate EAP against VPN-Users
   |                                    | assign 10.10.10.x via mode-cfg
   +-- encrypted ESP tunnel ------------+--> firewall policy --> 10.20.0.0/24
3. Step-by-Step Implementation Workflow
Phase 1: Identity, Group, and FortiToken
Goal: Create the identity objects and bind a FortiToken before touching any tunnel config. EAP will authenticate the client against this user group.
Step 1.1 – Register the two free FortiToken Mobile trial seats. In the GUI: User & Authentication > FortiTokens > Create New > FortiToken Mobile, then enable the free trial option or paste the activation code 0000-0000-0000-0000-0000. Confirm from the CLI:
# See registered tokens and their activation status
diagnose fortitoken info

config user fortitoken
    show
end
Step 1.2 – Create the local user and the user group.
config user local
    edit "vpnuser1"
        set type password
        set passwd <user_password>
        set email-to vpnuser1@<your_domain>
    next
end

config user group
    edit "VPN-Users"
        set member "vpnuser1"
    next
end
Step 1.3 – Bind a FortiToken and enable two-factor. Use a serial returned by diagnose fortitoken info.
config user local
    edit "vpnuser1"
        set two-factor fortitoken
        set fortitoken FTKMOB<serial>
        set email-to vpnuser1@<your_domain>
    next
end
Step 1.4 – Send the activation code and provision the phone. Edit the user in the GUI, enable Two-factor Authentication, pick the token, choose delivery (Email or SMS), and click Send Activation Code. The user installs the FortiToken app (iOS/Android), scans the emailed QR code, and the soft token begins generating 6-digit OTPs.
GUI Verification: Under User & Authentication > User Definition, edit vpnuser1 and confirm the token shows Active (not Pending) after the app scan.
Phase 2: IKEv2 Dialup Gateway (Phase 1 Interface)
Goal: Build a dynamic (dialup) IKEv2 gateway that authenticates users with EAP against VPN-Users, hands out addresses via mode-config, pushes internal DNS, and installs a split route.
Action: The pre-shared key authenticates the gateway itself; EAP authenticates the user. Note the EAP fields are CLI-only.
# Address objects
config firewall address
    edit "Internal_Subnet"
        set subnet 10.20.0.0 255.255.255.0
    next
end

config vpn ipsec phase1-interface
    edit "Dialup-IKEv2"
        set type dynamic
        set interface "wan1"
        set ike-version 2
        set peertype any
        set net-device disable
        set mode-cfg enable
        set proposal aes256-sha256 aes256gcm-prfsha384
        set dhgrp 14 20
        set eap enable
        set eap-identity send-request
        set authusrgrp "VPN-Users"
        set ipv4-start-ip 10.10.10.1
        set ipv4-end-ip 10.10.10.254
        set ipv4-netmask 255.255.255.0
        set dns-mode manual
        set ipv4-dns-server1 10.20.0.53
        set ipv4-split-include "Internal_Subnet"
        set psksecret <preshared_key>
    next
end
GUI Verification: VPN > IPsec Tunnels should list Dialup-IKEv2 as a dialup tunnel on wan1 with IKE version 2. The EAP settings only appear in the CLI.
Phase 3: Phase 2 Selectors
Goal: Define the child security association. Keep the proposals aligned with Phase 1.
config vpn ipsec phase2-interface
    edit "Dialup-IKEv2-P2"
        set phase1name "Dialup-IKEv2"
        set proposal aes256-sha256 aes256gcm
        set dhgrp 14 20
    next
end
Phase 4: Firewall Policy
Goal: Permit traffic from the dialup tunnel interface to the internal subnet.
config firewall policy
    edit 0
        set name "IPsec-Dialup-to-Internal"
        set srcintf "Dialup-IKEv2"
        set dstintf "lan"
        set srcaddr "all"
        set dstaddr "Internal_Subnet"
        set action accept
        set schedule "always"
        set service "ALL"
        set nat enable
    next
end
Assign the user group in ONE place only. Because EAP is already binding the tunnel to VPN-Users via authusrgrp in Phase 1, do not also set groups in this policy. Referencing the group in both the tunnel and the policy is a classic cause of silently dropped traffic.
Phase 5 (Optional): IPsec over Port 443 for Restrictive Networks
Goal: Give roaming users the same port-443 traversal that SSL VPN used to provide, so tunnels punch through hotel, cellular, and captive-portal networks that only allow TCP 443. This requires IKEv2 and FortiClient 7.4.1 or later.
Action: Set TCP encapsulation on the dialup tunnel and confirm the TCP IKE port.
# TCP encapsulation on the dialup tunnel
config vpn ipsec phase1-interface
    edit "Dialup-IKEv2"
        set transport tcp
    next
end

# Confirm / set the TCP IKE port (443 by default)
show full-configuration system settings | grep ike-tcp
config system settings
    set ike-tcp-port 443
end
Port conflict warning: If TCP 443 is already used by the admin HTTPS GUI or another service on the WAN interface, move the admin GUI to another port (config system global / set admin-sport) or pick a different custom IKE TCP port. As an alternative to TCP encapsulation, dialup IPsec over UDP can also use port 443 with set transport auto.
Phase 6: Linux Client Configuration
Goal: Connect the Linux endpoint. You have two options. The FortiClient Linux build has no IPsec configuration tab, so IPsec is provisioned by XML import there; native strongSwan is the cleaner, scriptable path.
Option A – FortiClient VPN (Free) via XML import. Install the package, then import a profile. The imported profile is read-only in the UI, so treat the XML as the source of truth. After you launch the FortiClient, click configure vpn and then XMLon the top right. Then import the .xmlfile.
sudo dpkg -i forticlient_vpn_<version>_amd64.deb
sudo apt-get -f install     # resolve dependencies

<!-- Minimal IPsec profile fragment. See the FortiClient
     XML Reference Guide for the full schema. -->
<forticlient_configuration>
  <vpn>
    <ipsecvpn>
      <connections>
        <connection>
          <name>FGT-Dialup</name>
          <server>203.0.113.10</server>
          <ike_settings>
            <ike_version>2</ike_version>
            <auth_method>xauth</auth_method>
          </ike_settings>
        </connection>
      </connections>
    </ipsecvpn>
  </vpn>
</forticlient_configuration>
Option B – Native strongSwan (recommended for Linux). Install strongSwan with the modern swanctl config, define the connection, then initiate.
sudo apt-get install strongswan strongswan-swanctl

# /etc/swanctl/conf.d/fgt.conf
connections {
  fgt-dialup {
    version = 2
    remote_addrs = 203.0.113.10
    vips = 0.0.0.0                 # request an address via mode-config
    local {
      auth = eap-mschapv2
      eap_id = vpnuser1
    }
    remote {
      auth = psk
    }
    children {
      fgt {
        remote_ts = 10.20.0.0/24
        esp_proposals = aes256-sha256-modp2048
      }
    }
    proposals = aes256-sha256-modp2048
  }
}
# /etc/swanctl/swanctl.conf  (secrets)
secrets {
  ike-fgt   { secret = "<preshared_key>" }
  eap-user  { id = vpnuser1  secret = "<password_plus_otp>" }
}

sudo swanctl --load-all
sudo swanctl --initiate --child fgt
FortiToken on native Linux IPsec: strongSwan has no interactive OTP challenge dialog, and SAML challenge is not natively supported. The practical MFA method is OTP concatenation: the EAP secret is the account password immediately followed by the current 6-digit FortiToken code (for example MyPassw0rd123456). Because that value rotates every 30 seconds it cannot be saved statically, so script the initiate step to prompt for it at connect time. For hands-off headless boxes, use certificate authentication instead and reserve FortiToken OTP for interactive users.
4. Verification & Validation
Validate from the FortiGate first (is the SA up and the user authenticated?), then from the Linux side (do I have an address, a route, and reachability?).
FortiGate: IPsec and EAP
diagnose vpn ike gateway list           # IKE SA, EAP identity, transport
diagnose vpn tunnel list                # ESP SA counters (enc/dec)
get vpn ipsec tunnel summary            # up/down and selectors
# Success: gateway shows "established", the EAP identity is your
# user, transport shows UDP or TCP, and a mode-config address
# is assigned from 10.10.10.0/24.
FortiGate: FortiToken health
diagnose fortitoken info                 # token status: active/pending
# Live auth trace during a login attempt:
diagnose debug application fortitokend -1
diagnose debug enable
# Success: the token shows "active" and the debug shows a
# successful OTP validation for vpnuser1.
Linux client: address, route, reachability
sudo swanctl --list-sas         # INSTALLED, ESP SPIs, assigned VIP
ip addr                         # virtual IP from 10.10.10.0/24
ip route | grep 10.20           # split route to the internal subnet
ping -c 3 10.20.0.1             # reach an internal host
What success looks like end to end: the client authenticates with password plus FortiToken, the FortiGate shows an established IKE SA with your EAP identity, the Linux host holds a 10.10.10.x address and a split route to 10.20.0.0/24, and a ping to an internal host succeeds while general internet traffic still uses the local default route.
5. Troubleshooting & Gotchas
Gotcha 1: Tunnel establishes then drops, or traffic is silently discarded
Symptom: Phase 1 comes up and the user authenticates, but internal traffic never flows, or the session tears down right after mode-config.
Cause: The user group is referenced in two places. When authusrgrp is set on the tunnel and groups is also set on the firewall policy, the policy match fails and traffic is dropped.
Diagnose:
show vpn ipsec phase1-interface Dialup-IKEv2 | grep authusrgrp
show firewall policy | grep -A2 IPsec-Dialup-to-Internal
Resolution: Keep the group on the tunnel (authusrgrp) and remove groups from the policy (or vice versa), never both.
Gotcha 2: FortiClient on Linux has no IPsec tab
Symptom: The Linux FortiClient GUI offers no way to build an IPsec tunnel, unlike the Windows build.
Cause: The Linux FortiClient build does not expose IPsec configuration in the UI. It is provisioned by XML import, and the result is read-only in the interface.
Resolution: Import an IPsec XML profile (Phase 6, Option A), or run native strongSwan (Option B). For headless servers, strongSwan with swanctl is the most maintainable path.
Gotcha 3: EAP authentication fails, or the FortiToken code is rejected
Symptom: IKE_SA_INIT succeeds but EAP fails, the activation email never arrives, or valid-looking OTP codes are refused.
Cause: On native Linux, the EAP secret must be password plus the current OTP concatenated; a plain password fails MFA. Activation needs FortiGuard reachability plus a working SMTP/SMS relay, and refused codes are almost always clock drift.
Diagnose:
# Live IKE/EAP trace on the FortiGate
diagnose debug application ike -1
diagnose debug application fnbamd -1     # auth backend (EAP/local user)
diagnose debug application fortitokend -1
diagnose debug enable

diagnose fortitoken info                 # activation state
execute ping fds1.fortinet.com           # FortiGuard reachability
execute time                             # confirm clock; enable NTP
config system ntp
    set ntpsync enable
end
Resolution: On Linux, concatenate password and OTP in the EAP secret. Fix FortiGuard egress and the SMTP/SMS relay so activation delivers. Enable NTP on the FortiGate and set the phone clock to automatic. If a FortiGate runs FIPS-CC mode and activation fails over Anycast, disable FortiGuard Anycast and retry.
Gotcha 4: Tunnel is up but internal DNS or reachability fails
Symptom: The SA is INSTALLED but you cannot reach internal hosts by name, or not at all.
Cause: The split-include object does not match the real subnet, mode-config DNS was not pushed, or a Linux-client routing quirk. Note that FortiClient on Linux does not support split DNS with full-tunnel IPsec IKEv2 and can drop the IPv6 default route when the tunnel comes up.
Resolution: Confirm ipv4-split-include matches the internal subnet object exactly and that dns-mode manual with a valid ipv4-dns-server1 is set in Phase 1. On the client, verify with ip route that the split route installed. If internal DNS matters, push full-tunnel or set client resolver rules rather than relying on split DNS on Linux.
Recent posts
-

-

DNS is one of those technologies that quietly underpins... Full Story
-

BGP issues on FortiGate firewalls usually trace back to... Full Story
-

Every time your laptop talks to your router, a... Full Story
-

If you've spent any time configuring NAT on a... Full Story
-

If you have spent any time configuring firewall policies... Full Story
-

High availability on FortiGate is one of those features... Full Story
-

If you've configured SD-WAN on a FortiGate, you've almost... Full Story
-

FortiLink is the management protocol that turns a FortiSwitch... Full Story
-

FortiSwitches are pretty rock solid from Mean Time Between... Full Story
-

This is a quicky tip. Have you ever gone... Full Story
-

DNS is one of those quiet pieces of internet... Full Story
-

This article is an updated version of the previous... Full Story
-

You will add ns2 as a secondary (slave) BIND9... Full Story
-

In the process of deploying my lab, I needed... Full Story
-

RFC 8805, used to be known as Self-Correcting IP... Full Story
-

Years back, I wrote an article about certificate pinning. ... Full Story
-

FortiGates have the ability to send alerts to Microsoft... Full Story
-

In this post, I am going to walk through... Full Story
-

Troubleshooting VoIP on a FortiGate can feel like trying... Full Story
-

Prior to FortiOS 7.0, there were three commands to... Full Story
-

In this post, I am going to go over... Full Story
-

What we are going to do: We are going... Full Story
-

Choosing between FGCP (FortiGate Clustering Protocol) and FGSP (FortiGate... Full Story
-

Creating a VLAN on macOS (The "Pro" Move) A... Full Story
-

This blog post explores the logic behind how macOS... Full Story
-

Pretty Fly for a Wi-Fi Tell My Wi-Fi Love... Full Story
-

Part of my daily gig is creating BoMs (Bill-of-Materials)... Full Story
-

ICMP introduces several security risks, but careful filtering, rate... Full Story
-

The command diag debug application dhcps -1 enables full... Full Story
-

In the world of FortiOS, execute tac report is... Full Story
-

LLDP; What is it The Link Layer Discovery Protocol... Full Story
-

What it actually does When you run diagnose fdsm... Full Story
-

Monkey Bites are bite-sized, high-impact security insights designed for... Full Story
-

I have run macOS in macOS with Parallels but... Full Story
-

Don't be confused with my other FortiNAC posts where... Full Story
-

This is the third session in a multi-part article... Full Story
-

Today I was configuring key-based authentication on a FortiGate... Full Story
-

Netcat, often called the "Swiss Army knife" of networking,... Full Story
-

At its core, IEEE 802.1X is a network layer... Full Story
-

In case you did not see the previous FortiNAC... Full Story
-

This is our 5th session where we are going... Full Story
-

Now that we have Wireshark installed and somewhat configured,... Full Story
-

The Philosophy of Packet Analysis Troubleshooting isn't about looking... Full Story
-

Executive Summary Objective: Get you from zero to writing... Full Story
-

NAND cells, the flash translation layer, SLC caching, TRIM,... Full Story
-

Nmap Scripting Engine (NSE): From One-Liners to Your First... Full Story