
If you've spent any time configuring user authentication on... Full Story
By Manny Fernandez
September 14, 2026
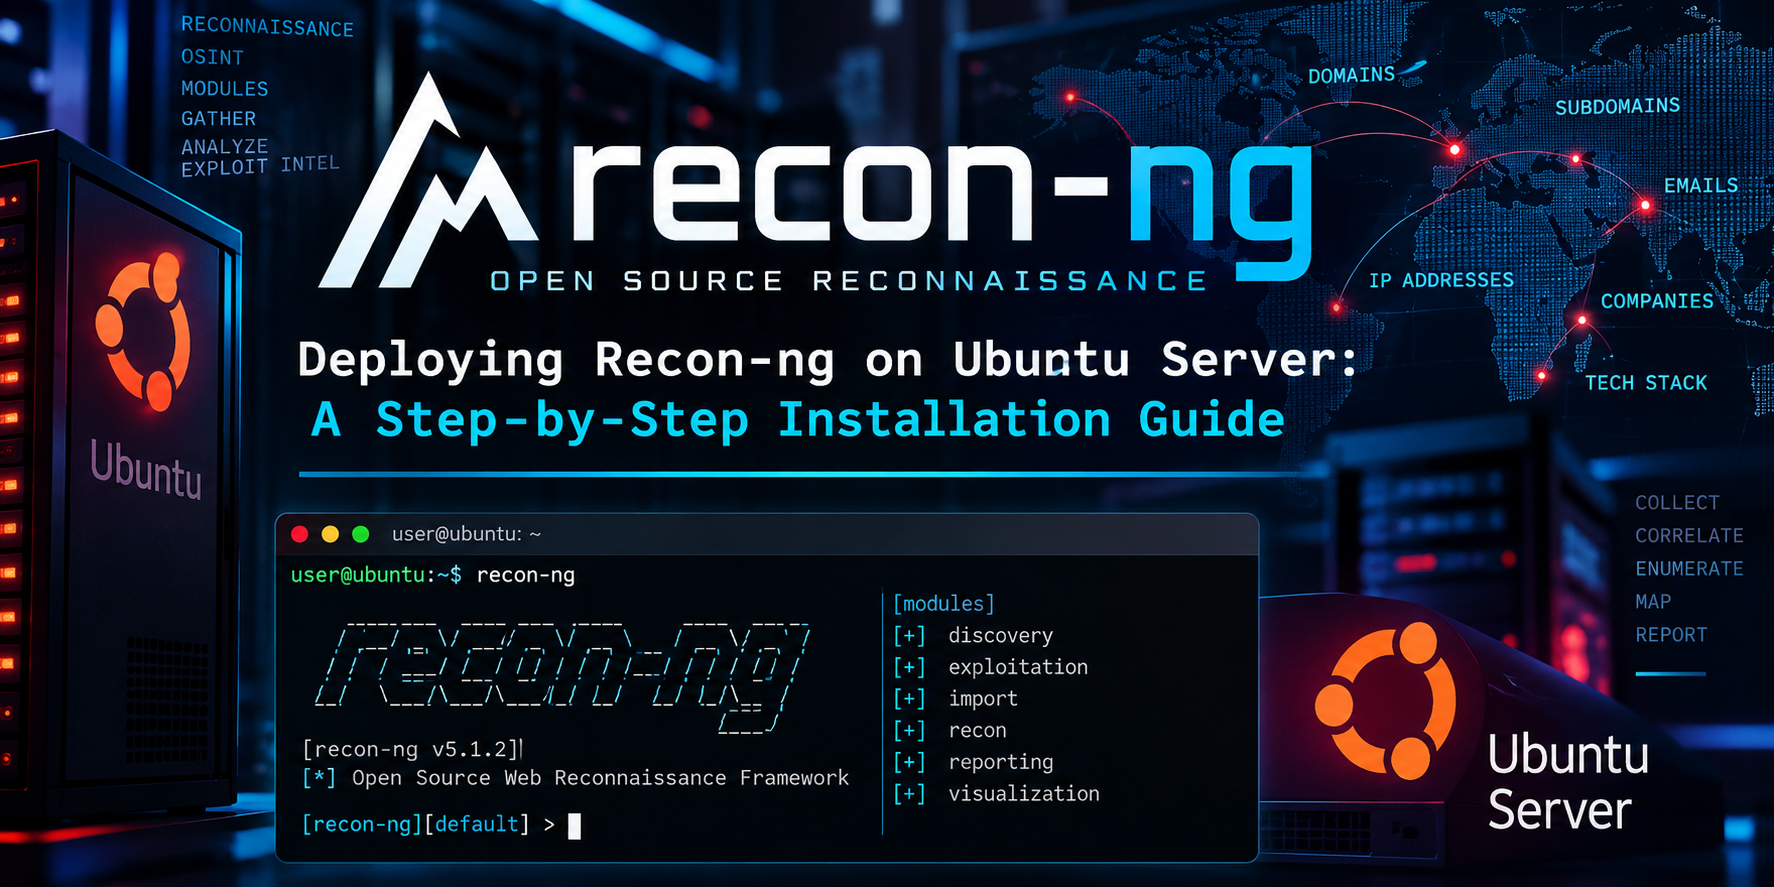
Deploying Recon-ng on Ubuntu Server: A Step-by-Step Installation Guide
Executive Summary
Objective: Stand up Recon-ng v5.1.2, the open source web reconnaissance framework maintained by Tim Tomes (lanmaster53), on a dedicated Ubuntu Server 24.04 LTS host. This guide builds Recon-ng from source inside an isolated Python virtual environment, walks through first launch setup, populates the module marketplace, wires in third-party OSINT API keys, and validates the install with a real module run.
Target audience: Security practitioners, red teamers, bug bounty researchers, and threat intel analysts who want a purpose-built OSINT recon box outside of Kali, one they fully control, can patch on their own schedule, and can run headless on a lab or cloud instance.
Recon-ng shares a command structure and workflow feel with Metasploit, but it is scoped entirely to open source, web-based reconnaissance: domain and host discovery, contact harvesting, credential leak checks, netblock and pushpin geolocation, and dozens of other passive and semi-passive OSINT tasks, all pulled from a plugin marketplace and stored in a per-workspace SQLite database.
Prerequisites & Architecture
Assumed knowledge: comfort with the Linux command line, apt package management, SSH access to the target server, and a basic understanding of Python virtual environments. No prior Recon-ng experience is assumed; command syntax is called out explicitly at each step.
Environment and lab requirements:
- A fresh or existing Ubuntu Server 24.04 LTS host, reachable over SSH, with a sudo-capable account
- Outbound internet access (egress) on 443. Recon-ng’s marketplace index, most of its modules, and every OSINT API it calls (Shodan, Hunter.io, HackerTarget, and similar) are pulled over HTTPS
- Modest resources: 1 vCPU and 1 GB RAM comfortably run the framework; disk headroom of roughly 2 GB covers the source tree, virtual environment, and installed marketplace modules
Component table:
| Component | Role |
|---|---|
| Ubuntu Server 24.04 LTS | Host operating system |
| Python 3.11+ (ships with 24.04) | Runtime for the framework and its modules |
| git | Retrieves the source tree and future updates |
| python3-venv, python3-pip | Dependency isolation and package installation |
| build-essential, python3-dev, libssl-dev, libffi-dev | Compiles any C-extension dependencies pulled in by REQUIREMENTS |
| Recon-ng v5.1.2 (source, GitHub) | The reconnaissance framework itself |
| SQLite (bundled, no separate service) | Per-workspace data store, no database server to stand up |
| Marketplace modules and extras (PyPDF3, pyaes, bs4, and similar) | Third-party recon modules and the libraries they depend on |
| OSINT provider API keys (optional) | Unlocks specific modules, e.g. Shodan, Hunter.io, BuiltWith |
Recon-ng does not run as a listening service. There is no port to open in your firewall for the framework itself; it only needs outbound access so its modules can reach third-party OSINT sources.
Step-by-Step Implementation Workflow
Step 1: Update Ubuntu and install system dependencies
Goal: Bring the host current and install the toolchain that Recon-ng and its REQUIREMENTS file need to build cleanly.
Action: Update the package index and install git, Python, and the compiler toolchain used by any C-extension dependencies.
sudo apt update && sudo apt upgrade -y
sudo apt install -y git python3 python3-venv python3-pip python3-dev \
    build-essential libssl-dev libffi-dev
Verification: Confirm Python and git landed correctly.
python3 --version   # expect 3.11.x or newer on 24.04 LTS
git --version
Step 2: Create a dedicated, non-root service account
Goal: Keep Recon-ng, and the outbound network calls its modules make, off the root account.
Action:
sudo adduser --disabled-password --gecos "" reconng
sudo su - reconng
Verification: Confirm the shell is now running as the new account.
whoami # expect: reconngA quick word on privilege: Recon-ng does not need sudo to run. If you ever launch it once with sudo out of habit, the workspace it creates is written under root’s home directory instead of this account’s, and it will not show up the next time you run it as reconng. Stay on the dedicated account for every session.
Step 3: Clone the Recon-ng repository
Goal: Pull the current v5.1.2 source tree directly from the upstream GitHub repository.
Action:
git clone https://github.com/lanmaster53/recon-ng.git ~/recon-ng
cd ~/recon-ng
Verification:
ls REQUIREMENTS recon-ng recon-cli
git log -1 --oneline
You should see the REQUIREMENTS file and both entry points (recon-ng for the interactive console, recon-cli for scripted or automated runs) sitting in the cloned directory.
Step 4: Build an isolated Python virtual environment
Goal: Keep Recon-ng’s dependency tree off the system Python interpreter, so framework upgrades and system package upgrades never collide.
Action:
python3 -m venv venv
source venv/bin/activate
pip install --upgrade pip
Verification: The shell prompt should now be prefixed with (venv), and the interpreter should resolve inside the project directory.
which python3 # expect: .../recon-ng/venv/bin/python3Step 5: Install framework and marketplace dependencies
Goal: Satisfy the core REQUIREMENTS file, plus the small set of extra libraries that a wide swath of marketplace modules assume are already present (PDF parsing, AES support for encrypted exports, and HTML parsing for scraping-based modules).
Action:
pip install -r REQUIREMENTS
pip install PyPDF3 pyaes bs4
Verification:
pip list | grep -Ei "requests|lxml|PyPDF3|pyaes|beautifulsoup4"Step 6: First launch and workspace creation
Goal: Confirm the framework boots cleanly, and create an isolated workspace for this engagement so its findings, database, and loot stay separate from any other project.
Action: Launch directly into a named workspace using the -w flag; Recon-ng creates it if it does not already exist.
./recon-ng -w acme_engagementVerification: You should land on the framework banner followed by a prompt scoped to the new workspace.
[recon-ng v5.1.2, Tim Tomes (@lanmaster53)]
[*] No modules enabled/installed.

[recon-ng][acme_engagement] >
Confirm the workspace persisted to disk from a second terminal, or after exiting and relaunching:
ls ~/.recon-ng/workspaces/Step 7: Populate the marketplace and install modules
Goal: Pull down the current module marketplace index and install the modules you plan to use.
Action: From the Recon-ng prompt, browse the marketplace, then install everything (simplest for a first build) or install selectively by category.
marketplace search
marketplace install all
To install a narrower set instead, search a category first and install only what matches:
marketplace search domains-hosts
marketplace install recon/domains-hosts/hackertarget
Verification: The install output prints one [*] Module installed: ... line per module. Confirm they loaded:
modules searchStep 8: Configure API keys for gated modules
Goal: Unlock the modules that depend on a third-party OSINT provider’s API (Shodan, Hunter.io, and similar).
Action:
keys list
keys add shodan_api YOUR_SHODAN_API_KEY
keys add hunter_io YOUR_HUNTER_IO_API_KEY
keys list
Verification: keys list populates with expected key names once modules are installed (Step 7 must run first, or the list of expected names is empty). Confirm the names you added match exactly. Recon-ng does not validate key names against known modules: a typo like shodan_apikey instead of shodan_api is stored silently, and the dependent module will simply fail at run time.
Step 9: Seed the workspace and run a first module
Goal: Prove the install end to end with a real, low-friction OSINT lookup.
Action:
db insert domainsRecon-ng prompts for the field value:
domain (TEXT): example.comThen load and run a domain-to-host discovery module against that seed:
modules load recon/domains-hosts/hackertarget
options list
run
show hosts
Verification: show hosts should return the hosts and subdomains the module discovered for the seeded domain, confirming the module executed successfully and wrote its results back to the workspace database.
Verification & Validation
Run through this short checklist to confirm the deployment is healthy end to end:
| Check | Command | Expected result |
|---|---|---|
| Framework version | ./recon-ng --version |
Reports recon-ng v5.1.2 |
| Workspace exists | workspaces list |
Lists the workspace created in Step 6 |
| Database schema initialized | show schema |
Lists the standard tables: domains, hosts, contacts, credentials, and so on |
| Modules installed | modules search |
Returns installed modules grouped by category, not an empty list |
| Activity recorded | dashboard |
Displays a summary reflecting the module run from Step 9 |
| Seed data present | show domains |
Returns the domain inserted in Step 9 |
If every row above returns the expected result, the framework is fully operational: installed cleanly, isolated in its own virtual environment and workspace, connected to the marketplace, and able to execute a module and persist results.
Troubleshooting & Gotchas
1. pip install -r REQUIREMENTS fails while compiling a dependency
Symptom: pip’s error output ends in something like fatal error: Python.h: No such file or directory, or a similar missing header for a C extension (commonly hit with lxml or cryptography).
Fix: Confirm the compiler toolchain from Step 1 actually installed (dpkg -l | grep build-essential), and on 24.04 also install the XML toolchain some parsers need:
sudo apt install -y libxml2-dev libxslt1-dev2. marketplace search or marketplace install returns nothing, or hangs
Symptom: the marketplace commands time out, return an empty result, or modules install but immediately fail with connection errors when run.
Fix: Recon-ng’s marketplace index and most modules pull data over outbound HTTPS. Confirm the host actually has egress:
curl -I https://raw.githubusercontent.comIf the server sits behind a corporate proxy, set it as a global option before retrying:
options set PROXY http://proxy.example.local:80803. Workspaces created under sudo are invisible to the service account
Symptom: a workspace created in an earlier session is missing from workspaces list, even though you know you created it.
Fix: this almost always means an earlier session was launched with sudo ./recon-ng instead of as the reconng account, which wrote the workspace under /root/.recon-ng/workspaces/ instead of ~reconng/.recon-ng/workspaces/. Locate it and move it back:
sudo find / -type d -name "workspaces" -path "*.recon-ng*" 2>/dev/null
sudo mv /root/.recon-ng/workspaces/acme_engagement ~/.recon-ng/workspaces/
sudo chown -R reconng:reconng ~/.recon-ng/workspaces/acme_engagement
Going forward, always launch as the dedicated reconng account from Step 2. Recon-ng never needs root.
Recent posts
-

-

DNS is one of those technologies that quietly underpins... Full Story
-

BGP issues on FortiGate firewalls usually trace back to... Full Story
-

Every time your laptop talks to your router, a... Full Story
-

If you've spent any time configuring NAT on a... Full Story
-

If you have spent any time configuring firewall policies... Full Story
-

High availability on FortiGate is one of those features... Full Story
-

If you've configured SD-WAN on a FortiGate, you've almost... Full Story
-

FortiLink is the management protocol that turns a FortiSwitch... Full Story
-

FortiSwitches are pretty rock solid from Mean Time Between... Full Story
-

This is a quicky tip. Have you ever gone... Full Story
-

DNS is one of those quiet pieces of internet... Full Story
-

This article is an updated version of the previous... Full Story
-

You will add ns2 as a secondary (slave) BIND9... Full Story
-

In the process of deploying my lab, I needed... Full Story
-

RFC 8805, used to be known as Self-Correcting IP... Full Story
-

Years back, I wrote an article about certificate pinning. ... Full Story
-

FortiGates have the ability to send alerts to Microsoft... Full Story
-

In this post, I am going to walk through... Full Story
-

Troubleshooting VoIP on a FortiGate can feel like trying... Full Story
-

Prior to FortiOS 7.0, there were three commands to... Full Story
-

In this post, I am going to go over... Full Story
-

What we are going to do: We are going... Full Story
-

Choosing between FGCP (FortiGate Clustering Protocol) and FGSP (FortiGate... Full Story
-

Creating a VLAN on macOS (The "Pro" Move) A... Full Story
-

This blog post explores the logic behind how macOS... Full Story
-

Pretty Fly for a Wi-Fi Tell My Wi-Fi Love... Full Story
-

Part of my daily gig is creating BoMs (Bill-of-Materials)... Full Story
-

ICMP introduces several security risks, but careful filtering, rate... Full Story
-

The command diag debug application dhcps -1 enables full... Full Story
-

In the world of FortiOS, execute tac report is... Full Story
-

LLDP; What is it The Link Layer Discovery Protocol... Full Story
-

What it actually does When you run diagnose fdsm... Full Story
-

Monkey Bites are bite-sized, high-impact security insights designed for... Full Story
-

I have run macOS in macOS with Parallels but... Full Story
-

Don't be confused with my other FortiNAC posts where... Full Story
-

This is the third session in a multi-part article... Full Story
-

Today I was configuring key-based authentication on a FortiGate... Full Story
-

Netcat, often called the "Swiss Army knife" of networking,... Full Story
-

At its core, IEEE 802.1X is a network layer... Full Story
-

In case you did not see the previous FortiNAC... Full Story
-

This is our 5th session where we are going... Full Story
-

Now that we have Wireshark installed and somewhat configured,... Full Story
-

The Philosophy of Packet Analysis Troubleshooting isn't about looking... Full Story
-

InfoSecMonkey Threat Response October 24, 2026 | No fluff.... Full Story
-

InfoSecMonkey Threat Response October 24, 2026 | No fluff.... Full Story
-

Plus what you actually get with FortiCare Essential, Premium... Full Story