
If you've spent any time configuring user authentication on... Full Story
By Manny Fernandez
October 12, 2026
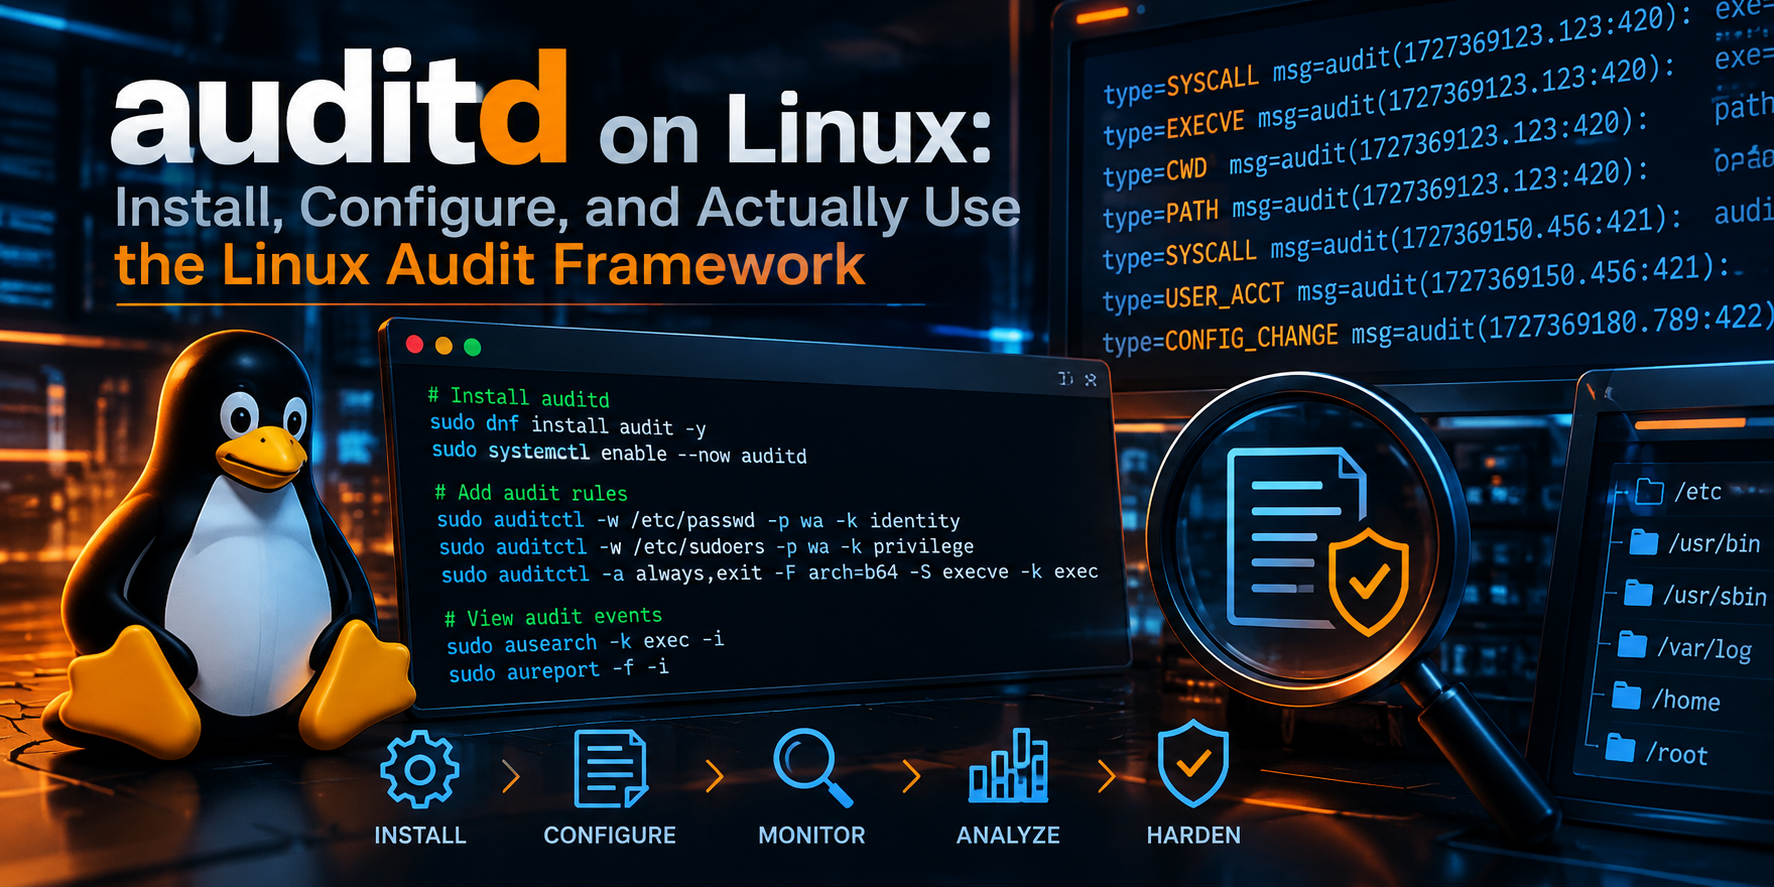
auditd on Linux: Install, Configure, and Actually Use the Linux Audit Framework
Executive Summary
Objective: Deploy the Linux Audit Framework (auditd) on Ubuntu Server 24.04 LTS and RHEL 9 family hosts, build a layered ruleset that records identity changes, privileged command execution, denied file access, and kernel module activity, then use ausearch and aureport to turn raw kernel events into answers.
Target audience: Linux administrators, blue-team analysts, and security engineers who need host-level forensic evidence that survives a compromised user account, and who want the config that works instead of a 400-line ruleset copied from a forum.
Why auditd: Syslog tells you what an application decided to log. auditd tells you what the kernel saw. Every event is tied to the original login UID (auid), so even after sudo su -, the record still points at the human who logged in.
Prerequisites and Architecture
Assumed Knowledge
- Comfortable with sudo, systemd, and editing files under
/etc - Basic understanding of Linux system calls (open, execve, chmod) and UID vs. EUID
- Familiarity with your distribution’s package manager (apt or dnf)
Lab Requirements
| Item | Value |
|---|---|
| Audited host (Ubuntu) | Ubuntu Server 24.04 LTS, 10.0.1.20 |
| Audited host (RHEL family) | RHEL 9 / Rocky 9 / Alma 9, 10.0.1.21 |
| Central log collector (optional) | Linux host running auditd as a receiver, 10.0.10.50 |
| Privileges | Root or a sudo-capable admin account |
| Disk | Dedicated /var/log/audit partition recommended (2 GB minimum for this lab) |
Component Breakdown
| Component | Role |
|---|---|
| Kernel audit subsystem | Generates events at syscall entry/exit and for watched objects |
auditd |
User-space daemon that receives events via netlink and writes /var/log/audit/audit.log |
auditctl |
Loads, lists, and deletes rules at runtime; shows subsystem status |
augenrules |
Merges /etc/audit/rules.d/*.rules into /etc/audit/audit.rules and loads them |
ausearch |
Queries the log by key, user, time, file, event type, or success/failure |
aureport |
Produces summary reports (logins, executables, failures, keys) |
audisp plugins |
Forward events to syslog or a remote auditd collector |
/etc/audit/auditd.conf |
Daemon behavior: log size, rotation, disk-full actions, format |
How an Event Flows
- A process makes a syscall (for example,
openaton/etc/shadow). - The kernel checks the loaded audit rules. If a rule matches, it builds a set of records (SYSCALL, PATH, CWD, PROCTITLE) that share one event ID.
- The event is queued in the kernel backlog and delivered to
auditdover netlink. auditdwrites the event to disk and hands a copy to any active dispatcher plugins.- You query it later with
ausearchoraureport.
Step-by-Step Implementation Workflow
Step 1: Install the Audit Packages
Goal: Get auditd, its user-space tools, and the dispatcher plugins onto the host.
Action: Install with the native package manager. On RHEL 9 family systems, audit is normally present already, but installing is harmless and pulls in the plugins package.
Ubuntu Server 24.04:
sudo apt update
sudo apt install -y auditd audispd-plugins
RHEL 9 / Rocky 9 / Alma 9:
sudo dnf install -y audit audit-libs audispd-pluginsVerification:
auditctl -v
rpm -q audit 2>/dev/null || dpkg -l auditd | tail -1
Step 2: Enable and Start the Daemon
Goal: Make sure auditd runs now and at every boot.
Action:
sudo systemctl enable --now auditd
sudo systemctl status auditd --no-pager
Gotcha: On RHEL family systems (and some others), the auditd unit sets RefuseManualStop=yes, so systemctl restart auditd fails. This is intentional: auditd must record who stopped it. Use the service wrapper instead:
sudo service auditd restartVerification:
sudo auditctl -sYou want to see enabled 1 and a non-zero pid.
Step 3: Enable Auditing from Boot
Goal: Capture processes that start before auditd, and give them a valid auid. Without this, early-boot processes are not audited and long-running services can generate events with an unset login UID.
Action: Add audit=1 and a larger early backlog to the kernel command line.
Ubuntu (GRUB):
sudo sed -i \
  's/^GRUB_CMDLINE_LINUX="\(.*\)"/GRUB_CMDLINE_LINUX="\1 audit=1 audit_backlog_limit=8192"/' \
  /etc/default/grub
sudo update-grub
RHEL 9 family:
sudo grubby --update-kernel=ALL --args="audit=1 audit_backlog_limit=8192"Reboot during a maintenance window.
Verification:
cat /proc/cmdline | tr ' ' '\n' | grep auditStep 4: Tune auditd.conf
Goal: Control log size, rotation, and what happens when the disk fills. The defaults are conservative; the disk-full behavior is the setting most teams never check until it bites them.
Action: Edit /etc/audit/auditd.conf and set these values (leave the rest at defaults):
log_file = /var/log/audit/audit.log
log_format = ENRICHED
log_group = root
flush = INCREMENTAL_ASYNC
freq = 50
max_log_file = 50
num_logs = 10
max_log_file_action = ROTATE
space_left = 25%
space_left_action = SYSLOG
admin_space_left = 10%
admin_space_left_action = SUSPEND
disk_full_action = SUSPEND
disk_error_action = SYSLOG
name_format = HOSTNAME
Key settings explained:
| Setting | What It Does | Lab Choice |
|---|---|---|
log_format |
ENRICHED resolves UIDs, syscall numbers, and arch into names at write time, so logs stay readable on another host | ENRICHED |
max_log_file |
Size in MB before rotation | 50 |
num_logs |
Rotated files retained | 10 (500 MB total) |
max_log_file_action |
ROTATE, KEEP_LOGS (never deletes), SUSPEND, IGNORE | ROTATE |
space_left_action |
Warning action when free space drops | SYSLOG (use EMAIL if an MTA exists) |
admin_space_left_action |
Critical threshold action; SINGLE or HALT for strict compliance | SUSPEND |
disk_full_action |
What happens when the disk is completely full | SUSPEND |
name_format |
Adds the node name to every record, essential for central collection | HOSTNAME |
Compliance note: Frameworks like PCI DSS and some STIGs require that audit failure halts or single-users the box. That is admin_space_left_action = SINGLE or HALT. Only do this with a dedicated, monitored partition.
Apply the change:
sudo service auditd restartStep 5: Understand Rule Anatomy
Goal: Know the three rule types before writing any.
Control rules configure the audit subsystem itself:
# Delete all existing rules
-D
# Kernel backlog buffer (events)
-b 8192
# Wait before dropping events when the backlog is full
--backlog_wait_time 60000
# Failure mode: 0 silent, 1 printk, 2 panic
-f 1
# Lock rules until reboot (immutable)
-e 2
Comments in rule files must sit on their own line. auditctl does not accept a trailing # comment after a rule.
File watch rules monitor a path for read (r), write (w), execute (x), or attribute change (a). The legacy -w form still works, but the syscall-filter form is the modern equivalent and is faster in the kernel:
# Legacy form
-w /etc/passwd -p wa -k identity

# Preferred form
-a always,exit -F arch=b64 -F path=/etc/passwd -F perm=wa -k identity
Syscall rules match on syscalls plus field filters:
-a always,exit -F arch=b64 -S execve -F euid=0 -F auid>=1000 -F auid!=unset -k priv_exec| Field | Meaning |
|---|---|
-a always,exit |
Append to the exit filter list, always generate a record |
-F arch=b64 / b32 |
Syscall table to match. 64-bit hosts need both, or 32-bit binaries slip past |
-S |
Syscall name(s) |
-F auid>=1000 |
Only humans (adjust to your UID_MIN) |
-F auid!=unset |
Exclude processes with no login session (daemons) |
-F exit=-EACCES |
Match only failed calls with that errno |
-k |
Search key, the tag you will query with ausearch -k |
Step 6: Build a Layered Ruleset
Goal: A small, readable ruleset split by purpose. augenrules concatenates files in /etc/audit/rules.d/ in lexical order, so number them.
Action: Remove or back up the distribution default, then create the files below.
sudo mkdir -p /root/audit-rules-backup
sudo cp -a /etc/audit/rules.d/. /root/audit-rules-backup/
sudo rm -f /etc/audit/rules.d/audit.rules
File 1: /etc/audit/rules.d/10-base.rules
-D
-b 8192
--backlog_wait_time 60000
-f 1
File 2: /etc/audit/rules.d/30-identity.rules
-a always,exit -F arch=b64 -F path=/etc/passwd -F perm=wa -k identity
-a always,exit -F arch=b64 -F path=/etc/shadow -F perm=wa -k identity
-a always,exit -F arch=b64 -F path=/etc/group -F perm=wa -k identity
-a always,exit -F arch=b64 -F path=/etc/gshadow -F perm=wa -k identity
-a always,exit -F arch=b64 -F path=/etc/sudoers -F perm=wa -k sudoers
-a always,exit -F arch=b64 -F dir=/etc/sudoers.d -F perm=wa -k sudoers
-a always,exit -F arch=b64 -F path=/etc/ssh/sshd_config -F perm=wa -k sshd_config
-a always,exit -F arch=b64 -F dir=/etc/ssh/sshd_config.d -F perm=wa -k sshd_config
File 3: /etc/audit/rules.d/40-privileged.rules
-a always,exit -F arch=b64 -S execve -F euid=0 -F auid>=1000 -F auid!=unset -k priv_exec
-a always,exit -F arch=b32 -S execve -F euid=0 -F auid>=1000 -F auid!=unset -k priv_exec
-a always,exit -F arch=b64 -S setuid,setgid,setreuid,setregid -F auid>=1000 -F auid!=unset -k priv_esc
-a always,exit -F arch=b32 -S setuid,setgid,setreuid,setregid -F auid>=1000 -F auid!=unset -k priv_esc
File 4: /etc/audit/rules.d/50-access.rules
-a always,exit -F arch=b64 -S open,openat,truncate,ftruncate -F exit=-EACCES -F auid>=1000 -F auid!=unset -k access_denied
-a always,exit -F arch=b64 -S open,openat,truncate,ftruncate -F exit=-EPERM -F auid>=1000 -F auid!=unset -k access_denied
-a always,exit -F arch=b32 -S open,openat,truncate,ftruncate -F exit=-EACCES -F auid>=1000 -F auid!=unset -k access_denied
-a always,exit -F arch=b32 -S open,openat,truncate,ftruncate -F exit=-EPERM -F auid>=1000 -F auid!=unset -k access_denied
File 5: /etc/audit/rules.d/60-system.rules
-a always,exit -F arch=b64 -S init_module,finit_module,delete_module -k kmod
-a always,exit -F arch=b64 -S adjtimex,settimeofday,clock_settime -k time_change
-a always,exit -F arch=b64 -F path=/etc/localtime -F perm=wa -k time_change
-a always,exit -F arch=b64 -F dir=/etc/cron.d -F perm=wa -k cron
-a always,exit -F arch=b64 -F path=/etc/crontab -F perm=wa -k cron
-a always,exit -F arch=b64 -F dir=/var/log/audit -F perm=wa -F auid>=1000 -F auid!=unset -k audit_tamper
-a always,exit -F arch=b64 -F path=/usr/sbin/auditctl -F perm=x -k audit_tools
File 6: /etc/audit/rules.d/99-finalize.rules
-e 2**Warning on -e 2:** Once loaded, the ruleset is immutable until reboot. auditctl will refuse every change, including -D. Leave this file out (or set it to -e 1) until the ruleset is validated, then add it back.
Before you lock it: Tune auid>=1000 to match UID_MIN in /etc/login.defs. Check with grep ^UID_MIN /etc/login.defs.
Step 7: Load and Validate the Rules
Goal: Compile the rules.d files and push them into the kernel.
Action:
sudo augenrules --check
sudo augenrules --load
sudo auditctl -l
Gotcha: Do not edit /etc/audit/audit.rules directly. augenrules regenerates it from rules.d and your edits disappear on the next load.
Verification: auditctl -l should list every rule, and auditctl -s should show enabled 2 if the finalize file is active, or enabled 1 if not.
Step 8: Read an Event
Goal: Know what you are looking at before you start searching.
A single event is several records sharing one msg=audit(TIMESTAMP:SERIAL) ID:
type=SYSCALL msg=audit(1759150021.482:4127): arch=c000003e syscall=59
  success=yes exit=0 ppid=2231 pid=2254 auid=1000 uid=0 gid=0 euid=0
  tty=pts1 ses=4 comm="useradd" exe="/usr/sbin/useradd" key="priv_exec"
  ARCH=x86_64 SYSCALL=execve AUID="manny" UID="root" EUID="root"
type=EXECVE msg=audit(1759150021.482:4127): argc=2 a0="useradd" a1="audittest"
type=CWD msg=audit(1759150021.482:4127): cwd="/home/manny"
type=PATH msg=audit(1759150021.482:4127): item=0 name="/usr/sbin/useradd" ...
type=PROCTITLE msg=audit(1759150021.482:4127): proctitle=7573657261646400...| Field | Why It Matters |
|---|---|
auid |
The original login user. Survives sudo and su. This is your attribution field |
uid / euid |
Who the process ran as at the time |
ses |
Login session ID. Pull every event in one session with ausearch --session |
success / exit |
Whether the syscall worked, and the return code or errno |
key |
The -k tag from the matching rule |
proctitle |
Full command line, hex-encoded when it contains spaces. ausearch -i decodes it |
The uppercase fields after the raw ones (AUID="manny") are the ENRICHED translations from Step 4.
Step 9: Query with ausearch
Goal: Answer real questions fast. Always add -i to interpret numeric fields.
# Everything tagged with a key
sudo ausearch -k identity -i

# Privileged commands run today by a specific human
sudo ausearch -k priv_exec -ua 1000 -ts today -i

# Denied file access in the last 10 minutes
sudo ausearch -k access_denied -ts recent -i

# Failed logins since yesterday
sudo ausearch -m USER_LOGIN --success no -ts yesterday -i

# Everything touching a specific file
sudo ausearch -f /etc/shadow -i

# Every event from one login session
sudo ausearch --session 4 -i

# Time window (locale date format)
sudo ausearch -ts 09/29/2026 08:00:00 -te 09/29/2026 17:00:00 -k sudoers -i

# CSV export for a spreadsheet or SIEM import
sudo ausearch -k priv_exec --format csv > priv_exec.csv
Useful -ts keywords: now, recent (10 minutes), this-hour, boot, today, yesterday, this-week, this-month, this-year.
Step 10: Summarize with aureport
Goal: Get the big picture before drilling down.
# Overall summary
sudo aureport --summary

# Authentication attempts
sudo aureport -au -i

# Failed events only
sudo aureport --failed --summary -i

# Which executables generated the most events
sudo aureport -x --summary -i

# Event counts per key (quick rule-noise check)
sudo aureport -k --summary

# Logins in a window
sudo aureport -l -ts today -i
Pipe a filtered ausearch into aureport to report on a subset:
sudo ausearch -k priv_exec -ts this-week --raw | sudo aureport -x --summary -iStep 11: Forward Events Off the Host (Optional)
Goal: Get audit data somewhere an attacker with root on this box cannot edit.
Option A, syslog plugin: hands every event to the local syslog, which your existing rsyslog forwarding ships to a SIEM (Wazuh, FortiSIEM, Splunk, and FortiAnalyzer can all ingest it).
Edit /etc/audit/plugins.d/syslog.conf:
active = yes
direction = out
path = /sbin/audisp-syslog
type = always
args = LOG_LOCAL6
format = string
Then forward local6 in rsyslog, for example in /etc/rsyslog.d/60-audit.conf:
local6.* @@10.0.10.50:514Option B, native remote auditd: sends events in audit format to another auditd.
On the collector (10.0.10.50), in /etc/audit/auditd.conf:
tcp_listen_port = 60
tcp_client_ports = 1024-65535
On each audited host, /etc/audit/plugins.d/au-remote.conf:
active = yesAnd /etc/audit/audisp-remote.conf:
remote_server = 10.0.10.50
port = 60
transport = tcp
mode = immediate
network_failure_action = syslog
Restart auditd on both sides with sudo service auditd restart, and open TCP 60 from the audited hosts to the collector only.
Verification and Validation
Temporarily set 99-finalize.rules to -e 1 (or leave it out) while testing, reload with sudo augenrules --load, then trigger each rule category.
Test 1: Identity change
sudo useradd audittest
sudo ausearch -k identity -ts recent -i | grep -E 'type=PATH|name=' | head
sudo userdel -r audittest
Expected: PATH records naming /etc/passwd, /etc/shadow, and /etc/group, with auid= your username.
Test 2: Privileged execution
sudo id
sudo ausearch -k priv_exec -ts recent -i | grep 'comm=id'
Expected: a SYSCALL record with comm=id, euid=root, and auid= your username.
Test 3: Denied access (run as a normal user, no sudo)
cat /etc/shadow
sudo ausearch -k access_denied -ts recent -i | grep -E 'success=no|exit=EACCES'
Expected: success=no exit=EACCES(Permission denied) with name=/etc/shadow in the PATH record.
Test 4: Subsystem health
sudo auditctl -sExpected success output (values vary):
enabled 1
failure 1
pid 812
rate_limit 0
backlog_limit 8192
lost 0
backlog 0
backlog_wait_time 60000
The number to watch is lost. It must stay at zero. Once all tests pass, restore -e 2 and run sudo augenrules --load.
Troubleshooting and Gotchas
1. Lost Events and “backlog limit exceeded”
Symptom: auditctl -s shows a climbing lost counter, or the kernel log reports audit: backlog limit exceeded.
Diagnosis:
sudo auditctl -s | grep -E 'lost|backlog'
sudo journalctl -k | grep -i 'audit: backlog'
sudo aureport -k --summary
Resolution: Raise -b (16384 or 32768 on busy hosts) and keep --backlog_wait_time set. Then find the noisy rule with aureport -k --summary and narrow it. The usual culprit is an execve rule without auid filters, which logs every cron job and service fork.
2. “The audit system is in immutable mode, no rule changes allowed”
Symptom: augenrules --load or auditctl refuses changes.
Diagnosis:
sudo auditctl -s | grep enabledenabled 2 means locked.
Resolution: This is working as designed. Edit the rules.d files, then reboot. There is no runtime override, which is exactly why attackers cannot quietly disable your rules either.
3. Rules Are Loaded but Nothing Matches
Symptom: auditctl -l shows the rule, but ausearch -k returns <no matches>.
Diagnosis:
sudo auditctl -l | grep <key>
getconf LONG_BIT
cat /proc/self/loginuid
Resolution: Work through the usual causes:
- auid filter excluded you: if
/proc/self/loginuidshows4294967295, your session has no login UID (common inside some containers, or whensuis run from a daemon shell). Log in fresh via SSH or console. - Missing arch: a 32-bit binary on a 64-bit host only matches
arch=b32rules. - Path did not exist at load time: a
path=watch on a file created later will not match. Watch the parentdir=instead. - Edited audit.rules instead of rules.d: your change was overwritten by
augenrules. - UID_MIN mismatch: human accounts start below 1000 on this system.
Quick Reference
| Task | Command |
|---|---|
| Status | sudo auditctl -s |
| List loaded rules | sudo auditctl -l |
| Reload rules.d | sudo augenrules --load |
| Restart daemon | sudo service auditd restart |
| Search by key | sudo ausearch -k <key> -i |
| Failed logins | sudo ausearch -m USER_LOGIN --success no -i |
| Summary report | sudo aureport --summary |
| Noise check per key | sudo aureport -k --summary |
| Trace one program | sudo autrace /usr/bin/<program> (requires no rules loaded) |
| Last logins from audit data | sudo aulast |
Recent posts
-

-

DNS is one of those technologies that quietly underpins... Full Story
-

BGP issues on FortiGate firewalls usually trace back to... Full Story
-

Every time your laptop talks to your router, a... Full Story
-

If you've spent any time configuring NAT on a... Full Story
-

If you have spent any time configuring firewall policies... Full Story
-

High availability on FortiGate is one of those features... Full Story
-

If you've configured SD-WAN on a FortiGate, you've almost... Full Story
-

FortiLink is the management protocol that turns a FortiSwitch... Full Story
-

FortiSwitches are pretty rock solid from Mean Time Between... Full Story
-

This is a quicky tip. Have you ever gone... Full Story
-

DNS is one of those quiet pieces of internet... Full Story
-

This article is an updated version of the previous... Full Story
-

You will add ns2 as a secondary (slave) BIND9... Full Story
-

In the process of deploying my lab, I needed... Full Story
-

RFC 8805, used to be known as Self-Correcting IP... Full Story
-

Years back, I wrote an article about certificate pinning. ... Full Story
-

FortiGates have the ability to send alerts to Microsoft... Full Story
-

In this post, I am going to walk through... Full Story
-

Troubleshooting VoIP on a FortiGate can feel like trying... Full Story
-

Prior to FortiOS 7.0, there were three commands to... Full Story
-

In this post, I am going to go over... Full Story
-

What we are going to do: We are going... Full Story
-

Choosing between FGCP (FortiGate Clustering Protocol) and FGSP (FortiGate... Full Story
-

Creating a VLAN on macOS (The "Pro" Move) A... Full Story
-

This blog post explores the logic behind how macOS... Full Story
-

Pretty Fly for a Wi-Fi Tell My Wi-Fi Love... Full Story
-

Part of my daily gig is creating BoMs (Bill-of-Materials)... Full Story
-

ICMP introduces several security risks, but careful filtering, rate... Full Story
-

The command diag debug application dhcps -1 enables full... Full Story
-

In the world of FortiOS, execute tac report is... Full Story
-

LLDP; What is it The Link Layer Discovery Protocol... Full Story
-

What it actually does When you run diagnose fdsm... Full Story
-

Monkey Bites are bite-sized, high-impact security insights designed for... Full Story
-

I have run macOS in macOS with Parallels but... Full Story
-

Don't be confused with my other FortiNAC posts where... Full Story
-

This is the third session in a multi-part article... Full Story
-

Today I was configuring key-based authentication on a FortiGate... Full Story
-

Netcat, often called the "Swiss Army knife" of networking,... Full Story
-

At its core, IEEE 802.1X is a network layer... Full Story
-

In case you did not see the previous FortiNAC... Full Story
-

This is our 5th session where we are going... Full Story
-

Now that we have Wireshark installed and somewhat configured,... Full Story
-

The Philosophy of Packet Analysis Troubleshooting isn't about looking... Full Story
-

1. Title and Executive Summary Objective: Configure a FortiGate... Full Story
-

TL;DR Every public CA is moving to the Let's... Full Story
-

Executive Summary Objective: Give practitioners one reference that covers... Full Story